Call us now 020 3137 9380

Category Archives: How To Tips

How to Fix a Door That Rubs on the Floor
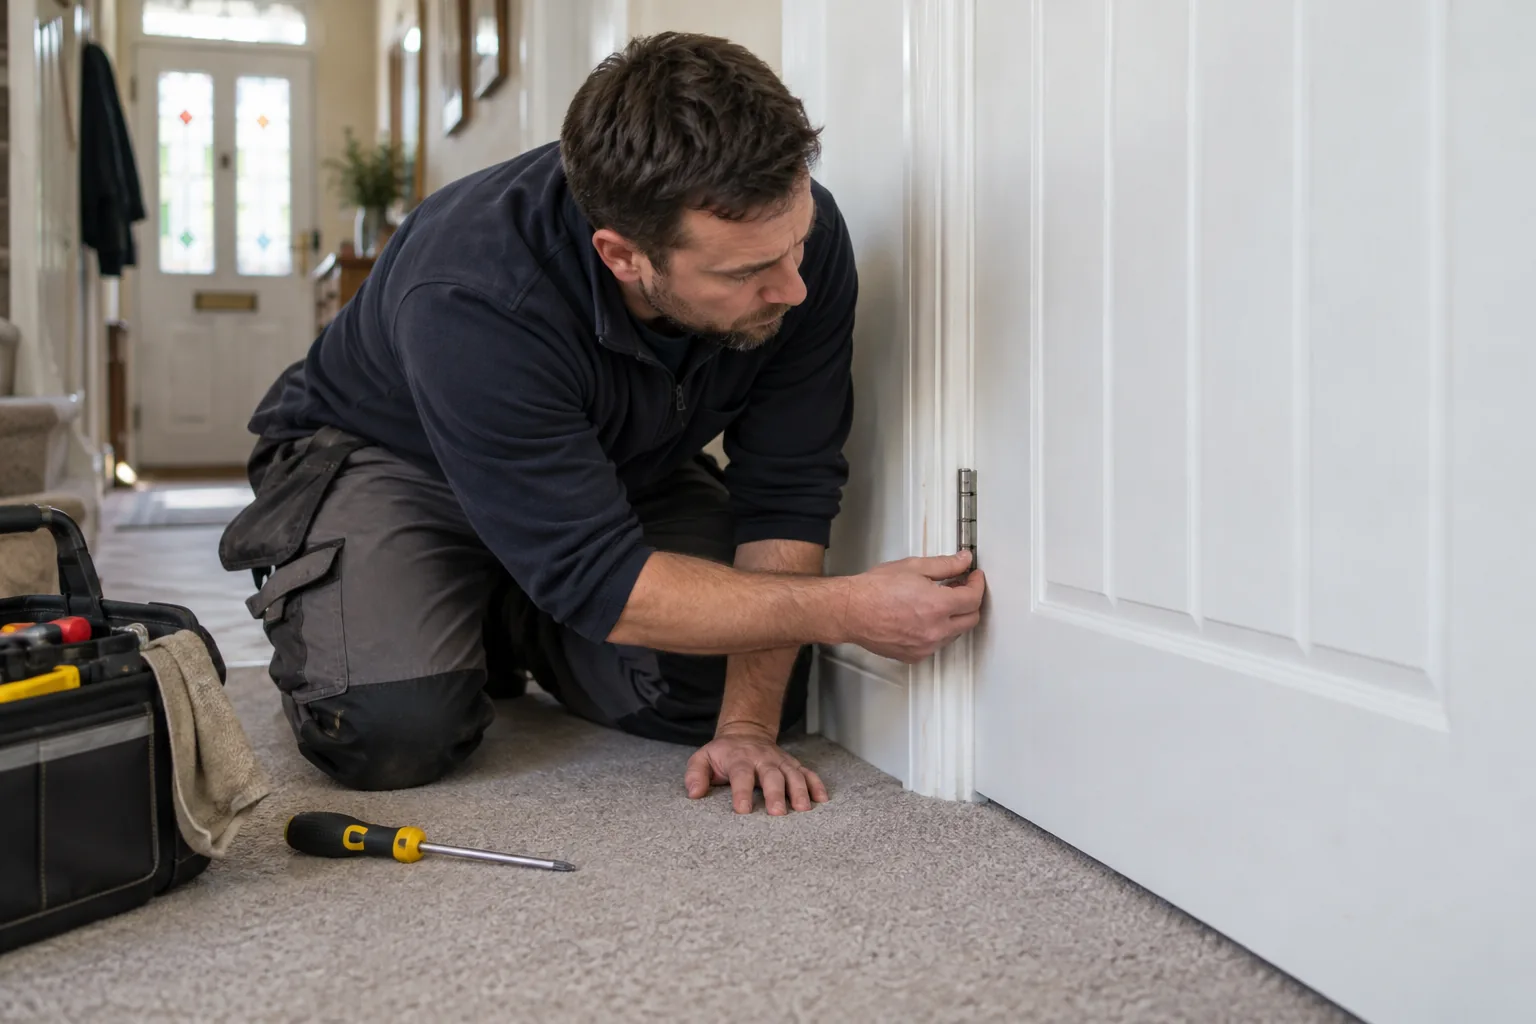
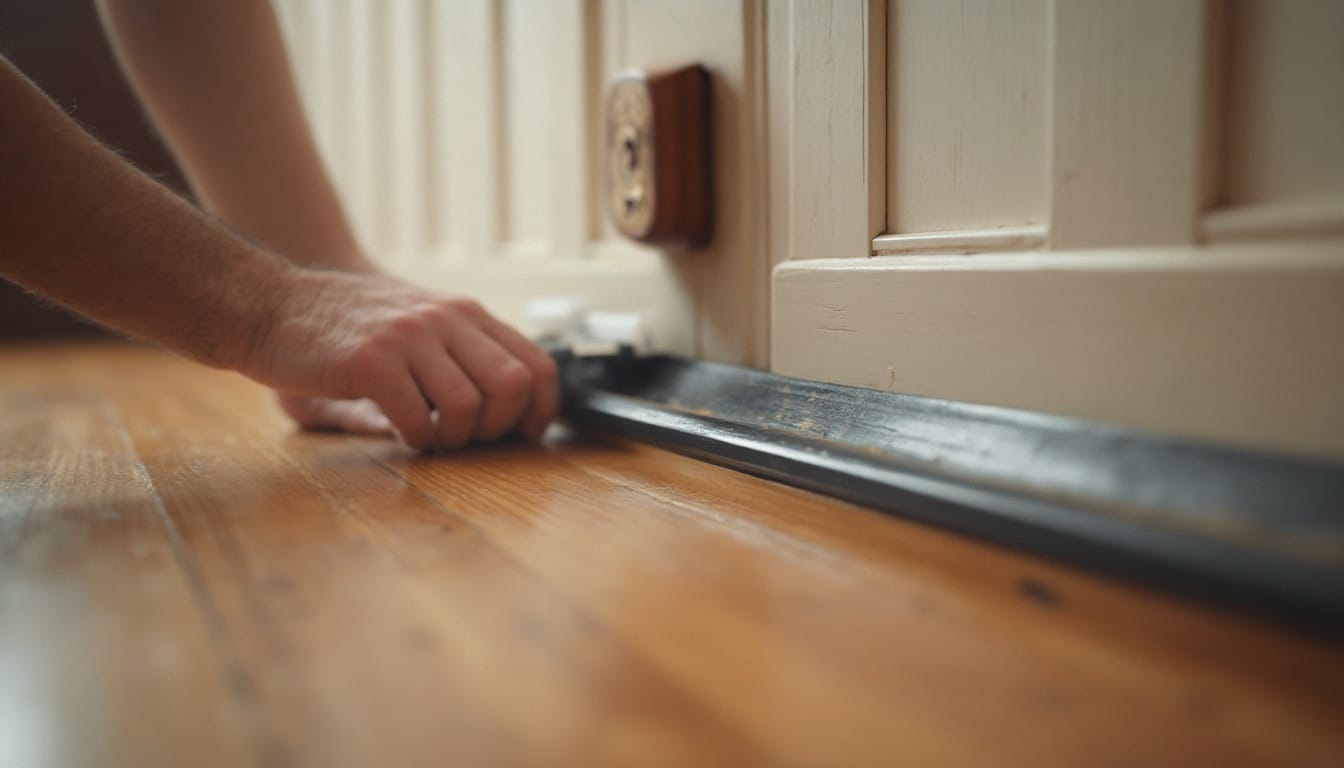
Handyman checking the clearance beneath an internal wooden door

A door that drags across the floor rarely needs to be planed immediately. In many homes, the real cause is a loose hinge, a frame that has moved slightly, a new floor covering, or moisture making the timber swell. Removing wood before finding the cause can leave an oversized gap once the door settles or the season changes.

This guide explains how to locate the exact contact point, make the low-risk adjustments first, and decide when trimming the door is justified. It applies to ordinary internal timber doors over carpet, laminate and wooden flooring. Fire doors, external doors and doors with damaged frames need more caution because their clearances and security matter.

Start by finding where the door touches

Open and close the door slowly while watching the bottom edge. A rubbing mark on carpet may be obvious, but contact on a hard floor can be subtle. Look for a polished line, scuff, small pile of wood dust or a change in the sound as the door moves. Slide a sheet of paper beneath the closed door and move it along the gap. Where the paper will not pass, you have found the tight area.

Mark the contact point lightly with a pencil or a piece of low-tack masking tape. Then check whether the problem happens throughout the swing or only near the closed position. Contact close to the hinge side often indicates a loose or distorted lower hinge. Contact at the leading corner commonly points to the door dropping on its hinges. Rubbing across most of the width may follow a thicker carpet, raised threshold or general swelling.

Tools and materials you may need

  • Pozidriv or Phillips screwdriver that fits the hinge screws properly
  • Spirit level and pencil
  • Masking tape and a sheet of paper
  • Timber wedges or folded card to support the door
  • Longer screws of the correct gauge for loose hinges
  • Wood glue and hardwood slivers for damaged screw holes
  • Block plane or powered planer only if adjustment cannot create enough clearance
  • Sandpaper, primer and paint or varnish for a newly cut edge

A cordless drill can help with replacement screws, but use a low torque setting. Driving a screw too hard can strip the frame or pull the hinge leaf out of alignment.

Step 1: check every hinge screw

Support the outer edge of the open door with a wedge so its weight is not hanging from loose screws. Tighten the screws in the door leaf and frame leaf of each hinge. Use a manual screwdriver for the final turn so you can feel when the screw is secure. If a screw turns without tightening, the hole has stripped and simply fitting the same screw again will not solve it.

For a slightly worn frame hole, a longer screw of the same head type and suitable gauge may reach sound timber behind the lining. It must sit flush in the countersunk hinge hole; a proud screw head can stop the hinge closing. If the timber is badly damaged, repair the hole with glued hardwood slivers, allow the glue to cure, trim them flush and drill a small pilot hole before refitting the screw. Extensive splitting around the hinge is a job for a carpenter rather than another oversized screw.

Step 2: check whether the door has dropped

Close the door and compare the gap above it. A gap that is narrow above the latch side and wider above the hinge side is a classic sign of a dropped door. You may also see the latch sitting below its keep. Place a spirit level against the vertical edge, but remember that an older frame itself may not be perfectly plumb; the evenness of the surrounding gaps is often more useful than the bubble alone.

After tightening the top hinge, test the door again. If the frame fixing is sound but the door still drops, the hinges may be worn or bent. Replacing them like for like can restore the position without cutting the door. Match the hinge size, thickness, screw pattern and load rating. Changing to a thicker hinge alters the gap and can create a new bind on the opposite side. A door repair specialist can identify whether the hinge, frame or door edge needs correction.
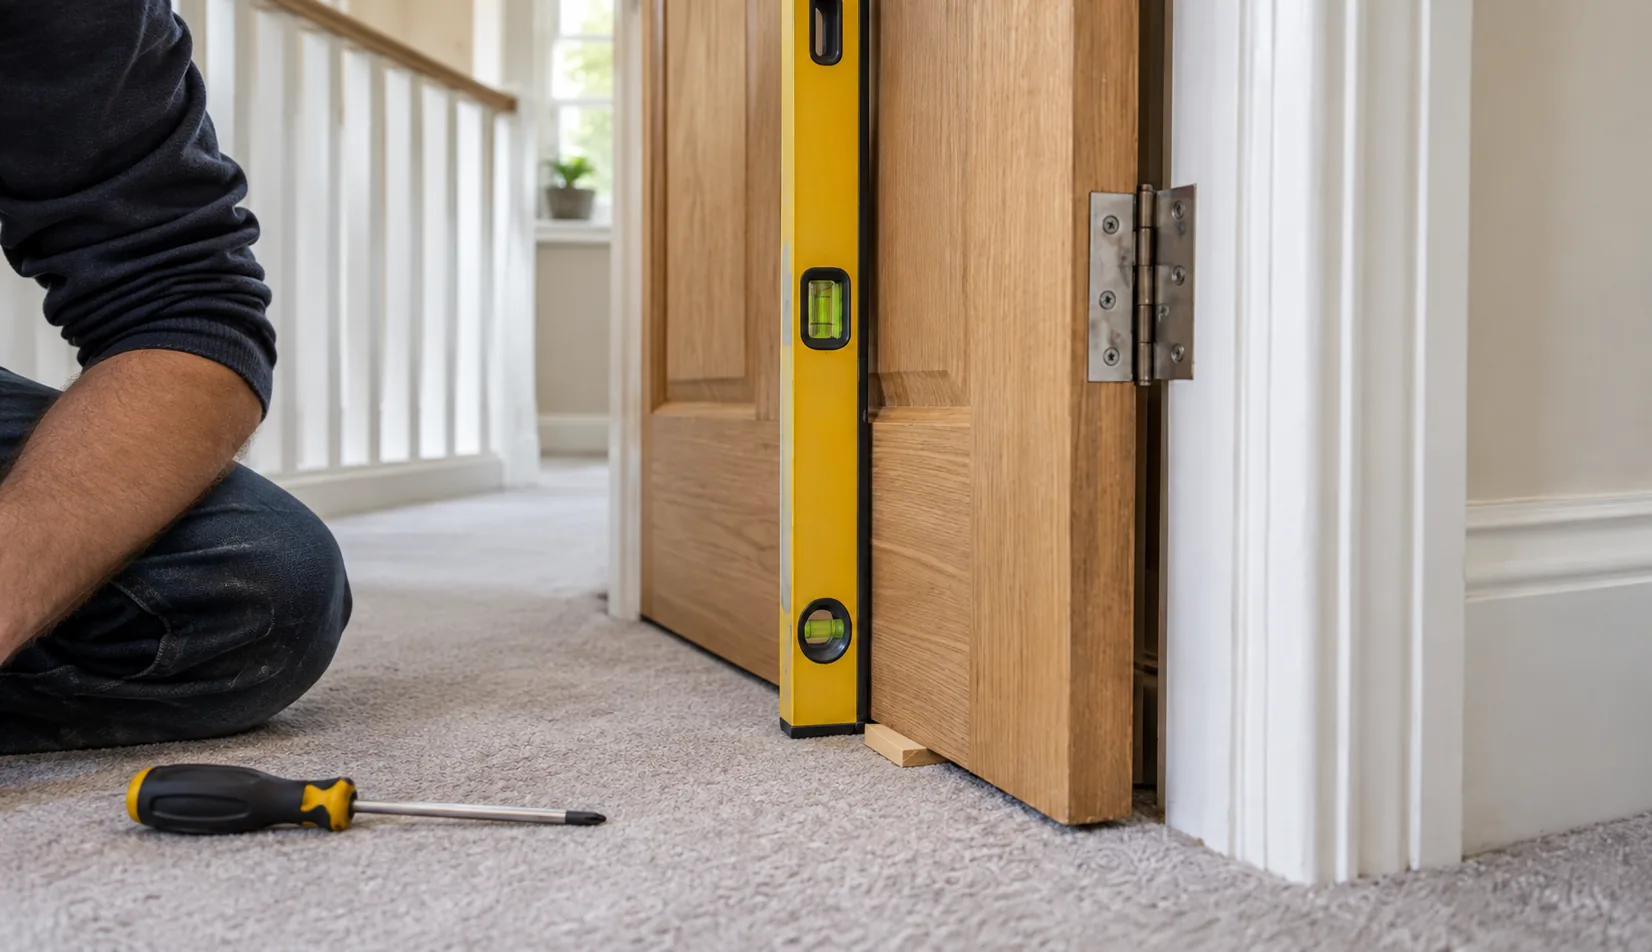
Spirit level and timber wedge used to check an internal door gap

Step 3: rule out flooring and moisture changes

If the door moved freely before a new carpet or underlay was fitted, measure the clearance at several points. Do not compress thick carpet with the door indefinitely; it can damage the pile, loosen the hinges and make the door difficult to use. A loose threshold strip can also lift into the door path. Secure the strip correctly before altering the door, following the separate guide on fixing a loose doorway threshold.

Solid timber can swell after decorating work, a plumbing leak or a period of high indoor humidity. Look for fresh paint bridging the gap, damp staining, softened frame timber or condensation nearby. Deal with the moisture source first. If the rubbing reduces as the timber dries, permanent trimming may be unnecessary. Persistent water marks warrant a check for leaks or local water damage.

Step 4: adjust the hinge position only when necessary

A small alignment error can sometimes be corrected by resetting a hinge leaf squarely in its recess. Remove one hinge at a time while the door is fully supported. The leaf should sit flat and flush, not on paint ridges or crushed filler. Carefully remove only loose paint or debris. Do not deepen the recess casually: even a millimetre changes the position at the opposite edge.

Packing behind a hinge with random cardboard is a common short-term fix, but compressible material moves and absorbs moisture. Where a thin pack is genuinely needed, use stable hinge packing material cut to the full leaf shape. If several hinges need different packs, the frame may be distorted and professional adjustment is more predictable.

Step 5: trim the door only after the adjustments fail

Remove the minimum material needed for a free swing and an appropriate gap. Mark a straight line from the confirmed high spot rather than taking the same amount from the full width without checking. Take the door off and place it on stable trestles. Before planing, score a painted edge with a sharp knife to reduce chipping and check the grain direction. Work from each outer corner towards the centre so the end grain does not break away.

Test-fit the door before removing more. A carpeted room may need a little more working clearance than a hard floor, but an excessive gap looks poor and can affect privacy, sound and airflow. Prime and finish any bare timber, including the bottom edge. Leaving it unsealed makes moisture movement more likely.

Common mistakes that make the problem worse

  • Planing first: this hides a loose hinge instead of repairing it.
  • Using the wrong screwdriver: a damaged screw head becomes much harder to remove.
  • Fitting oversized screws everywhere: this can split the frame or prevent the hinge closing.
  • Ignoring a raised threshold: cutting the door does not secure loose flooring hardware.
  • Removing too much timber: seasonal swelling may disappear, leaving a permanent gap.
  • Failing to seal the cut edge: bare end grain absorbs moisture quickly.

When not to treat it as a DIY adjustment

Stop if the frame is cracked, the hinge screws have pulled out with chunks of timber, or the door is unusually heavy. Do not plane a labelled fire door or change its gaps without competent advice; fire-door clearances, seals and self-closing performance are safety features. An external door that rubs alongside lock or frame movement may have a security or structural issue. Doors containing glass also need careful support and handling.

For an ordinary internal door, tightening a loose hinge is a reasonable homeowner task. Hinge recess repairs, significant trimming and distorted frames are better included in an odd-jobs visit, particularly when several doors show the same problem.

A good repair preserves the door, not just the floor

The useful order is simple: locate the contact, support the door, secure the hinges, check the surrounding gap, investigate flooring or moisture, and trim only as a final measured step. That sequence fixes the cause in most cases and avoids sacrificing sound timber for a problem that began with one loose screw.
How to Fix a Door That Rubs on the Floor

Broken Door Handle and Lock

  • A loose or spinning handle is usually caused by a worn or snapped spindle, not the handle itself.
  • Measure door thickness before buying a replacement spindle, and measure both sides of the door before buying a euro cylinder.
  • Take the old lock or cylinder with you when shopping for a replacement to avoid sizing mistakes.
  • British Standard front door locks tied to insurance cover are best fitted by a professional.
  • Signs of attempted forced entry warrant a professional inspection of both the lock and door frame.


"*" indicates required fields

A broken door handle or lock is one of those problems that seems minor until you’re standing in the hallway unable to get into your own bedroom, or worse, unable to lock your front door at night. Whether it’s a wobbly handle that’s finally given up, a snapped spindle, or a lock mechanism that’s stopped turning, the good news is that most of these repairs are entirely manageable with the right tools and a bit of patience. This guide walks through how to diagnose the problem, replace a broken door handle, and swap out a faulty lock mechanism, along with guidance on when it’s worth calling in a professional instead.

Common Door Handle and Lock Problems

Door handles and locks tend to fail in fairly predictable ways, and knowing which problem you’re dealing with makes the repair much easier to plan.

A loose or drooping handle is usually caused by a worn or snapped spindle, the metal bar that connects the two handles through the door and operates the latch. Over time, especially on internal doors that get used dozens of times a day, this spindle can wear down or twist out of shape. A handle that spins freely without engaging the latch is almost always a sign the spindle has sheared.

A stiff or sticking lock often points to a build-up of dirt and old lubricant inside the mechanism, or a misaligned latch that’s no longer lining up with the strike plate on the door frame. This is common after a door has been repainted, since paint can build up around the edges and shift the fit slightly.

A key that turns but doesn’t lock or unlock the door usually means the lock cylinder itself has worn internally, or the mounting screws holding the lock body in place have loosened, causing the whole mechanism to sit at a slight angle.

A door that won’t latch shut at all is typically a latch or strike plate issue rather than a full lock failure, and it’s often the easiest of these problems to fix.

If your door still opens and closes but just feels loose, sticky, or slightly wrong, it’s worth checking the screws on the handle plate before assuming you need a full replacement. A quarter-turn on a few loose screws solves more of these problems than people expect.

Tools You’ll Need

For most handle and lock replacements on a standard UK door, you’ll want a cross-head and flat-head screwdriver, a tape measure, a pencil for marking, and a chisel if you’re adjusting a mortice recess. A cordless drill with a selection of bits speeds things up considerably, particularly for mortice lock work. You’ll also want some fine sandpaper for tidying up any rough edges left behind, and a small amount of wood filler on hand in case old screw holes need filling before new ones are drilled. If you’re replacing a euro cylinder lock, a small tape measure is essential for getting the correct cylinder length, which is a detail people get wrong more often than any other part of the job.

Step-by-Step: Replacing a Door Handle

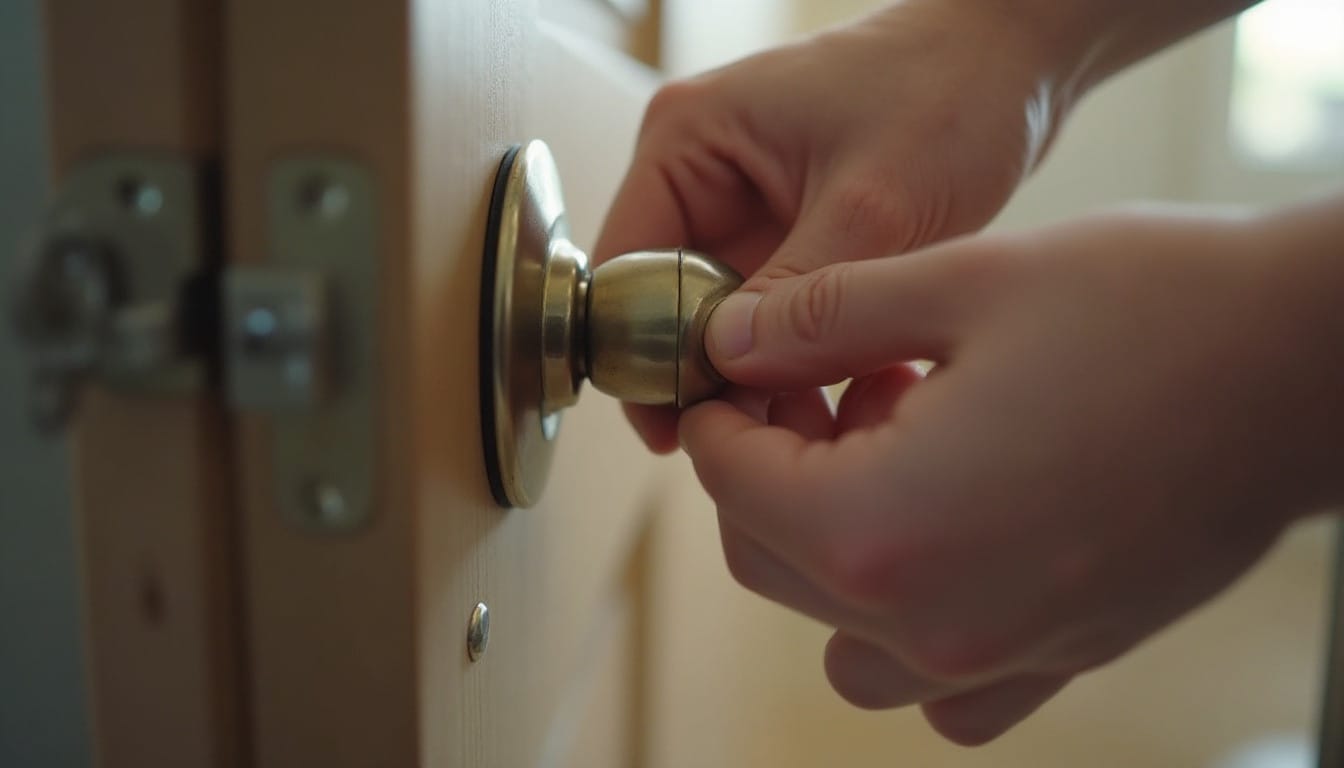
Start by removing the old handle. Most UK internal door handles are held on with a small grub screw on the underside of the handle collar, so loosen this first with an Allen key or flat-head screwdriver before sliding the handle off the spindle. On some older or higher-end handles, you’ll need to remove a visible screw on the handle plate itself.

Once both handles are off, pull the spindle out through the latch mechanism and inspect it. If it’s bent, twisted, or snapped, replace it entirely rather than trying to reuse it, since a compromised spindle will fail again quickly.

Measure the door thickness before buying a replacement spindle, as they come in different lengths and a spindle that’s too short won’t reach through both handles properly.

Fit the new spindle through the latch, then slide the new handles onto each end. Tighten the grub screws evenly so the handle sits square rather than tilted, and test the action a few times before fully tightening. Finally, check that the latch engages smoothly with the strike plate on the frame, adjusting the plate slightly with a screwdriver if the latch is catching.

Step-by-Step: Replacing a Lock Mechanism

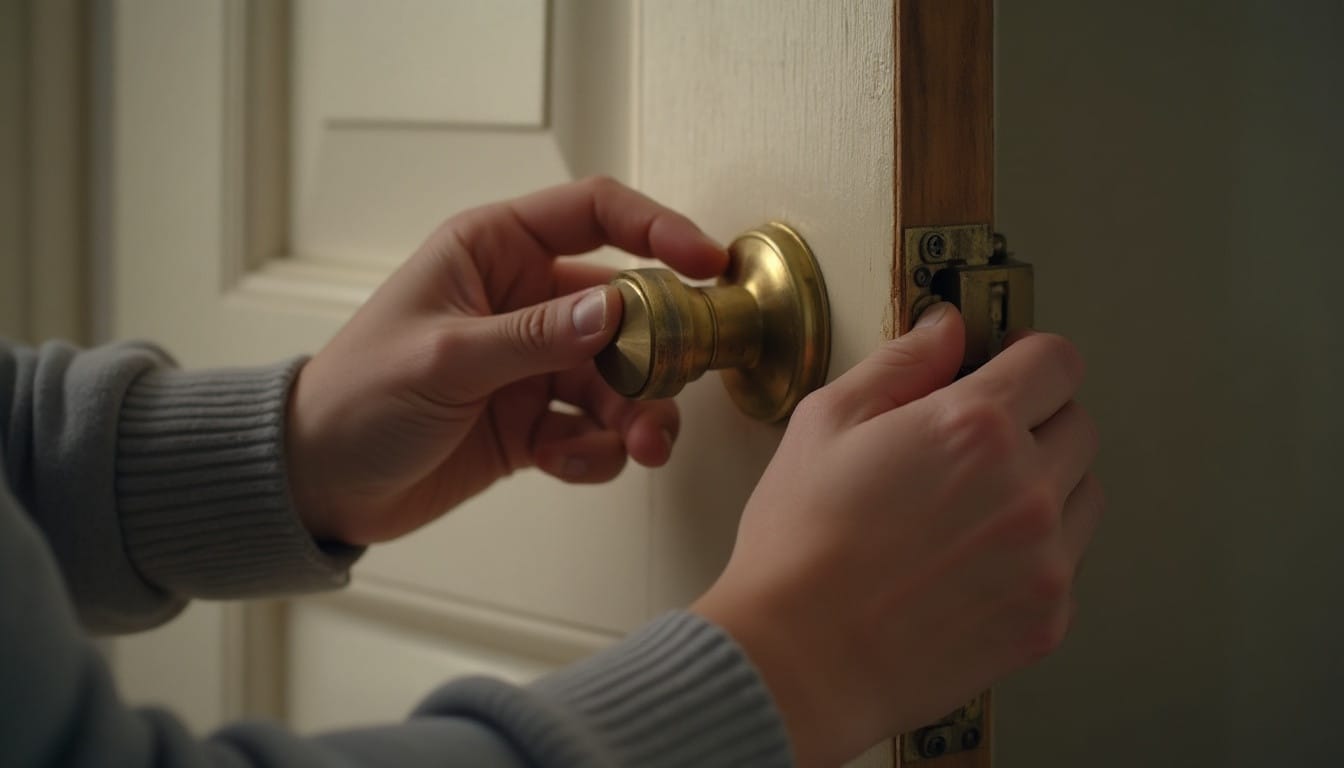
Begin by removing the door handles and any visible screws holding the lock faceplate to the edge of the door. With the faceplate free, the lock body should slide out of the mortice recess, or in the case of a euro cylinder, unscrew from the centre of the door once the retaining screw is removed.

If you’re replacing a euro cylinder, measure both sides of the door from the centre screw hole to each edge, since cylinders are sold by these two measurements combined and getting this wrong is the most common mistake in a DIY lock swap. Buy a cylinder that matches, or is very slightly shorter than, the old one.

For a full mortice lock replacement, take the old lock with you when buying a new one, or at minimum note the case size and backset measurement, which is the distance from the edge of the door to the centre of the keyhole. Mortice locks vary enough between manufacturers that a mismatched size will mean re-chiselling the recess, which is more work than most people want to take on.

Fit the new lock body into the recess or door hole, secure the faceplate, then reattach the handles and test the key and latch action several times before considering the job finished. Check that the door locks smoothly from both inside and outside, and that the bolt extends fully into the frame without needing extra force.

When to Call a Locksmith Instead

Some situations are better left to a professional. If your front door is fitted with a British Standard lock as part of a home insurance requirement, replacing it yourself may affect your cover if it’s not fitted correctly, so it’s worth having this done by someone experienced. If you’re locked out entirely and can’t access tools or a spare key, a locksmith or handyman with lock-picking experience will resolve this far faster and with less damage to the door than a DIY attempt. Uneven or warped doors that no longer sit square in the frame often need more than a straightforward lock swap, since the whole frame alignment may need adjusting first. And if you’ve discovered signs of attempted forced entry, it’s sensible to have a professional assess both the lock and the door frame for hidden damage before fitting anything new.

If any part of the job feels beyond what you’re comfortable with, or the door in question is your main entry point, it’s always worth getting a second opinion before relying on a repair you’re unsure of.

Frequently Asked Questions About London Door Repairs

Can I replace a door lock myself without calling a locksmith?
Yes, for most internal doors and many front door locks, a straightforward replacement is well within reach for a confident DIYer with the right measurements and tools. British Standard front door locks tied to insurance requirements are the main exception worth having checked professionally.
How do I know what size euro cylinder lock I need?
Measure from the centre of the screw hole on each side of the door to the edge, then add both measurements together. Cylinders are sold by this combined length, and taking the old cylinder with you when buying a replacement avoids sizing mistakes.
Why does my door handle keep coming loose after I tighten it?
This is usually a sign the spindle is worn or slightly bent, causing uneven pressure on the grub screw. Replacing the spindle alongside the handle, rather than just tightening the screw repeatedly, usually solves the problem for good.
Is it cheaper to repair a lock or replace it entirely?
For minor issues like a sticking latch or loose screws, a repair is almost always cheaper. Once the cylinder or lock body itself has worn internally, replacement tends to be more cost-effective than ongoing repairs, since a failing mechanism will keep causing problems.

What Our Customer Say’s

These are some of the responses from our customers who are very satisfied

5 stars rating

Great service, punctual and as expected.

Luz Konak

5 stars rating

Great efficient service, came on time, really conscious of keeping our flat clean and tidy by taping plastic bag to catch the dust from the drilling, didn’t even need to tell him to take his shoes off (we have no shoes policy). Really impressed with the service, definitely use Bob’s Handyman Service again.

Edgar Beesley

5 stars rating

Very good service! They came on time, very happy I used your services!

Shannon Henly

5 stars rating

Good job done. Dishwater installed perfectly. Arrived on time, easy booking and reliable staff.

Bindo

5 stars rating

It was quick, professional executed in every way and done by a very friendly and peasant guy. Thank you. I will definitely use you again and recommend you to others.

Eva Martines

5 stars rating

Bob’s Handyman team did a great job the first time I called them. I would certainly be happy to use their services again.

Jacob Halse

5 stars rating

Great job! I highly recommend them!

Jerry Morison

5 stars rating

Great value for money. Reliable workmen, competitive prices and very efficient. Will use your company again.

John Pearson

5 stars rating

I was very impressed with your service – it was the first time I used it, but it surely will not the last!

Juan Quintas

5 stars rating

Thank you Bob’s Handyman for the amazing job done on my bathroom. Very professional company.

Kemi O

5 stars rating

I would definitely book them again, if I need help!

Maia Penwell

5 stars rating

It was a pleasure to deal with your staff.

Philippa Robertson

5 stars rating

Excellent service! I needed a whole room repainted and the people you sent did a wonderful job. I would recommend you to my friends.

Rebecca Stevenson

5 stars rating

I’ve been using these guys for over an year now and they are brilliant every single time. No matter of its something small or a job that needs a lot of skills they do it professionally. I’ve been recommending them to everyone.

S. Mittal

5 stars rating

I was really pleased with the work that was completed on time. The handyman who came did the jobs quickly and efficiently and left everything tidy.

Sharon Boughton

5 stars rating

I’m very pleased with the carried out work. The handyman was very knowledgeable, worked tidy and quickly and did e great job. Will be recommending your services.

Sheila Shah

5 stars rating

The job was for my parents who were very happy with the person who did the job and would definitely use your services again.

Susan Shyllon

5 stars rating

Your handy man put in extra effort to do the job, which I appreciate very much.

Tomas Lush

How to Replace a Broken Door Handle or Lock

Draught-Proof Your Front Door

  • Understand the source: The gap beneath the door is often the primary source of draughts because it spans the full width of the door at floor level.
  • Long-term floor fix: A brush strip draught excluder is considered the most reliable long-term solution as it moves with the door, eliminating the need to reset it.
  • Short-term alternative: For a budget-friendly, temporary fix, a fabric “door snake” works well but must be manually moved each time you open the door.
  • Addressing uneven floors: Standard brush strips may not sit flush on uneven surfaces, making an adjustable threshold seal a better choice for those homes.
  • Post-installation check: It is important to re-check your door seals after the first cold snap, as materials can settle and create new small gaps.
  • Warped door indicators: If a door has warped due to damp or temperature shifts, it may no longer sit flush against the frame, requiring professional assessment.

"*" indicates required fields

There’s a particular kind of cold that has nothing to do with the weather outside and everything to do with the gap under your front door. If you’ve noticed the hallway feels chillier than it should, or your heating seems to be working overtime without much to show for it, a draughty front door is very often the culprit. The good news is that most causes are straightforward to identify and, in many cases, just as straightforward to fix without calling anyone out.

Signs Your Front Door Is Letting in Draughts

A cold spot at ankle height as you walk past the door is usually the first clue, particularly on a windy evening when you can sometimes feel the air moving rather than just notice the temperature drop. Daylight visible around the edges of the door when it’s shut is another giveaway, as is a letterbox flap that swings freely and lets in a constant thin whistle of air. Curtains or hallway rugs that shift slightly on breezy days, condensation building up on the inside of the door, and a noticeable rise in heating bills compared with previous winters are all worth paying attention to as well. None of these signs mean the door is broken, but together they tell you where the cold is getting in.

Fitting Draught Excluder Strips Yourself

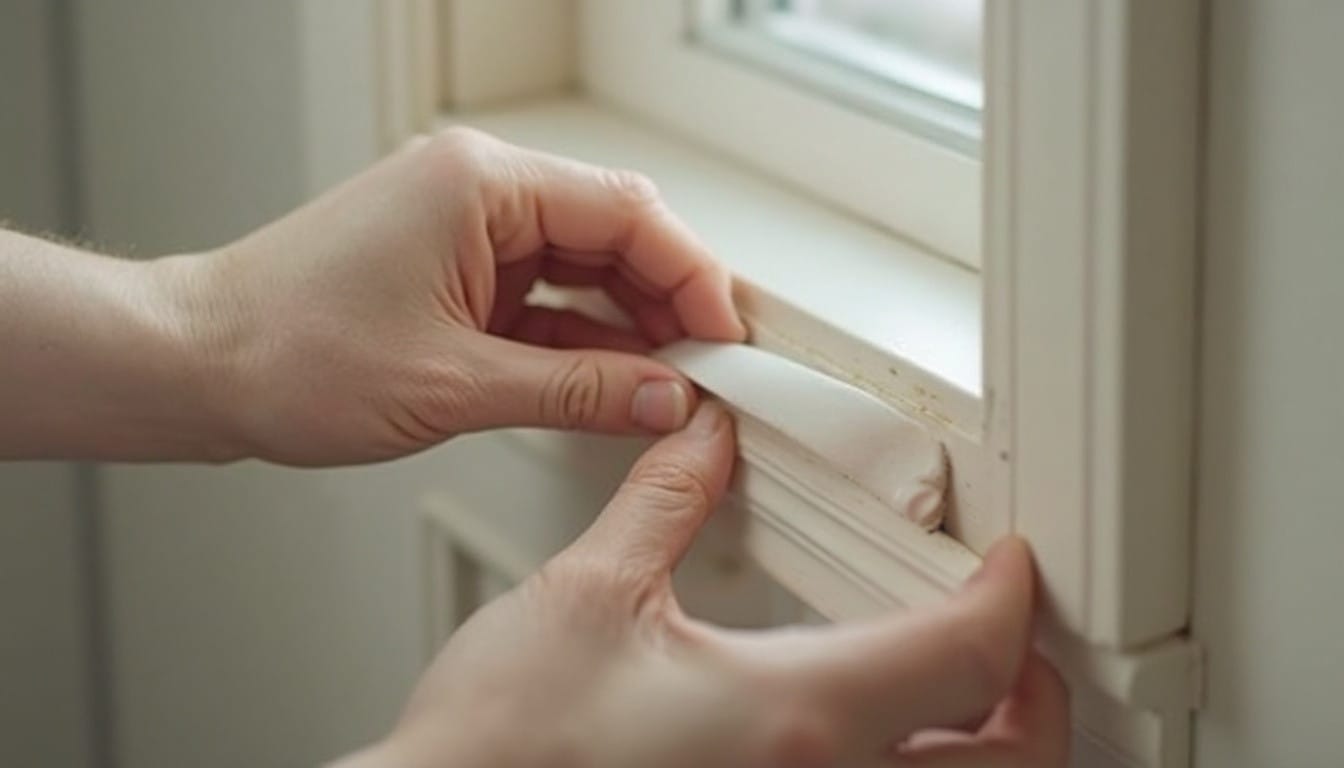
Self-adhesive foam or rubber excluder strips are the cheapest and quickest way to deal with draughts around the sides and top of the door frame, and fitting them is well within reach for most people with an afternoon to spare. Start by cleaning the frame thoroughly, since foam strips won’t stick properly to dust, old paint flakes or grease. Close the door and run a hand around the frame to feel exactly where the cold air is getting through, then measure and cut the strip to length for each section before peeling back the backing and pressing it firmly into place along the edge where the door meets the frame. It helps to close the door slowly against the fresh strip so it compresses evenly rather than bunching up in one spot. Foam strips are inexpensive but tend to wear down within a year or two, particularly on a front door that gets used several times a day, so a brush-pile or V-strip seal is worth the slightly higher cost if you want something more durable. Either option makes a noticeable difference within minutes of fitting.

Fixing Letterbox Draughts

Letterboxes are one of the most overlooked sources of cold air under front door conditions, largely because the flap looks like it’s doing its job even when it isn’t. Older metal letterbox flaps often lose their spring tension over time, leaving a gap that lets air whistle through constantly rather than only when post is being delivered. A letterbox brush insert, which fits behind the existing flap and adds a row of dense bristles, is usually the simplest fix and can be bought to match most standard letterbox sizes. For letterboxes that are particularly draughty, a letterbox draught excluder box fitted on the inside of the door adds an extra layer and also helps muffle noise from the street. If the flap itself is loose or hanging at an angle, tightening or replacing the fixing screws often solves the problem on its own before you need to add anything extra.

Gaps Under the Door – What Works

The gap beneath a front door is often the single biggest source of draughts, simply because it runs the full width of the door and sits at floor level where cold air naturally settles. A brush strip draught excluder, screwed or stuck along the bottom of the door on the inside, is the most reliable long-term fix since it moves with the door and doesn’t need to be put in place every time you go in or out. For a cheaper short-term option, a fabric draught excluder or “door snake” laid along the threshold works reasonably well, though it needs to be moved each time the door opens. Homes with a noticeable dip or unevenness in the floor sometimes need an adjustable threshold seal rather than a standard strip, since a flat brush won’t sit flush against an uneven surface. It’s worth checking the fit after the first cold snap, as strips can bed in and leave a small gap that wasn’t there when they were first fitted.

When the Door Itself Needs Repairing or Replacing

Sometimes no amount of stripping or sealing will fully solve the problem, and that’s usually a sign the issue lies with the door or frame rather than the seals around it. A door that has warped with damp or temperature changes may no longer sit flush against the frame, leaving gaps that shift depending on the weather. Hinges that have dropped or worn loose can cause a door to hang unevenly, creating a gap on one side that no strip will close properly. Rotting or swollen timber around the frame, cracked door panels, or a door that needs to be slammed to shut properly are all signs that professional door repair or replacement may be more sensible than relying on a series of quick fixes.  A properly fitted, well-sealed door frame makes every other draught-proofing step far more effective, so it’s worth having the door itself assessed if problems keep coming back.

If your front door is still letting the cold in after trying these fixes, or you suspect the problem is with the door or frame itself, Bob’s Handyman Services can take a proper look and sort it for you. Get in touch about door repairs.

Pet Damage Repair Questions Answered

How often do foam draught strips need replacing?
Foam strips typically last a year or two before they compress and lose their effectiveness, especially on a front door used multiple times a day. Brush or rubber seals tend to last considerably longer.
Can I draught-proof a door with an uneven threshold?
Standard brush strips don’t always sit flush against an uneven floor, so an adjustable threshold seal is usually the better option in that situation.
How do I know if the draught is coming from the door itself rather than the seals?
If you’ve fitted new strips and are still feeling a draught, check whether the door sits flush against the frame all the way round. Gaps that appear only in certain weather, or a door that no longer closes squarely, usually point to warping or worn hinges rather than a sealing issue.
Is a draughty letterbox actually worth fixing separately?
Yes. Letterboxes are a common and often underestimated source of cold air, and a brush insert or letterbox draught excluder box is a quick, low-cost fix.

How to Draught-Proof Your Front Door This Winter

Hang a Mirror

  • Evaluate Mirror Weight: Treat any mirror over 15kg as a “heavy mirror,” which requires robust anchoring rather than standard hooks to support the glass securely.
  • Identify Wall Construction: Your wall type—whether solid brick, masonry, plasterboard, or lath and plaster—is the most critical factor in choosing the right hardware.
  • Select Proper Fixings: Use specific anchors designed for your wall material; for heavier mirrors, a French cleat system is highly recommended to distribute weight evenly.
  • Ensure Precision Alignment: Use a spirit level to draw a horizontal guideline before drilling, as even minor tilts are highly visible on reflective surfaces.
  • Use Safe Handling Techniques: Always enlist a second person when lifting large or heavy mirrors to prevent accidental drops and physical strain.
  • Monitor Installation Stability: Periodically check your fixings, especially on plasterboard walls, to ensure that minor settling has not loosened your anchors over time.

A mirror can transform a room, adding light, depth and a finished feel to a space in a way few other pieces can. But mirrors are also heavier and more fragile than most wall-mounted items, which means getting the fixing right matters more than it does for a picture frame or a shelf. Knowing how to hang a mirror safely starts with understanding your wall, choosing the correct fixings, and taking a methodical approach rather than guessing and hoping for the best.

Why Mirrors Need Extra Care When Mounting

Unlike a lightweight print or a small ornament, mirrors combine significant weight with a fragile surface, which means the consequences of a poor fixing are more serious on both counts. Glass doesn’t bend or give when a fixing fails; it drops, and often shatters, which makes the margin for error much smaller than with other wall décor.

Weight distribution is also less forgiving with mirrors. A single central fixing might hold a lightweight picture frame perfectly well, but the same approach on a mirror can put too much strain on one point, especially as the glass shifts slightly with temperature changes or minor vibrations in the wall. This is why mirror wall fixing London homeowners rely on typically spreads the load across two or more secure points rather than one.

Step 1 – Check the Weight and Wall Type

Before buying any fixings, you need two pieces of information: how heavy the mirror is, and what your wall is made of. Most mirrors list an approximate weight on the packaging or product page, and if not, a rough estimate can be calculated from the dimensions and glass thickness. As a general guide, anything over 15kg should be treated as a heavy mirror and fixed accordingly, with proper anchoring rather than lightweight hooks.

Wall type matters just as much as weight. Solid brick or masonry walls offer the most secure fixing options and can typically support heavier mirrors with the right anchors. Plasterboard stud walls, common in newer builds and internal partition walls, need a different approach, since the plasterboard itself won’t hold significant weight and fixings need to reach the timber studs behind it or use specialist plasterboard anchors rated for the load. Older properties may also have lath and plaster walls, which behave differently again and often benefit from locating a stud or joist rather than relying on the plaster surface alone.

Step 2 – Choose the Right Fixings

The right fixing depends entirely on the wall type identified in Step 1. For solid brick or masonry, a drilled hole with a wall plug and screw rated for the mirror’s weight is usually sufficient, with heavier mirrors benefiting from a French cleat system that hooks two interlocking bars together, one on the wall and one on the mirror frame, for a secure and evenly distributed hold.

For plasterboard walls, locating a stud with a stud finder and screwing directly into the timber is the most reliable option. Where a stud isn’t available in the right position, heavy-duty plasterboard anchors designed for higher weight limits are the safer alternative to standard picture hooks. For particularly heavy or oversized mirrors, it’s often worth combining fixing types, such as a French cleat anchored into studs, to spread the load as widely as possible.

Step-by-Step: Hanging Your Mirror

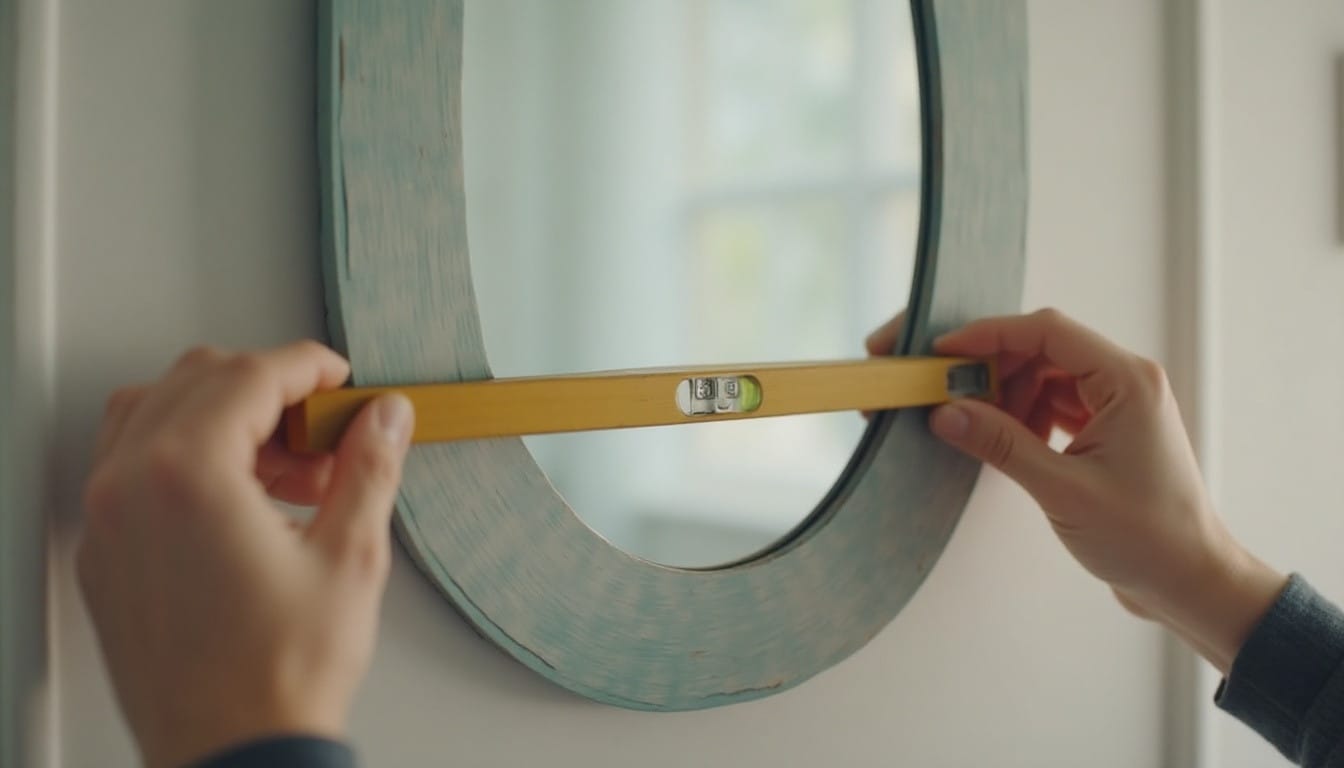
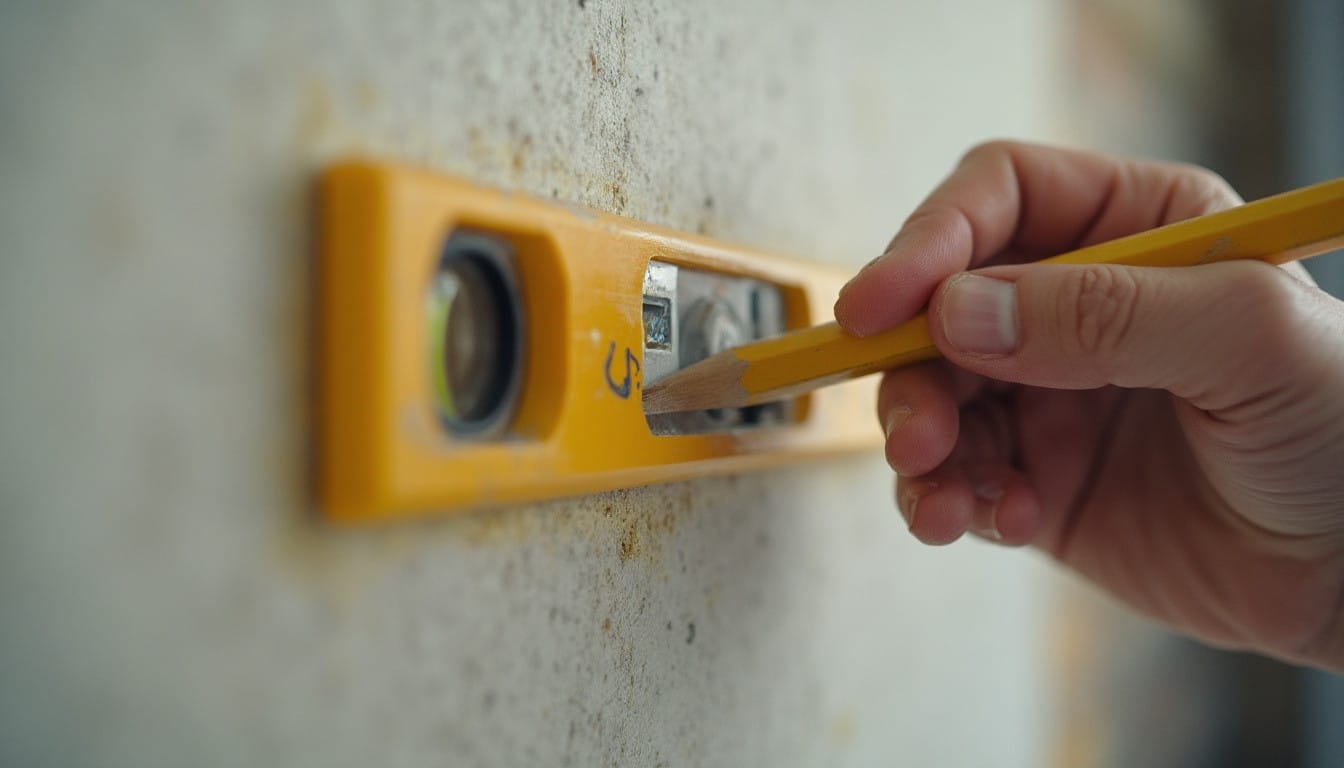
Start by deciding on the exact position and marking it lightly with a pencil, checking the height feels right relative to furniture and eye level in the room. Use a spirit level to draw a horizontal guideline, since even a small tilt becomes very noticeable on a reflective surface.

Next, identify your fixing points based on the wall type and mirror design, whether that’s a single wire and hook, two-point hanging brackets, or a French cleat. Drill carefully at the marked points, using the correct drill bit for the wall material, and insert the appropriate wall plugs or anchors before fitting the screws. Leave a small gap between the wall and the screw head if the mirror hangs from a wire or bracket loop, so it can hook on properly.

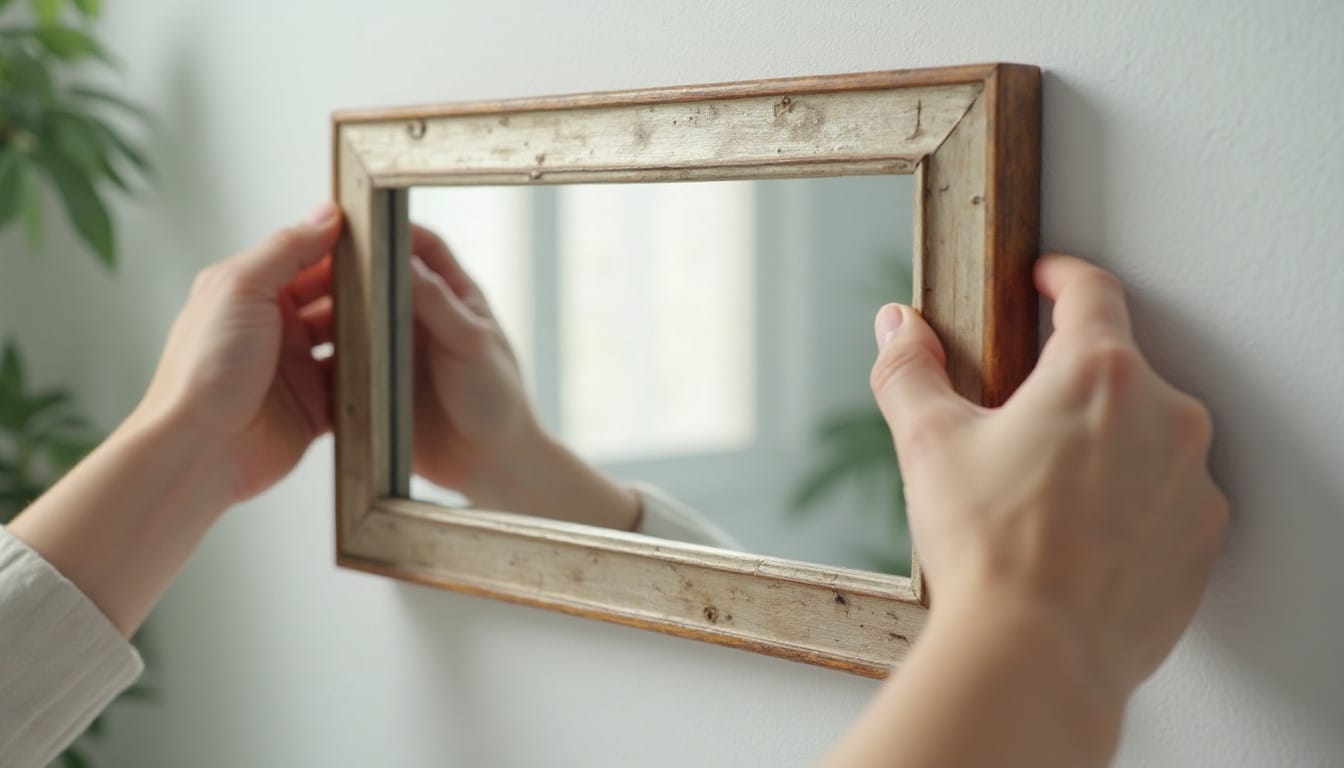
Finally, lift the mirror into place with help if it’s large or heavy, and check it sits level using the spirit level once more. Gently test that it’s secure before letting go fully, and step back to check the position from a distance before considering the job finished.

Safety Tips for Heavy or Large Mirrors

Always lift with a second person for anything above a modest size, since mirrors are awkward to grip and a shared lift reduces the risk of dropping or straining. Avoid lifting a large mirror by its frame edges alone; supporting the base and one side distributes the weight more evenly. Never rely on adhesive strips or hooks alone for anything beyond a small, lightweight mirror, as these are not designed to bear serious weight over time.

It’s also worth double-checking your fixings a few weeks after installation, particularly on plasterboard walls, since minor settling can sometimes loosen an anchor that seemed secure initially. If a mirror ever feels like it’s shifted or the wall shows any sign of stress around the fixing points, it’s best to take it down and reassess rather than waiting for a problem to develop further.

When to Call a Professional

Some mirror installations are straightforward enough for a confident DIYer, but others benefit from professional help. Very heavy or oversized mirrors, uncertain wall types such as older lath and plaster, or mirrors being fitted above beds, sofas, or anywhere they could cause injury if they fell are all situations where bringing in a professional makes sense. A handyman can also assess the wall properly beforehand, identifying stud locations or masonry conditions that aren’t always obvious to the untrained eye, and select fixings rated correctly for the specific mirror and wall combination.

Expert Answers for Safe Mirror Hanging

How do I know if my mirror is too heavy to hang myself?
As a general guide, mirrors over 15kg should be treated as heavy and fixed with proper anchoring rather than standard hooks. If you’re unsure of the exact weight or your wall type is uncertain, it’s worth getting a professional opinion before proceeding.
Can I hang a mirror without drilling into the wall?
Locating a stud and screwing directly into the timber is the most reliable method. Where that’s not possible in the right position, heavy-duty plasterboard anchors rated for the mirror’s weight are the safer alternative to standard picture hooks.
Can I hang a mirror without drilling into the wall?
For very small, lightweight mirrors, adhesive strips can work, but they’re not suitable for anything of meaningful size or weight. Drilling and using proper fixings is the safer approach for most mirrors.

How to Hang a Mirror Safely on Any Wall Type

Types of Wall Fixings

Ever stared at a heavy mirror or a new shelf and wondered if it’s actually going to stay on the wall? Choosing the right wall fixing is the difference between a professional finish and a DIY disaster. Whether you’re dealing with crumbly masonry or hollow plasterboard, this guide breaks down everything you need to know to secure your items with confidence.


  1. Match the wall type: Always identify if your wall is solid masonry, hollow plasterboard, or a stud frame before selecting a fixing.
  2. Weight matters: Heavy items like TVs and large mirrors require specialist heavy-duty toggles or anchors, not standard plugs.
  3. Plasterboard needs spread: Use spring toggles or threaded plugs to distribute weight across a wider area of the soft board.
  4. Masonry requires expansion: Traditional rawl plugs work by expanding against the solid sides of a drilled hole in brick or block.
  5. Aim for the studs: When working with stud walls, fixing directly into the timber frame offers the maximum possible strength.

Why Choosing the Right Fixing Matters

Picking the wrong wall fixing is one of the most common reasons a shelf ends up on the floor rather than the wall. Every wall type behaves differently under load, and a fixing that works perfectly in solid brick can fail completely in hollow plasterboard. Understanding the difference between wall types, and matching them to the correct type of wall fixing, is the single most important step before you drill a single hole.

The weight of the item you’re hanging matters just as much as the wall itself. A picture frame and a wall-mounted television place very different demands on a fixing, even if they’re going into the same wall. Getting this wrong doesn’t just risk damage to whatever you’re hanging; it can also mean cracked plasterboard, crumbling masonry, or a hole that needs patching and starting again. Taking a few minutes to identify your wall type and the load involved will save considerably more time in the long run.

Fixings for Plasterboard Walls

Plasterboard is one of the trickiest surfaces to fix into because it’s hollow and relatively soft, meaning a standard screw will simply pull straight through under any real weight. This is why plasterboard fixings UK homeowners rely on are specifically designed to spread the load across a wider area behind the board rather than relying on the screw alone.

For lighter items such as picture frames or small shelves, self-drilling plasterboard plugs are usually sufficient. These have a threaded design that grips the back of the board as they’re screwed in, without needing a pilot hole in most cases. For anything heavier, spring toggles or gravity toggles open out behind the plasterboard once inserted, distributing weight over a much larger surface and making them far more secure than a simple plug.

Where possible, it’s always worth checking whether a stud or joist lies behind the point you want to use, since fixing directly into timber will always outperform a plasterboard-only fixing for anything of significant weight.

Fixings for Brick and Masonry Walls

Solid brick, block, and masonry walls offer far more strength than plasterboard, but they still require the right approach. Drilling into masonry without the correct fixing can cause the surrounding material to crack or crumble, particularly with older brickwork or softer blockwork.

The traditional choice here is the humble rawl plug, a plastic sleeve inserted into a drilled hole that expands and grips as a screw is driven in. For most everyday tasks, from hanging mirrors to fitting curtain rails, a correctly sized rawl plug paired with a matching screw provides a dependable hold.

For heavier loads, masonry anchors or resin fixings offer considerably more strength. Resin fixings work by injecting a chemical compound into the drilled hole along with a threaded rod or bolt, creating an extremely strong bond once cured. These are typically reserved for structural or heavy-duty applications rather than everyday household jobs, but they’re worth knowing about if you’re tackling something substantial.

Always match the drill bit size precisely to the fixing being used. A hole that’s too large will leave the fixing loose and unable to grip properly, while one that’s too small can crack the masonry as you try to insert it.

Fixings for Stud Walls

Stud walls are built from a timber or metal frame covered with plasterboard, meaning there are two very different materials to consider. Fixing directly into the timber studs themselves is by far the strongest option, and a stud finder makes locating them straightforward before drilling.

Once you’ve found a stud, a standard wood screw will usually hold securely without needing a separate plug, particularly for lighter to medium loads. For metal stud frames, self-tapping screws designed specifically for metal are needed, as ordinary wood screws won’t grip the material properly.

If a stud isn’t available in the exact spot you need, the same plasterboard fixings mentioned earlier come into play. In these cases, it’s worth considering whether the item can be repositioned slightly to land on a stud, especially for anything with real weight behind it.


Heavy-Duty Fixings for TVs, Shelves and Mirrors

Wall-mounted televisions, floating shelves, and large mirrors all fall into a category where getting the fixing wrong carries real consequences, both in terms of safety and cost. For these items, it’s worth thinking beyond the standard fixing types already covered.

On plasterboard, heavy-duty toggle bolts remain the most reliable option when a stud isn’t available, though wherever possible, distributing the load across multiple studs with a mounting bracket is preferable for something as heavy as a television. On masonry walls, larger rawl plugs rated for higher weights, or resin anchors for particularly heavy pieces, offer the strength needed.

It’s also worth checking the manufacturer’s weight rating for any fixing before use, since this figure accounts for the specific material and design of that fixing. Combining multiple fixing points, rather than relying on a single central point, is generally the safer approach for anything substantial, spreading the load and reducing strain on any one point.

Common Mistakes People Make With Wall Fixings

One of the most frequent errors is using a single fixing type across an entire home regardless of wall material, when plasterboard, masonry, and stud walls all require different approaches entirely. Another common mistake is underestimating weight, particularly with televisions and mirrors, where the true weight is often heavier than it appears.

Skipping the pilot hole stage, or using a drill bit that doesn’t match the fixing size, is another frequent issue that weakens the overall hold. Finally, many people forget to check for cables or pipework before drilling, particularly in kitchens and bathrooms, which can lead to far more serious problems than a loose shelf.

Things people often ask

What’s the difference between rawl plugs vs toggle bolts?
Rawl plugs are designed for solid masonry walls and grip by expanding within a drilled hole, while toggle bolts are built for hollow walls like plasterboard, opening out behind the surface to spread the load.
How do I know which wall fixing to use?
The right fixing depends on your wall type and the weight of the item. Solid masonry generally calls for rawl plugs or anchors, plasterboard needs specialist plugs or toggles, and stud walls are strongest when fixed directly into the timber or metal frame.
Can I use the same fixing for plasterboard and brick?
No. Plasterboard fixings are designed to grip a thin, hollow surface, while masonry fixings rely on the density of brick or block. Using the wrong type for the wall will significantly weaken the hold.

What Our Customer Say’s

These are some of the responses from our customers who are very satisfied

5 stars rating

Great service, punctual and as expected.

Luz Konak

5 stars rating

Great efficient service, came on time, really conscious of keeping our flat clean and tidy by taping plastic bag to catch the dust from the drilling, didn’t even need to tell him to take his shoes off (we have no shoes policy). Really impressed with the service, definitely use Bob’s Handyman Service again.

Edgar Beesley

5 stars rating

Very good service! They came on time, very happy I used your services!

Shannon Henly

5 stars rating

Good job done. Dishwater installed perfectly. Arrived on time, easy booking and reliable staff.

Bindo

5 stars rating

It was quick, professional executed in every way and done by a very friendly and peasant guy. Thank you. I will definitely use you again and recommend you to others.

Eva Martines

5 stars rating

Bob’s Handyman team did a great job the first time I called them. I would certainly be happy to use their services again.

Jacob Halse

5 stars rating

Great job! I highly recommend them!

Jerry Morison

5 stars rating

Great value for money. Reliable workmen, competitive prices and very efficient. Will use your company again.

John Pearson

5 stars rating

I was very impressed with your service – it was the first time I used it, but it surely will not the last!

Juan Quintas

5 stars rating

Thank you Bob’s Handyman for the amazing job done on my bathroom. Very professional company.

Kemi O

5 stars rating

I would definitely book them again, if I need help!

Maia Penwell

5 stars rating

It was a pleasure to deal with your staff.

Philippa Robertson

5 stars rating

Excellent service! I needed a whole room repainted and the people you sent did a wonderful job. I would recommend you to my friends.

Rebecca Stevenson

5 stars rating

I’ve been using these guys for over an year now and they are brilliant every single time. No matter of its something small or a job that needs a lot of skills they do it professionally. I’ve been recommending them to everyone.

S. Mittal

5 stars rating

I was really pleased with the work that was completed on time. The handyman who came did the jobs quickly and efficiently and left everything tidy.

Sharon Boughton

5 stars rating

I’m very pleased with the carried out work. The handyman was very knowledgeable, worked tidy and quickly and did e great job. Will be recommending your services.

Sheila Shah

5 stars rating

The job was for my parents who were very happy with the person who did the job and would definitely use your services again.

Susan Shyllon

5 stars rating

Your handy man put in extra effort to do the job, which I appreciate very much.

Tomas Lush

Types of Wall Fixings Explained: Which One Do You Need?

Radiator Not Heating Up?

  • A radiator cold at the top usually means trapped air, fixed by bleeding.
  • A radiator cold at the bottom usually means sludge build-up, which needs a power flush.
  • Cold patches across the surface often mean a mix of air and sludge.
  • A fully cold radiator often points to a closed or faulty valve.
  • Bleeding a radiator is a safe five-minute DIY task; sludge and valve issues are best left to a professional.


A cold radiator can be frustrating, especially when the temperature drops. Fortunately, most radiator issues—from cold spots to complete inactivity—are caused by simple, common problems like trapped air, sludge buildup, or a faulty valve. In this guide, we’ll help you identify the likely cause of your cold radiator and walk you through the steps to get your heating system back to normal.

"*" indicates required fields

There’s nothing worse than putting the heating on and realising one radiator simply isn’t doing its job. Maybe it’s stone cold, maybe it’s warm at the bottom but icy at the top, or maybe it’s got odd cold patches dotted across the middle. Whatever the pattern, a radiator not heating up properly is almost always a sign of one of a handful of common problems — and most of them are far easier to fix than you’d think.

In this guide, we’ll walk through the most likely causes of a cold radiator, how to spot which one applies to you, and what you can safely try before picking up the phone to a professional.

Cold at the Top? It’s Probably Trapped Air

If your radiator is warm at the bottom but stays stubbornly cold across the top few inches, the culprit is almost certainly trapped air. Central heating systems circulate hot water through a sealed network of pipes and radiators, and over time small pockets of air can work their way in. That air rises to the highest point it can find, which is usually the top of the radiator, and sits there blocking hot water from reaching that section.

This is one of the most common reasons for a radiator cold at the top, and it tends to get worse gradually — you might notice the cold band creeping further down over several weeks as more air accumulates. The good news is that this particular fault has a simple, DIY-friendly fix: bleeding the radiator to let the trapped air escape. We’ll cover exactly how to do that safely a little further down.

Cold at the Bottom? It’s Probably Sludge

A radiator that’s warm at the top but cold at the bottom is a different problem entirely, and unfortunately not one you can fix with a radiator key. This pattern usually points to sludge — a build-up of rust, corrosion and mineral deposits that settles at the bottom of the radiator over months or years of use.

Because sludge is heavier than water, it sinks and gathers along the base of the radiator, physically blocking hot water from circulating through that section. Bleeding won’t shift it, since there’s no air to release. If you press your hand along the bottom of the radiator and feel a distinct temperature drop compared with the top, sludge build-up is the most likely explanation.

The usual solution is a power flush, which uses a powered pump to force a cleaning fluid through the entire heating system at high velocity, breaking up and clearing out accumulated debris. For an isolated radiator with a smaller amount of sludge, a targeted flush of just that radiator may be enough, though a full system flush — best carried out as part of a wider gas boiler and heating service — is often recommended if several radiators are affected or the system is older.

Cold Patches Across the Radiator

Sometimes the problem isn’t confined to the top or bottom but shows up as uneven cold patches scattered across the surface. This is often a sign that sludge and air are both present, or that debris has settled unevenly rather than forming a neat layer along the base. It can also happen when a radiator has an internal blockage caused by corrosion inside the radiator itself, rather than in the wider pipework.

In these cases, bleeding the radiator is worth trying first, since it’s quick and free. If cold patches persist afterwards, that’s a fairly strong indicator that sludge or internal blockages are involved, and a power flush is likely the next step.

Faulty Valves and Thermostats

If a radiator is completely cold — not warm anywhere, not even slightly — trapped air and sludge become less likely explanations, since both of those typically leave part of the radiator working normally. A fully cold radiator often points to a valve or thermostat issue instead.

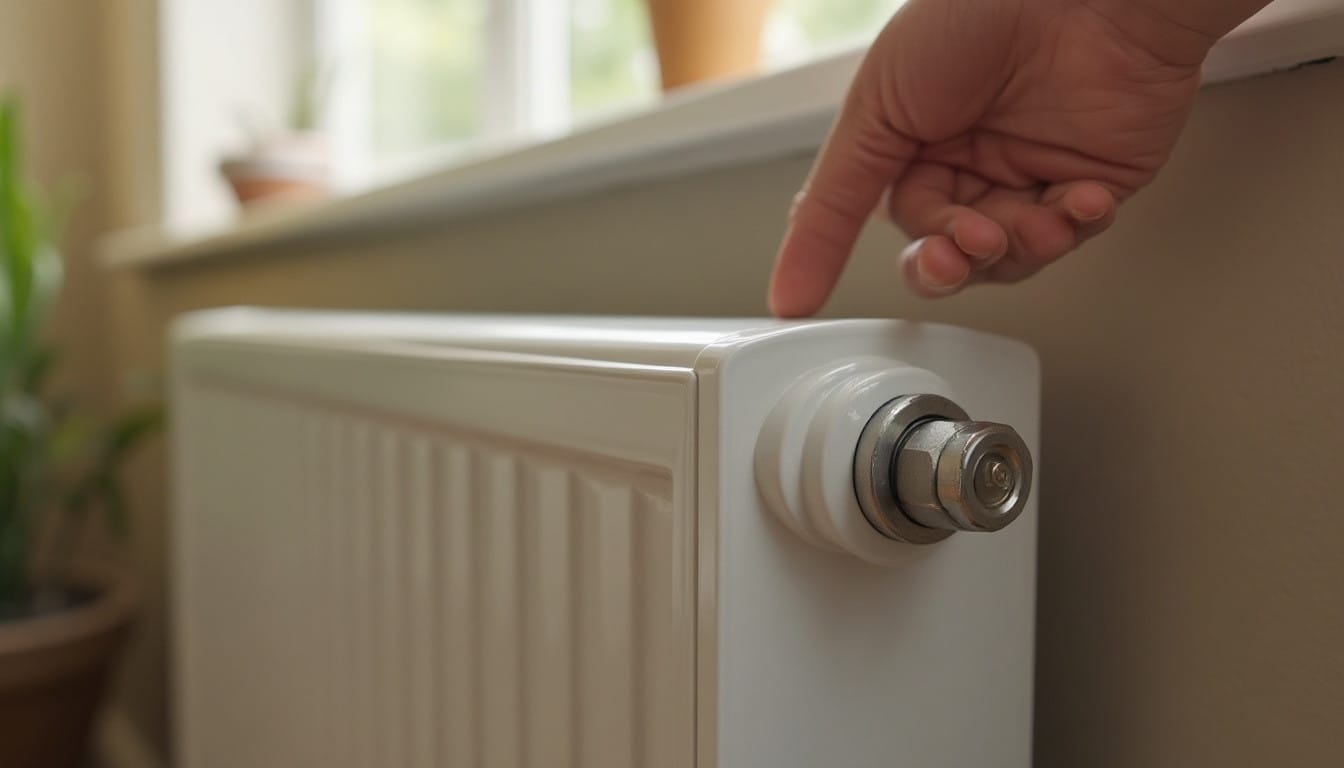
Every radiator has two valves: a manual valve on one side and a thermostatic radiator valve (TRV) on the other, which regulates temperature based on room conditions. If the manual valve has been closed, accidentally or otherwise, no water will reach the radiator at all. It’s worth checking this first, as it’s the simplest possible cause.

TRVs can also fail, particularly if the pin inside the valve becomes stuck in the closed position. This tends to happen when a radiator hasn’t been used for a long stretch, such as over summer, and the pin seizes in place. In some cases, gently working the pin free (with the radiator system depressurised, or very carefully if not) can resolve this, though a stuck or faulty TRV often needs replacing — and if the valve is weeping or dripping as well as sticking, that moves into leak repair territory rather than a straightforward swap.

If neither valve seems to be the issue, the fault could lie with the central heating pump or the system’s overall balancing, both of which are best left to a qualified plumbing professional to diagnose.

How to Bleed a Radiator Safely (Step-by-Step)

Bleeding a radiator is one of the few heating repairs most people can safely do themselves, and it takes only a few minutes per radiator.

What you’ll need: a radiator bleed key (widely available from hardware shops), an old cloth or small towel, and a container to catch drips.

Step 1: Turn off your heating. Let the system cool down fully before you start, both for safety and so you can judge temperature changes accurately afterwards.

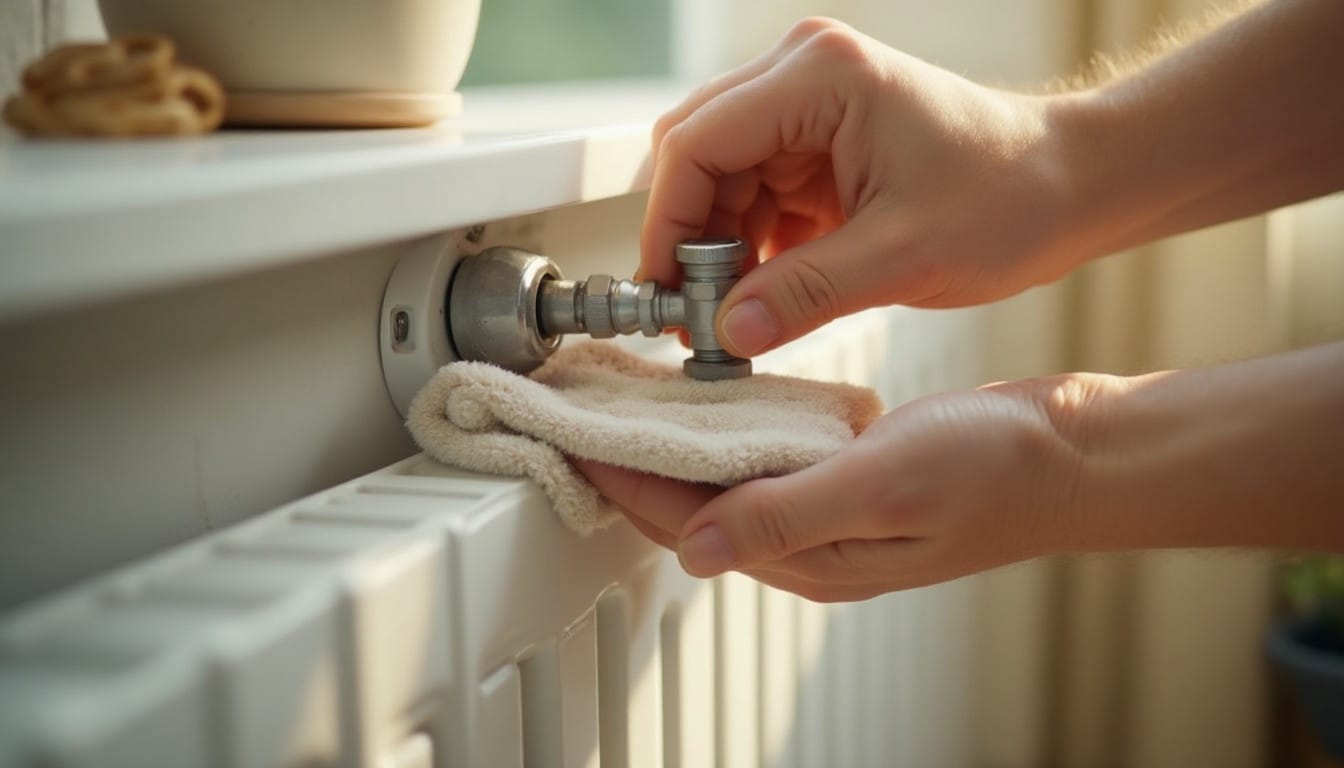
Step 2: Find the bleed valve. This is a small square-shaped fitting, usually at the top corner of the radiator on either side.

Step 3: Hold your cloth underneath. A small amount of water will escape once air starts releasing, so keep a cloth and container in place to catch any drips.

Step 4: Insert the key and turn slowly. Turn the bleed valve anticlockwise, just a quarter to half turn. You should hear a hissing sound as trapped air escapes.

Step 5: Wait for water to appear. Once the hissing stops and a steady trickle of water starts coming out instead, close the valve promptly by turning it clockwise.

Step 6: Check your system pressure. Bleeding a radiator can lower the pressure in your boiler system, so check the pressure gauge afterwards and top up if needed, following your boiler servicing provider’s instructions.

Step 7: Turn the heating back on and check. Give it twenty to thirty minutes and feel the radiator again. It should now heat evenly from top to bottom.

If you have several radiators to bleed, work through them one at a time, starting with the ones downstairs and furthest from the boiler.

When to Call a Professional

Bleeding a radiator is safe and straightforward, but there are situations where it’s best to bring in a professional rather than continue troubleshooting yourself. If bleeding doesn’t resolve a cold top, if you suspect sludge and need a power flush, if a valve appears stuck, damaged, or leaking, or if your boiler pressure keeps dropping after bleeding, these are all signs of a problem that needs proper diagnosis and tools.

It’s also worth calling in help if multiple radiators across the house are affected at once, since this often points to a system-wide issue such as widespread sludge build-up, a failing pump, or a problem with system balancing, rather than a fault with one individual radiator. Bob’s Handyman Services covers this kind of diagnostic and repair work across London and the M25.

Common Questions About Cold Radiators

Why is my radiator cold at the top but warm at the bottom?
This is a classic sign of trapped air. Bleeding the radiator to release the air should restore even heating.
Why is my radiator cold at the bottom but warm at the top?
This pattern usually points to sludge build-up settling at the base of the radiator, which typically requires a power flush to clear.
Can I bleed a radiator myself?
Yes, bleeding a radiator is a simple and safe DIY task. You’ll need a radiator bleed key, a cloth, and a few minutes per radiator, following the steps outlined above.
Does a cold radiator mean I need a new boiler?
Not usually. Cold radiators are most often caused by trapped air, sludge, or a faulty valve, all of which are radiator-specific issues rather than boiler faults.

Why Is My Radiator Not Heating Up? Common Causes Explained

Right Paint Finish

  • Paint finish affects durability, cleanability, and how light reflects off a wall — not just its final look.
  • Matt suits low-traffic rooms like bedrooms and ceilings; satin and eggshell handle busier spaces like kitchens and hallways.
  • Gloss offers the toughest, most moisture-resistant finish, best used on woodwork, trim, and bathrooms.
  • Pairing a lower-sheen wall finish with gloss woodwork is a common and effective combination in most rooms.

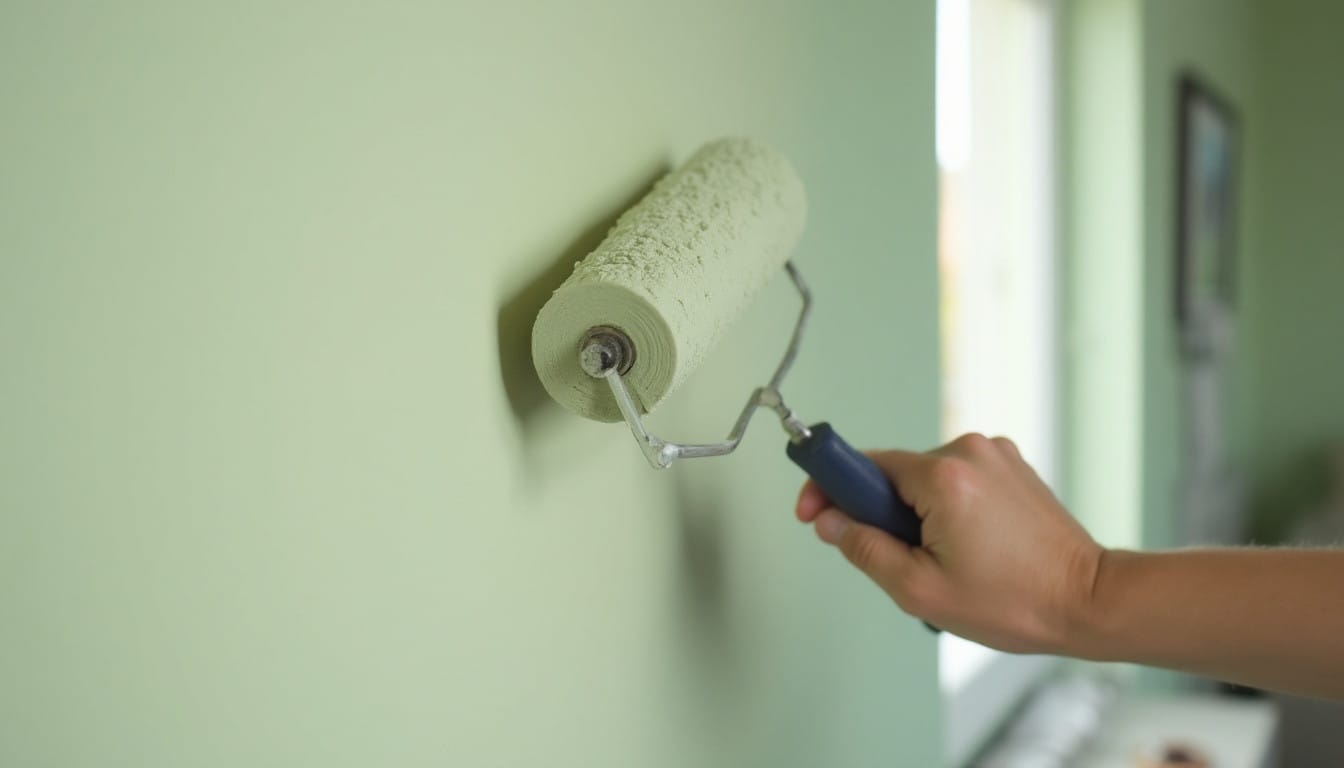
Choosing a colour is the fun part. Choosing the finish is the part that actually determines whether your paint job still looks good in two years’ time. Homeowners spend hours agonising over whether a wall should be sage green or off-white, then grab whatever sheen the tin happens to come in — and that’s usually where things go wrong. Knowing how to choose paint finish for each space is just as important as picking the shade, because the wrong sheen can make a beautiful colour look patchy, show every fingerprint, or peel within months in a steamy bathroom.

This guide walks through the main finish types, where they work best, and how to match them to the rooms in your home.

Why Paint Finish Matters as Much as Colour

Paint finish refers to how much sheen a paint has once it’s dry, and that sheen affects far more than appearance. It changes how light bounces off the wall, how easily the surface can be wiped clean, and how well it stands up to knocks, steam, and daily wear. A flat matt finish on a hallway wall might look chalky and elegant on day one, but scuff it with a pushchair or a school bag and you’ll be left with a mark that no amount of gentle wiping will shift.

Durability, light reflection, and washability all shift as sheen levels rise. Lower-sheen paints tend to hide imperfections in older or uneven walls, while higher-sheen paints reflect more light and resist moisture and scrubbing far better. Getting this balance right room by room is really the whole game when it comes to a paint job that still looks sharp long after the brushes have been put away.

Matt and Emulsion – Best Uses

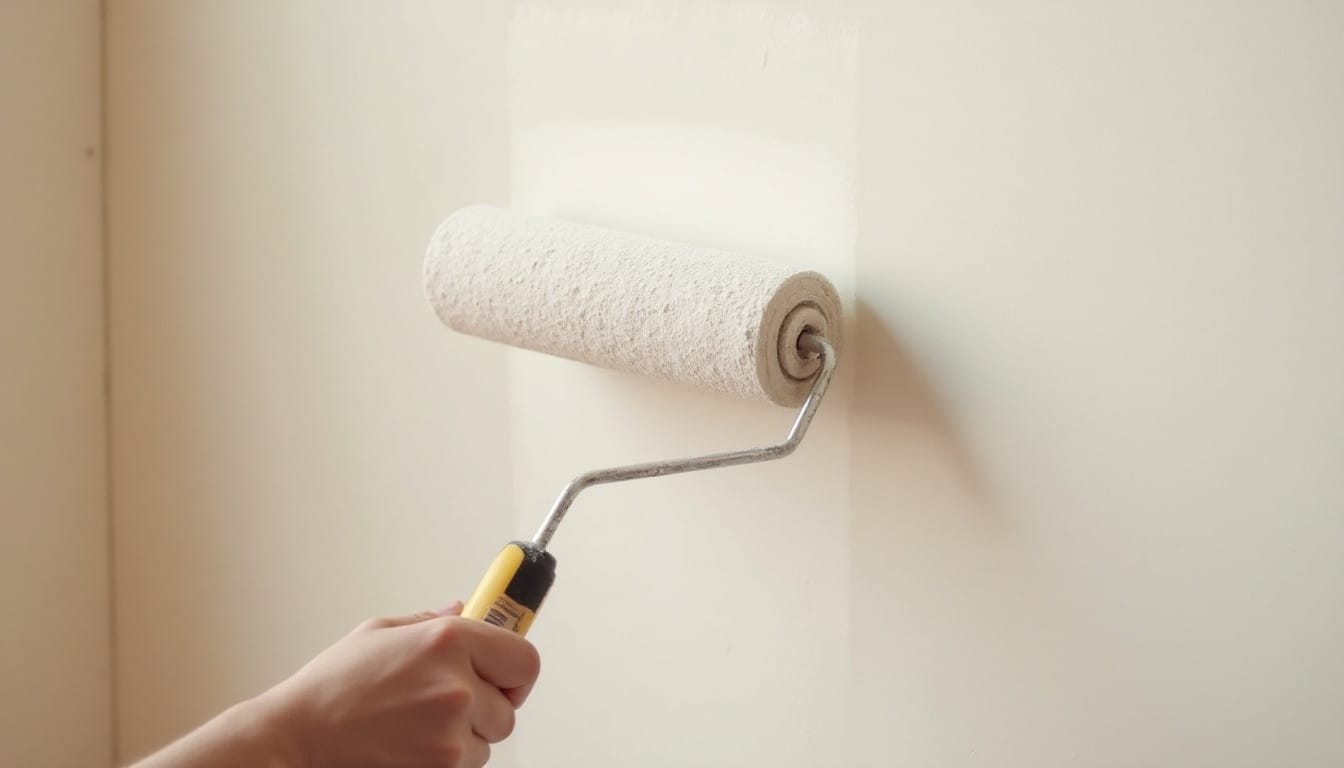
Matt emulsion is the classic choice for ceilings and living spaces, and for good reason. It has little to no shine, which means it absorbs light rather than reflecting it, softening the appearance of any small dents, cracks, or uneven plastering. This makes it particularly forgiving on older properties or walls that have seen a few too many picture hooks over the years.

The trade-off is durability. Matt finishes mark more easily and are harder to clean without leaving a dull patch, so they’re best suited to lower-traffic areas such as bedrooms, adult living rooms, and ceilings throughout the house. Many modern matt emulsions are now formulated to be more wipeable than older versions, so it’s worth checking the tin if you want a bit more resilience without moving to a higher sheen.

Where matt genuinely earns its keep is in rooms used for relaxing rather than rushing through — a main bedroom, a snug, a formal dining room where the walls aren’t getting brushed past every five minutes.

Satin and Eggshell – Best Uses

Sitting between matt and gloss, satin and eggshell finishes offer a soft, low-key sheen that catches the light without looking shiny. This middle-ground quality is exactly why they’re often recommended when people ask about the best paint finish for rooms that see regular use but don’t need a hard-wearing gloss surface.

Eggshell has a slightly flatter appearance than satin, giving it a subtle, almost velvety texture, while satin has a touch more shine and a smoother, easier-to-clean surface. Both hold up considerably better than matt against marks, spills, and general handling, which makes them a strong fit for kitchens, hallways, children’s bedrooms, and family living rooms — anywhere walls take a bit of a battering.

They’re also a popular choice for woodwork such as skirting boards, doors, and window frames, where a slightly softer sheen than full gloss is preferred but a wipeable surface is still essential.

Gloss – Best Uses

Gloss is the highest-sheen option and the most durable, with a reflective, glass-like finish that’s easy to wipe clean and highly resistant to moisture. It’s rarely used on entire walls these days — the shine can be unforgiving on anything less than a perfectly smooth surface — but it remains the go-to for trim, doors, skirting boards, and banisters.

In the ongoing matt vs satin vs gloss paint debate, gloss usually wins on pure practicality. Bathrooms, kitchens, utility rooms, and anywhere prone to condensation or grease benefit from gloss or semi-gloss on woodwork and, in some cases, on splashback walls, because the surface resists water penetration and wipes clean in seconds. The downside is that gloss shows surface flaws mercilessly, so proper prep and a smooth base coat matter more here than with any other finish.

Recommended Finishes Room by Room

Living rooms and bedrooms generally do best with matt or a soft satin on the walls, keeping the space cosy and forgiving while gloss trim on the skirting adds a crisp contrast. Hallways and staircases see a lot of foot traffic and the occasional scuffed suitcase, so satin or eggshell tends to strike the right balance between resilience and a comfortable, lived-in look.

Kitchens call for something tougher again — satin or eggshell on the walls, with gloss or semi-gloss on cupboards and woodwork, stands up well to grease, steam, and the inevitable splashes near the hob. Bathrooms are the most demanding room in the house from a moisture standpoint, so satin, semi-gloss, or full gloss is worth considering on walls exposed to steam, with gloss reserved for window frames and door trim where water resistance really counts.

Children’s bedrooms and playrooms benefit from the same logic as hallways: a slightly higher sheen than a typical adult bedroom, since walls in these rooms tend to collect crayon marks and handprints faster than anyone would like. Home offices and studies, being lower-traffic by nature, can usually get away with matt for a calm, non-reflective backdrop that’s easier on the eyes during long stretches at a desk.

Common Questions About Paint Finishes

Is matt or satin better for a living room?
Matt is generally preferred for living rooms because it gives a soft, elegant look and hides minor wall imperfections well. Satin is a reasonable alternative if the room sees heavy use or has children and pets, since it’s easier to wipe clean.
What paint finish is best for a bathroom?
Satin or gloss finishes are best for bathrooms, as they resist moisture and condensation far better than matt paint, which can absorb dampness and deteriorate over time.
Can I use gloss paint on walls, not just woodwork?
Yes, though it’s less common. Gloss on walls creates a bold, reflective look and excellent durability, but it will highlight any surface imperfections, so the wall needs to be properly prepared and sanded beforehand.
How do I know which sheen will suit an older or uneven wall?
Lower-sheen finishes like matt are more forgiving on walls with texture, small cracks, or old plaster repairs, since they scatter light rather than reflecting it and drawing attention to imperfections.

How to Choose the Right Paint Finish for Every Room

Maximise and Enhance LightThe term minimalism emerged during the 1960’s. From there on it has evolved a lot, outlined new meanings and the motto “less is more” became the foundation of minimalism. Studies have shown that a messy home will affect badly on mental health thereby resulting in anxiety and depressing. Continue reading

Everything to know about Minimalistic interior design

Bedroom SoundproofThere is nothing more irritating than noise stealing your sleep throughout the night. No matter how many earplugs or sound machines you try, you just can’t find peace and quiet.

Environmental noise that comes from traffic, airplanes and trains has been a significant challenge for the World Health Organisation, especially in Western Europe. Continue reading

6 Ways to Soundproof Your Bedroom for Better Sleep

Maximise and Enhance Light

When it comes to interior design, whether it be in the home or in a commercial building, having a large space to work with is a real pleasure. The possibilities for design and indeed décor, really open up and your creativity and flair can run riot. There are a number of important factors to take into account and trends change. Continue reading

Chat