
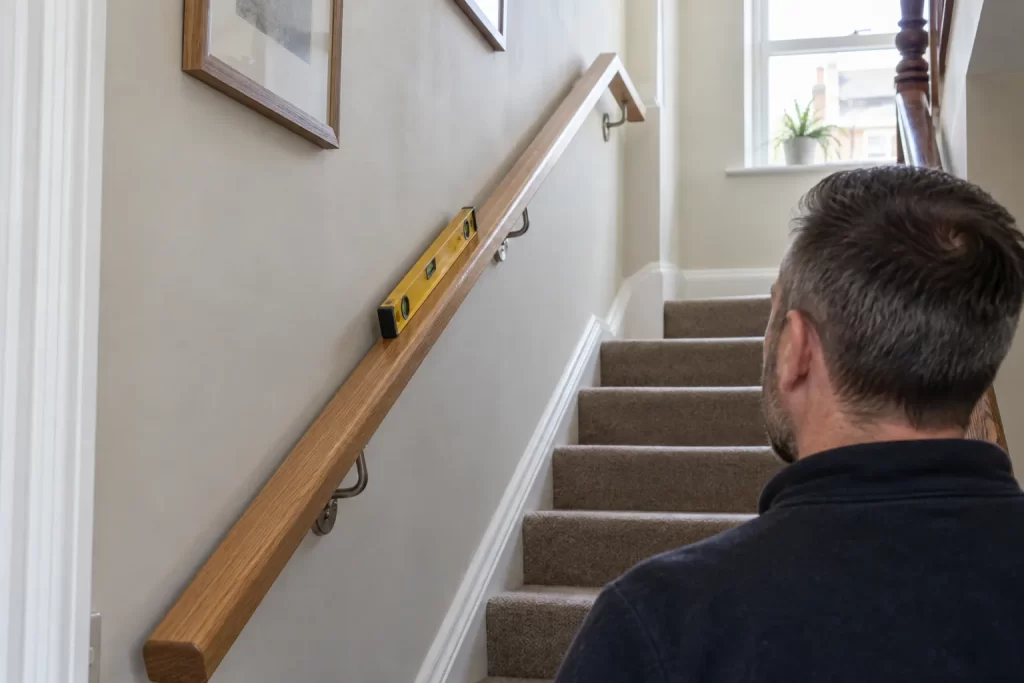
A moving stair handrail is a safety defect, not just an annoying rattle. People put sudden, uneven loads through a rail when they lose balance, and a fixing that feels adequate during a gentle test may pull out when it is genuinely needed. The repair therefore starts with the wall and bracket, not with the nearest larger screw.
This guide covers wall-mounted timber handrails on ordinary domestic stairs. It explains how to distinguish a loose bracket from damaged plaster or an insecure timber rail, how to choose a fixing for the actual wall, and when the safest decision is to reposition the bracket or call a professional.
Identify what is moving
Hold the rail close to each bracket and apply modest pressure in different directions. Watch the joint between rail and bracket, then the joint between bracket and wall. If the rail moves but the wall plate stays still, the small screws into the underside of the timber may be loose. If the whole bracket shifts, the wall fixing has failed. Movement in the wall surface, cracking plaster or a hollow crunching sound points to a wider substrate problem.
Check every bracket. One failed fixing often makes the adjacent brackets carry more load, so tightening only the most obvious loose point can leave the system vulnerable. Also look for a split rail, a bent bracket or a bracket that no longer sits flat.
Do not use the rail while it is insecure
Tell everyone in the property that the rail is out of use and keep the staircase well lit. Older people, children and anyone with limited mobility may need an alternative safe route or support until the repair is complete. Do not remove all brackets simultaneously; a long timber rail is awkward to control on a staircase and can damage walls or cause a fall.
Tools and materials
- Screwdrivers that fit the existing screw heads
- Stud, cable and pipe detector suitable for the wall
- Drill and bits matched to timber, masonry or plasterboard
- Correctly rated screws and fixings for the identified substrate
- Spirit level, tape measure and pencil
- Vacuum, eye protection and dust mask
- Wood glue and hardwood repair material if the rail holes are stripped
A handrail fixing is not a good place for an unverified universal plug. Product load claims depend on the wall, installation method, edge distances and direction of force. Follow the fixing manufacturer’s instructions and remember that plasterboard itself is not the same as the timber or masonry behind it.
Step 1: tighten sound screws and inspect the bracket
Support the rail while checking the screws that join the bracket to the timber. Tighten them by hand. If a screw spins, the hole in the rail is stripped; repair it with sound hardwood rather than soft filler. The method is similar to repairing a stripped hinge hole, although screw length must suit the rail thickness.
Inspect the metal bracket for cracks, distortion and enlarged screw holes. Replace a damaged bracket with one of suitable strength and compatible geometry. Decorative light-duty brackets intended for shelving are not substitutes for handrail brackets.
Step 2: establish the wall construction
Common UK stair walls include solid brick or block with plaster, timber stud partitions faced with plasterboard, and dot-and-dab plasterboard over masonry. Each needs a different fixing strategy. A detector can help locate studs, cables and pipes, but it is not infallible. Use construction clues such as wall thickness at nearby openings, socket depth and the sound from gentle tapping.
Do not drill above or below electrical accessories or where concealed services are possible without careful checking. If the wall construction remains uncertain, stop. The cost of a professional fixing is small compared with a pierced cable or pipe.
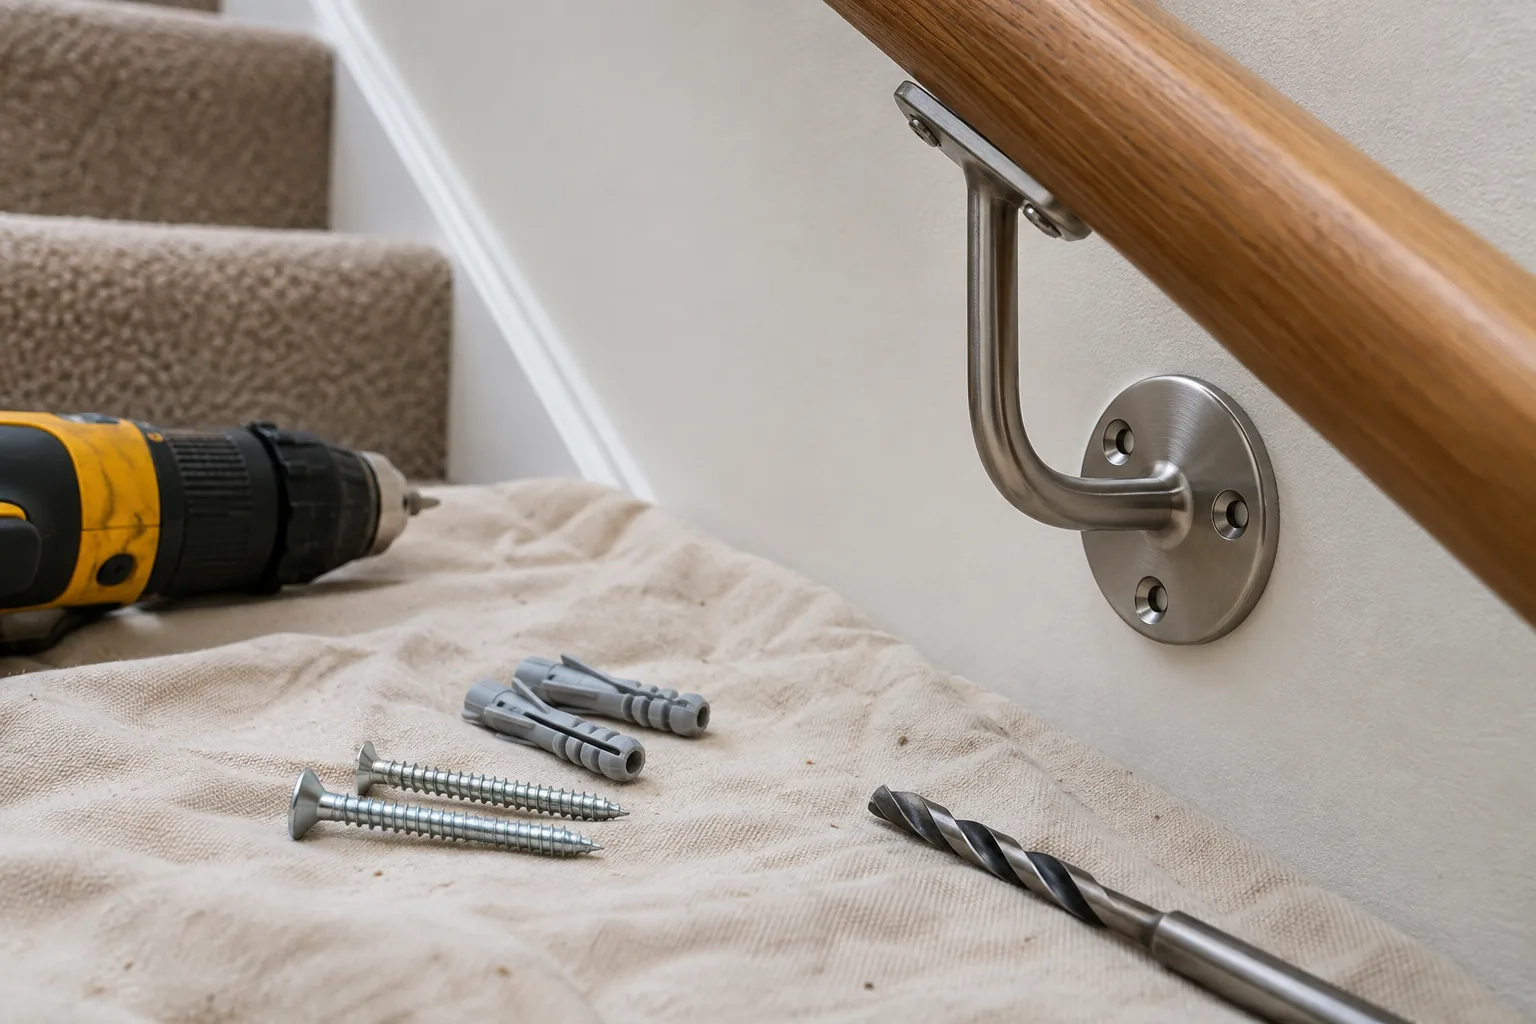
Step 3: decide whether the existing holes can be reused
Remove one wall screw while supporting the rail. A masonry plug that comes out with the screw, a plasterboard fixing that spins, or crumbling material around the hole shows that the existing fixing cannot simply be retightened. Inspect the hole without enlarging it. Sound masonry may accept a correctly sized new plug after the old material is removed and the hole cleaned.
In plasterboard, a damaged hole often needs the bracket moved so new fixings reach sound material. If possible, position brackets into timber studs or installed pattressing. Heavy-duty cavity anchors may be appropriate in some walls, but their rating and installation space must suit the load. A cavity full of insulation, a very narrow void or damaged board can prevent correct installation.
Step 4: position a replacement or relocated bracket
Keep the handrail at a consistent, comfortable line. Use the existing sound brackets and a spirit level or measured offset from the stair pitch to establish the position. Confirm that the bracket base will sit flat and that all proposed drilling points are clear of services.
Mark holes through the bracket without allowing it to rotate. On masonry, drill straight to the required diameter and depth, then vacuum the dust. On timber, use a pilot hole that prevents splitting but leaves enough material for the thread. On plasterboard, install the selected anchor exactly as specified rather than improvising with extra screws.
Step 5: secure the bracket and reconnect the rail
Tighten wall fixings evenly so the bracket sits flat. Do not crush plasterboard or pull a metal bracket into soft plaster. Reattach the timber rail using screws that cannot break through the upper surface. If the original holes in the rail are damaged, repair and redrill them before applying load.
Once all fixings are secure, remove temporary supports and test progressively. Start with light pressure at each bracket, then apply a firm controlled load along the rail. There should be no clicking, wall movement or change in the bracket position.
Common unsafe shortcuts
- Putting a wider screw into a loose wall plug without checking the substrate.
- Filling the hole with decorator’s filler and redrilling it.
- Adding several small screws through a bracket not designed for them.
- Using a basic plastic plug in plasterboard or a hollow section.
- Drilling near hidden electrical or plumbing routes without checks.
- Testing the finished rail with a sudden uncontrolled body-weight pull.
- Leaving one bracket loose because the others appear secure.
When a loose handrail points to a larger problem
Cracking that spreads beyond the bracket, repeated fixing failure, damp or powdery masonry, and movement in the stair structure all require further investigation. A rail that is too short, too low or missing where the stair layout needs support is not solved by tightening one bracket. For a broader assessment, see the site’s home safety and security service.
Long hardwood rails, curved stairs and awkward landings are difficult to support safely while drilling. A carpenter can add secure timber support, repair the rail and position brackets into dependable structure. General bracket replacement and minor making-good can also be grouped into an odd-jobs appointment.
A secure result starts behind the visible bracket
The bracket is only as reliable as the material holding it. Identify the moving joint, protect stair users, confirm the wall construction, abandon damaged holes where necessary and test the repair progressively. A handrail should feel completely uneventful in use: firm, quiet and ready to take an unexpected load.

