
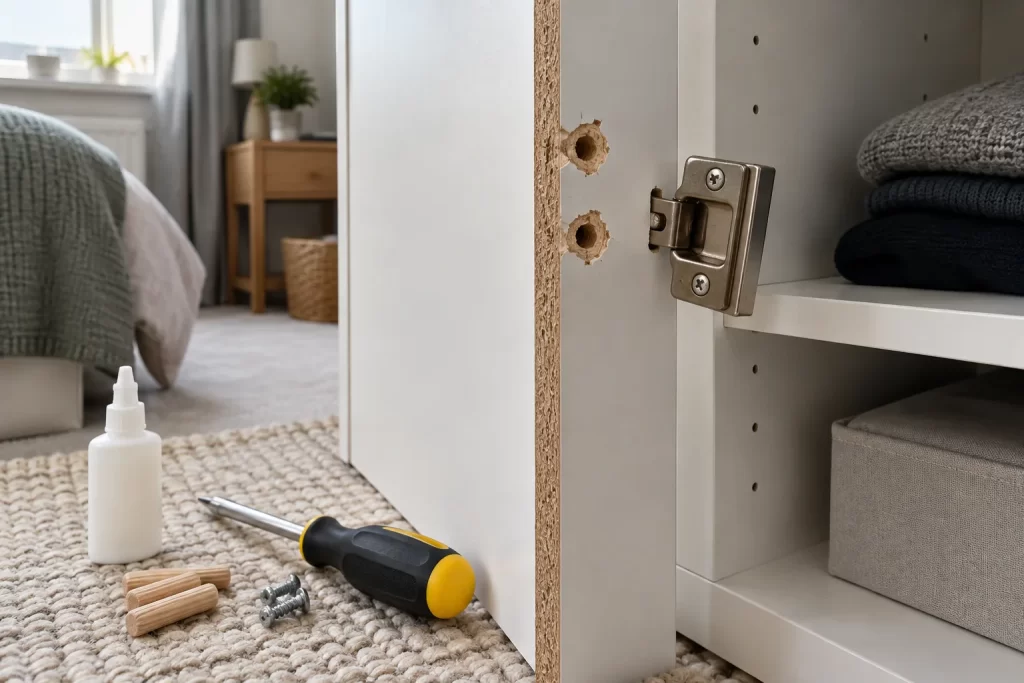
Flat-pack panels are usually chipboard or fibreboard faced with melamine or veneer. Once a screw pulls out, simply choosing a wider or longer screw can split the edge, pierce the opposite face or crumble more material. The correct repair depends on what the fixing carries: a light shelf clip, a cabinet hinge and an anti-tip bracket have very different safety demands.
Unload and support the furniture
Empty the affected cupboard or drawer. Support a loose door before removing its final hinge screw and ask another adult to handle tall or heavy panels. If the furniture is unstable, lay it down only when the instructions allow and there is space to do so without twisting the carcase.
A failed wall restraint is safety-critical. Do not use tall furniture until it is secured to an appropriate part of the building with fixings suitable for the wall. Repairing the furniture-side hole does not prove the wall fixing is safe.
Identify the material and fastener
Look at an unfinished edge. Chipboard shows coarse bonded chips; MDF has fine uniform fibres; solid wood has continuous grain. Note whether the original fastener is a confirmat screw, Euro screw, wood screw, cam dowel or machine screw into an insert. Photograph its length and location.
Measure panel thickness and use a depth stop for any drilling. Never assume the centre of a panel is clear: cam channels, dowels, glass, wiring for lights and fittings on the opposite face may be close.
Assess the damage
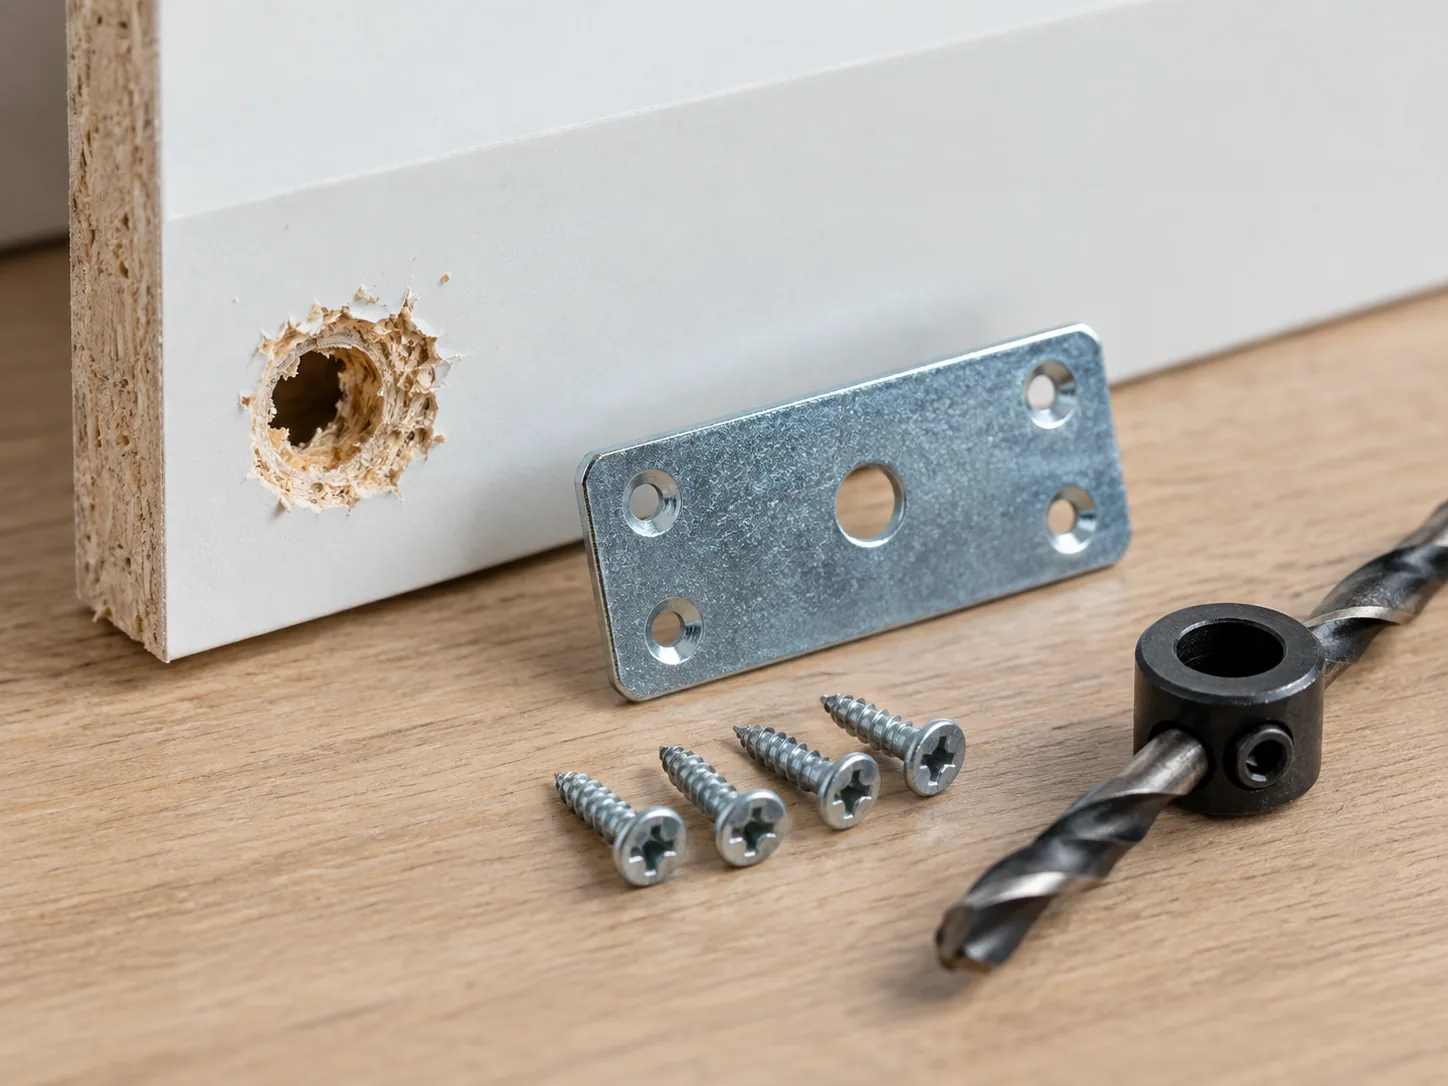
A clean enlarged hole with firm material around it may accept an insert or purpose-made repair. A crater that has broken through the panel face needs a plate or structural patch. Swollen, dark or soft chipboard has usually suffered moisture damage and will not hold a reliable fixing until the damaged area or panel is replaced.
Check why the screw failed. A misaligned hinge, overloaded shelf, sagging door or twisted carcase will pull out again if only the hole is treated.
Tools and repair options
- Correct screwdrivers and drill with depth stop
- Vacuum, masking tape and square
- Manufacturer-approved replacement fitting
- Purpose-made chipboard insert or threaded insert
- Hinge repair plate for compatible concealed hinges
- Hardwood dowel and suitable adhesive for selected non-critical holes
- Short screws that cannot penetrate the panel
Do not use expanding foam, wall plugs cut at random, loose matchsticks or hard-setting filler for a load-bearing hinge. They can appear firm until repeated movement breaks the remaining board.
Option 1: use an unused hole in the existing fitting
Many hinges and brackets offer more mounting holes than were originally used. If the fitting can remain in exactly the correct position, a sound unused hole may accept the specified screw. Mark safe depth, drill the required pilot only if instructed, and keep well clear of the damaged crater.
This is not suitable when moving the screw would misalign a hinge plate, place it too close to an edge or leave the failed area unsupported.
Option 2: fit a hinge repair plate
A steel repair plate spreads the load across several new short screw positions and is often effective where a concealed-hinge plate has torn out. Choose a plate made for the hinge pattern and panel thickness. Dry-fit it so the door adjustment screws remain accessible.
Support the door, mark every hole, set a drill stop and make accurate pilots. Fix the plate flat without crushing the melamine, attach the hinge and adjust the door using the method in the cupboard-door alignment guide.
Option 3: install a purpose-made insert
Threaded or press-in inserts can restore a removable fixing when they are compatible with particleboard. Drill the exact diameter and depth stated by the insert maker, perpendicular to the face. Remove dust, install the insert without overtightening, and use the matching machine screw.
An insert near a panel edge can burst the side. Do not enlarge a hole unless there is enough sound material all around and no hidden cam or dowel channel.
Option 4: dowel a suitable low-risk fixing
For a non-safety-critical screw in sufficiently thick, sound board, a close-fitting hardwood dowel bonded into a clean cylindrical hole can provide new material. This is more controlled than packing the crater with splinters. Drill with a depth stop, glue the dowel, allow full cure, trim flush and drill a correct pilot.
Do not use this method for anti-tip restraints, beds, ladders, cot components or heavily loaded hanging cabinets. Seek furniture assembly or repair support.
Restore alignment before applying load
Loosely fit all related screws, square the cabinet and align the component before final tightening. Hinges should move without levering the plate. Drawer runners should be parallel, and shelf brackets must share load evenly. Tightening one fastener hard while the fitting is twisted starts the next failure.
Common mistakes
- Using a screw long enough to exit the other face.
- Drilling without a depth stop.
- Filling the hole with soft wall filler.
- Placing a new hole too close to a broken edge.
- Ignoring a sagging door or twisted carcase.
- Repairing only one of several loose hinge points.
- Reusing a damaged cam fitting.
When the panel should be replaced
Replace or professionally reinforce a panel that is split through, swollen from water, crushed along an edge or missing a large area around a structural connector. The same applies when several attempted repairs overlap. Contact the manufacturer for a correct replacement panel where possible; its drilling pattern matters.
If an unstable unit must be disassembled, label every panel and fitting. Do not repeatedly tighten cams in crumbling board. A carpenter can make a stronger replacement where a proprietary part is unavailable.
Test with staged loading
After adhesives cure and alignment is complete, operate the empty door or drawer repeatedly. Add a quarter of the normal load, inspect the plate and panel, then increase gradually. Any fresh dust, clicking, movement or widening around a fixing means the repair is failing.
A strong repair uses sound material
A handyman repair is appropriate when the unit can be made safe with a recognised fitting and sound surrounding material.
The goal is to transfer load into undamaged board without creating a new weak edge. Measure panel depth, correct the alignment fault and choose a plate, insert or fitted timber repair designed for the job. When the component restrains a tall unit or carries a person, replacement or professional repair is the responsible choice.

