

A hairline crack can be a harmless result of drying and seasonal movement, or the visible edge of a continuing problem. Filling it without looking at its shape, location and history may produce a smooth wall for a few weeks, followed by the same line through the new paint. The useful question is not simply which filler to buy, but whether the crack is stable enough for a decorating repair.
This guide deals with fine cracks in otherwise firm internal plaster. It explains how to record the defect, prepare it without causing unnecessary damage, use a compatible filler and blend the repair. Wide, displaced, damp or rapidly changing cracks should be assessed rather than hidden.
Decide whether the crack is suitable for DIY repair
Look at the full wall in good light. Fine straight cracks at plasterboard joints, short lines above openings and shallow crazing in old finish plaster can often be repaired decoratively. Cracks that are wider at one end, run diagonally from windows or doors, continue through masonry, or are accompanied by bulging plaster deserve more caution.
Mark the ends lightly with pencil and write the date on masking tape nearby. Take a clear photograph with a ruler in view. Recheck after several weeks, particularly if the line appeared recently. If it grows, reopens quickly or changes with sticking doors and windows, seek competent advice before decorating.
Check for moisture and loose plaster
Discolouration, a cold damp feel, bubbling paint or a musty smell can indicate moisture. Filling over damp traps the symptom and weakens adhesion. Trace plumbing, roof or window problems first. Bob’s water damage repair service is relevant when plaster has softened or staining follows a leak.
Tap gently around the line with a knuckle. A consistent solid sound is reassuring. A hollow sound, surface movement or pieces lifting at the edge means the plaster has lost its key and needs more than a narrow filler repair.
Tools and materials
- Dust sheet, eye protection and suitable dust mask
- Sharp filling knife or small scraper
- Vacuum with a soft brush attachment
- Fine-surface or flexible decorator filler suited to the substrate
- Joint tape where a plasterboard seam has failed
- Wide filling knife and fine abrasive block
- Primer and matching wall paint
Do not sand unknown old coatings aggressively. Older properties can contain hazardous paint layers, and textured coatings may require specialist identification.
Step 1: remove only material that is already unsound
Run the corner of a scraper lightly along the crack. The aim is to remove loose paint and fragile plaster, not to carve a deep trench into a stable wall. A very narrow crack may need opening into a shallow V so filler can enter, but keep the channel modest and consistent. Feather back flaking paint until its edge is firmly bonded.
Vacuum the channel and surrounding surface. Dust left inside prevents filler bonding to the plaster. If the exposed plaster is unusually porous, use the primer or stabilising treatment recommended for the chosen filler rather than soaking the area with water.
Step 2: recognise a failed plasterboard joint
A straight crack that follows a board joint, especially with a slight ridge, can indicate failed tape. Pressing filler into the visible line will not reconnect the joint. Remove detached tape only as far as it is loose, bed new joint tape in compound and cover it with progressively wider coats. This produces a much broader repair than a crack in solid plaster.
If the boards move when pressed, additional fixing or investigation is needed before retaping. Do not add screws until you have checked for hidden cables and pipes and located the supporting timber or metal framework.
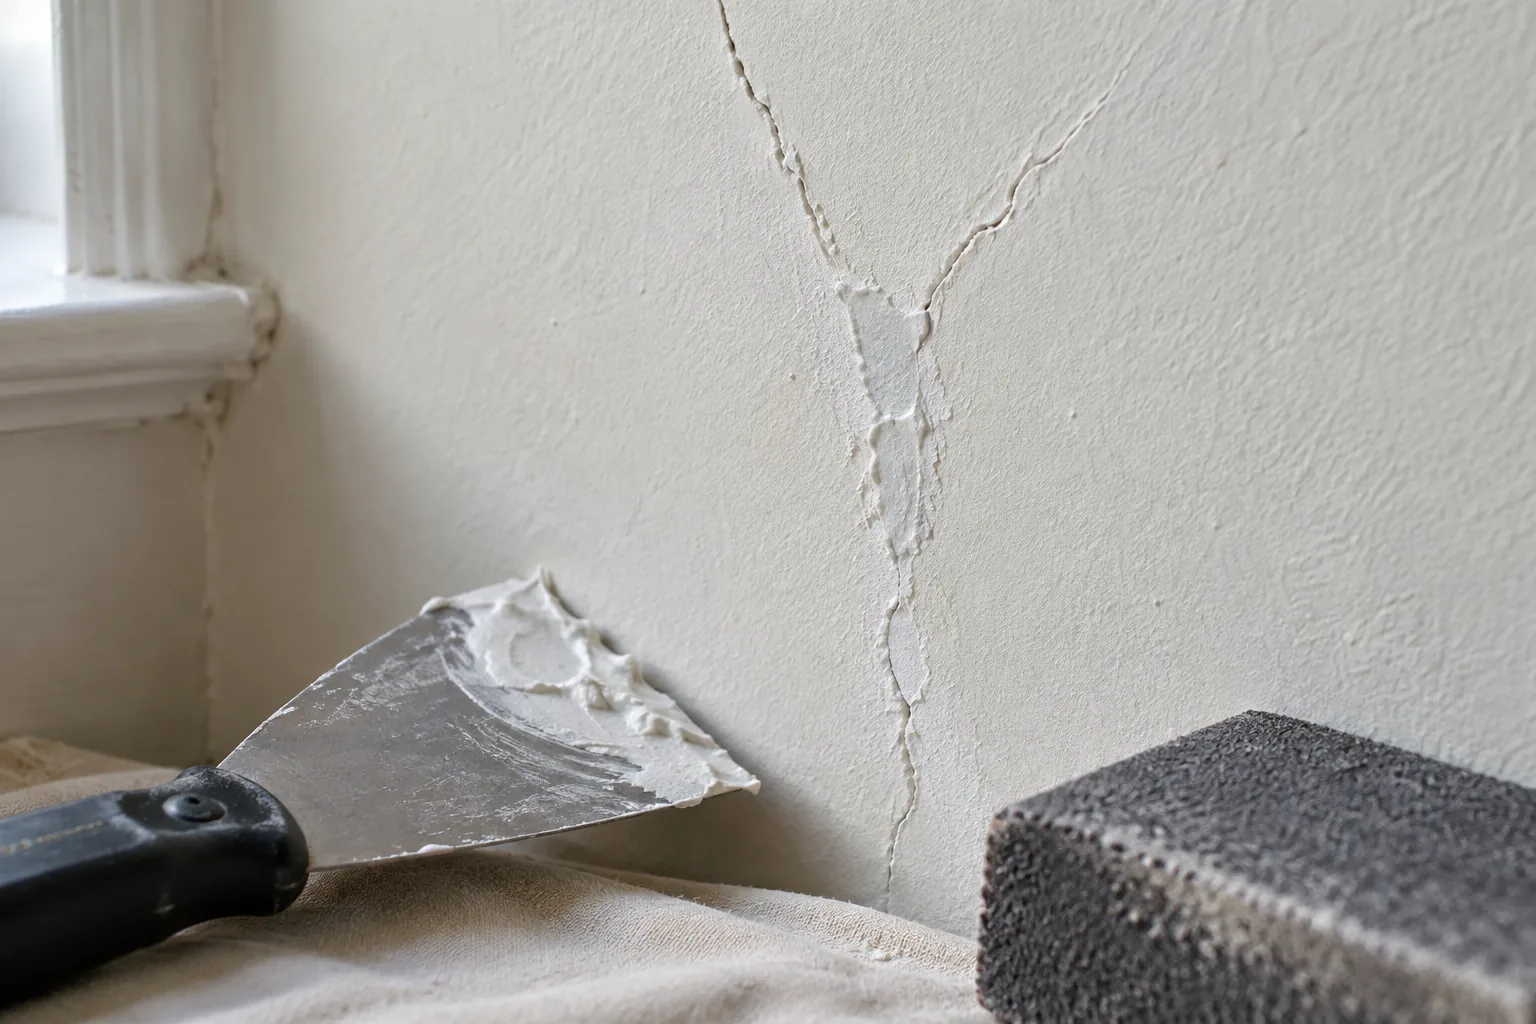
Step 3: fill the prepared crack
Work filler firmly across the crack so it contacts both sides and reaches the base of the shallow channel. Scrape away the excess, leaving a slight allowance for shrinkage where the product instructions suggest it. For deeper areas, use separate applications and allow each to dry. A thick wet bead skins over while remaining soft beneath.
Flexible filler can accommodate tiny seasonal movement, but it is not a cure for structural movement or loose plaster. Some flexible products cannot be sanded easily, so shape them carefully while workable. Check compatibility with the final paint.
Step 4: feather a second coat beyond the line
After the first application is fully dry, inspect it under a light held close to the wall. Apply a thin second coat with a wider knife, extending beyond the first. This reduces the sharp change in surface level that otherwise shows through side lighting. Keep the knife clean; dried particles make grooves that require another coat.
Where joint tape is involved, the finished compound may need to extend several hundred millimetres to disguise the build-up. That is normal. A narrow, thick strip is much more visible than a wide shallow taper.
Step 5: sand lightly, prime and paint
Use a flat sanding block and minimal pressure. Stop as soon as the ridge disappears; sanding into the surrounding paint can create a polished halo or expose paper on plasterboard. Vacuum thoroughly. Run a hand and a straightedge across the repair, then check it again with side light.
Prime bare filler before painting. Filler absorbs paint differently, causing flashing even when the colour matches. Apply the finish with a roller texture consistent with the rest of the wall. On strong colours or walls lit from the side, repainting the full wall section may be necessary. The guide on preparing stripped walls covers larger areas of surface correction.
Why hairline crack repairs reappear
- The crack was filled over dust or loose paint.
- A plasterboard joint needed tape, not filler alone.
- The plaster or board is moving beneath the surface.
- Moisture weakened the background.
- A thick application shrank as it dried.
- The filler was too rigid for minor seasonal movement.
- Decorating began before the repair was dry.
Safety and warning signs
Stop treating the issue as decoration if a crack grows noticeably, exceeds a few millimetres, shows displacement from one side to the other, or appears with sagging ceilings, sticking openings or exterior masonry cracks. Cracks after major building work, impact, escape of water or ground movement need context-specific assessment.
Ceiling cracks are awkward to prepare safely from a ladder and may involve loose plaster overhead. Extensive making-good is better handled by painters and decorators or a suitable plastering professional. Small stable repairs can be combined with other property maintenance jobs.
Repair the cause before hiding the line
A durable finish comes from classification and preparation. Record the crack, check that the background is dry and firm, open only the fragile edge, use tape where a joint has failed, and feather the repair wider than the visible line. If the evidence suggests continuing movement, the most useful action is investigation, not another coat of filler.

