
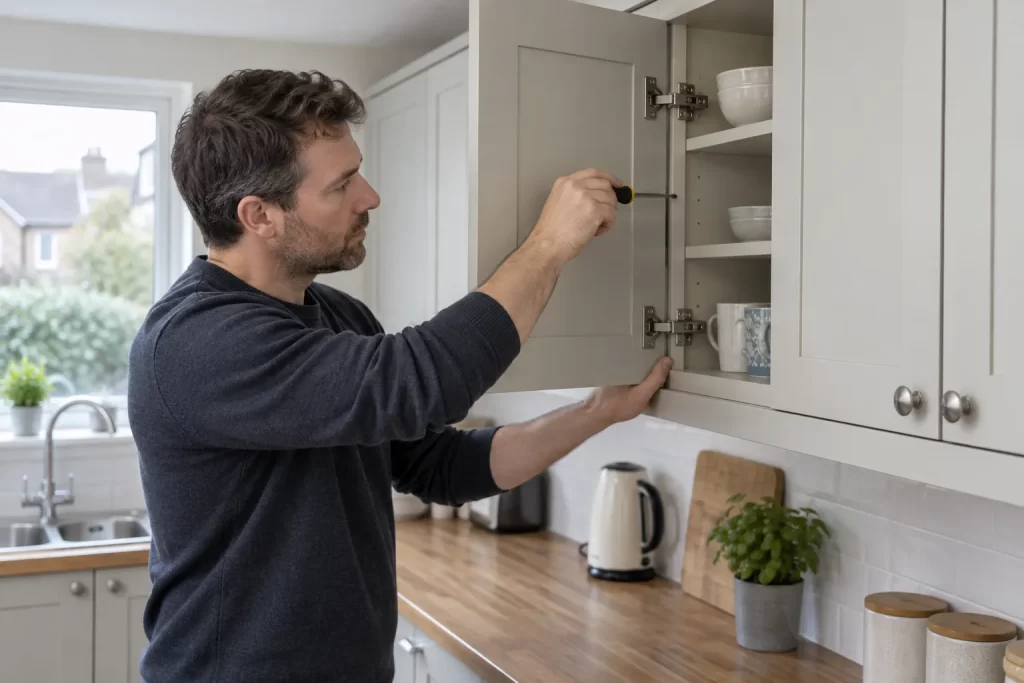
Uneven cupboard doors can make an otherwise sound kitchen look tired. One door may sit higher than the next, the gap may taper from top to bottom, or two handles may no longer meet at the same level. Modern concealed hinges are designed to correct these small errors, but turning every screw at random usually trades one problem for another.
The reliable approach is to identify the direction of the error, make one small adjustment at a time, and keep checking the relationship between neighbouring doors. This guide covers common European-style concealed hinges fitted to many UK kitchens. Surface-mounted hinges, damaged cabinets and doors that have swollen need a different repair.
Work out whether the door or cabinet is at fault
Stand back and look at the full run of units. If several doors slope in the same direction, check the cabinet and floor with a spirit level; the units may have settled or the worktop may not be level. If only one door is wrong, the hinge or its fixing is more likely to be responsible. Open the door and lift gently at the handle. Noticeable movement at the hinge plate means the screws or cabinet material are loose.
Also check that nothing inside the cabinet is pushing against the door. A bin, pan handle or overfilled shelf can prevent complete closure and imitate a depth-adjustment problem. Clean grease from the hinge and confirm that both hinge arms are fully clipped onto their mounting plates.
Tools and preparation
- A well-fitting Pozidriv screwdriver, usually PZ2
- Small spirit level or straightedge
- Masking tape and pencil
- Two-millimetre card spacers for checking consistent gaps
- A tray for screws and hinge caps
- Wood glue and suitable repair plugs only if a fixing hole is stripped
Empty fragile items from the cupboard and support a large door while working. Do not use a high-speed drill for adjustment screws. Concealed hinge mechanisms are small, and excessive torque can strip the screw or damage the cam.
Learn what the three adjustments do
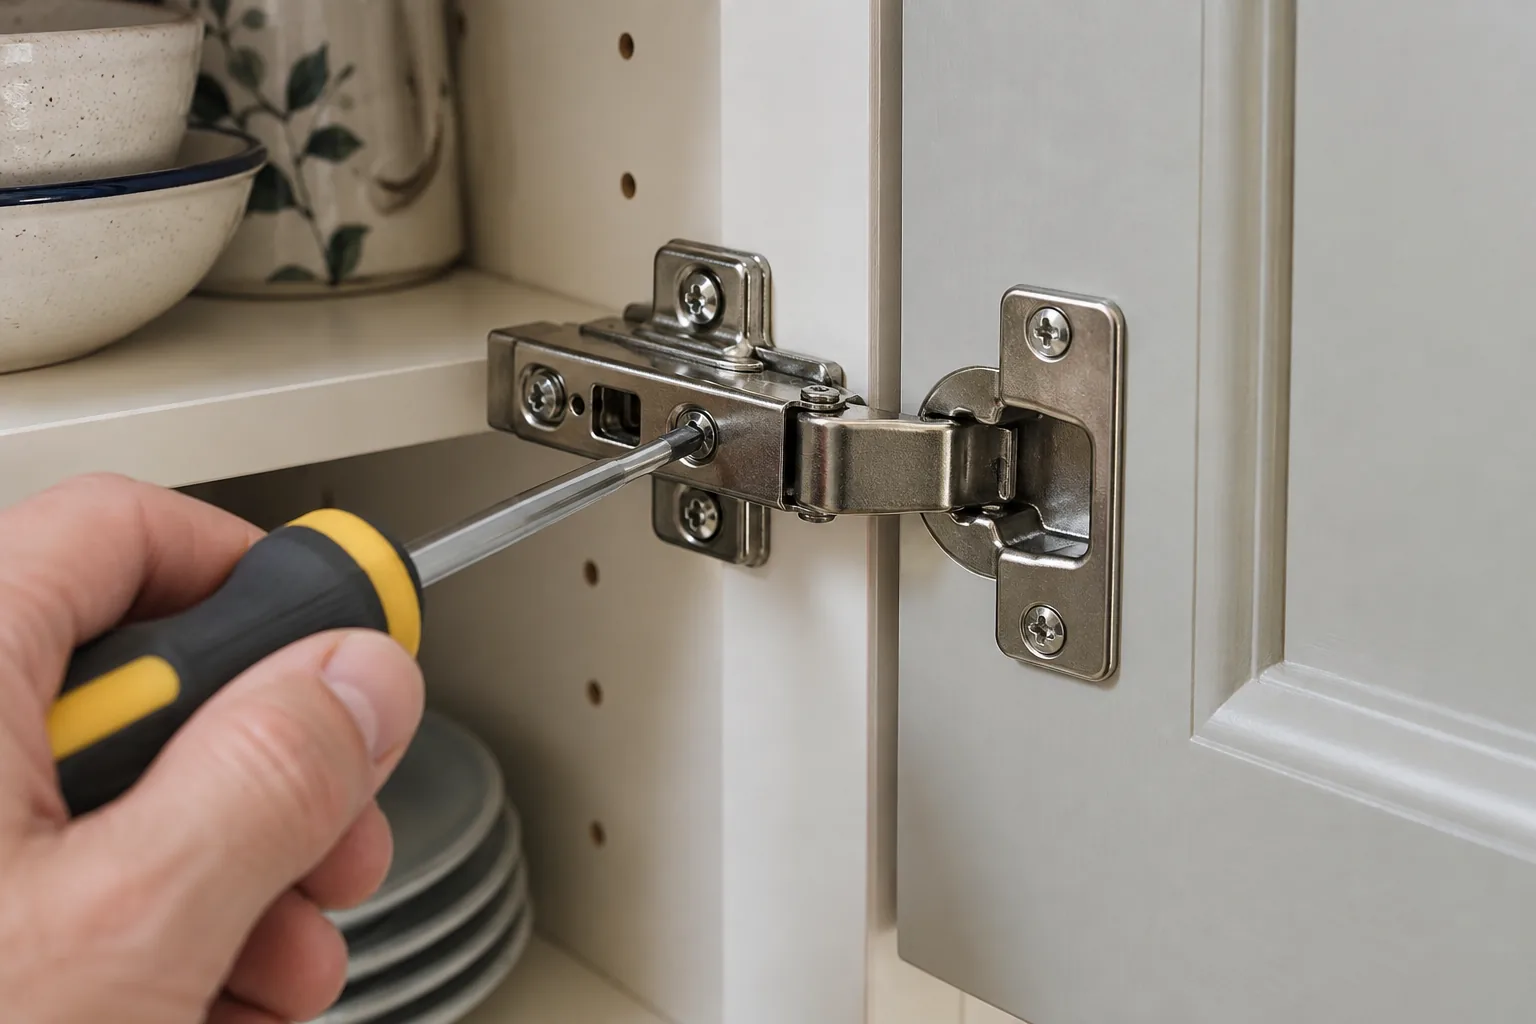
Although hinge designs vary, most concealed hinges provide three directions of movement. The screw nearest the front of the cabinet commonly moves the door sideways. A second screw along the hinge arm alters how far the door sits from the cabinet. Height is often controlled by loosening screws in the mounting plate and sliding the door up or down. Some newer plates have a separate height-adjustment cam.
Do not assume the layout from appearance alone. Turn an adjustment screw only an eighth or quarter turn, close the door and observe the result. If nothing moves and the screw starts to come out, return it to its original position; it may be a fixing screw rather than an adjuster.
Step 1: tighten loose mounting screws first
Before changing alignment, tighten the screws holding the hinge cup to the door and the plate to the cabinet. They should be secure but not forced. Chipboard cabinets are easy to strip. If a plate shifts when the screw is tightened, the hole needs repair. Repeatedly fitting a larger screw can split the board or leave too little material for a lasting fixing.
For minor damage, a purpose-made chipboard hinge repair plate can spread the load over fresh material. It must be fitted squarely or the adjustment range will be lost. A badly broken cabinet side or torn-out hinge cup is better assessed through a furniture repair service.
Step 2: correct the height
Use masking tape to mark the desired top edge, referring to the adjacent door rather than the worktop alone. Support the door from below. Loosen—do not remove—the mounting-plate screws on both hinges just enough for the plate or hinge arm to move vertically. Slide the door a small amount, retighten the top screw lightly, then the lower one, and check the position.
On tall doors with three hinges, loosen all three plates evenly and keep the door supported. If one plate remains fixed while the others move, the hinge arms can be placed under strain. Once the height is correct, tighten all fixings by hand and check that the door still opens freely.
Step 3: make the side gaps parallel
A tapered gap usually needs side-to-side adjustment. Work with the top and bottom hinges as a pair. Moving the top edge one way and the bottom edge the opposite way rotates the door slightly. Make very small turns and close the door after each pair of changes. A card spacer held between adjacent doors makes changes easier to see.
Do not aim for a gap so tight that doors touch. Painted and foil-wrapped fronts need clearance to open without chipping. Check the handle side, the hinge side and the line between double doors. If the adjuster reaches the end of its travel before the gap is straight, recheck cabinet level and mounting-plate position.
Step 4: set the closing depth
When one corner projects beyond the cabinet, use the depth adjustment to move that part of the door in or out. Adjust both hinges if the whole door sits proud. Adjust one hinge only when correcting a twist, and avoid using the hinge to force a warped door flat. A bowed timber or MDF front will continue to load the hinge and may need replacement.
Leave enough space between the door and cabinet for the hinge to move. If the door is pulled too far inward, it may catch the carcase before reaching the closed position. Check bump stops as well: a missing rubber buffer can make one corner appear recessed.
Step 5: test soft-close action and nearby doors
Open the door fully and close it several times. The soft-close mechanism should engage without a knock or hesitation. Some hinges have an on/off switch or separate damper; make sure it was not moved accidentally. Then open neighbouring doors together to confirm the handles and edges do not collide.
If several doors need adjustment after new flooring or building work, the base units may have shifted. Correcting each hinge can disguise a cabinet-level problem while reducing future adjustment range. A kitchen refurbishment professional can check the unit run, wall fixings and worktop support.
Common mistakes
- Turning several screws before testing: you lose track of which movement caused the change.
- Using an electric driver at full torque: hinge cams and chipboard threads are easily damaged.
- Aligning one door in isolation: kitchen fronts must be judged as a complete run.
- Forcing a warped door flat: hinge adjustment cannot remove a permanent bow.
- Ignoring loose plates: alignment will drift again within days.
- Removing mounting screws completely: a heavy door can fall and tear the remaining hinge out.
When adjustment is not enough
DIY adjustment is reasonable when the hinges and cabinet material are sound and the door needs only a few millimetres of movement. Ask for help when a hinge cup has broken out of the door, the cabinet side is crumbling, a tall or glazed door is difficult to support, or the units themselves are no longer level. If the problem began after a door was replaced, the drilling pattern or hinge specification may be incompatible.
Multiple loose fronts, sticking drawers and damaged edge banding can be dealt with together during a handyman visit. For a sticking drawer rather than a door, use the dedicated guide to repairing drawer runners.
Finish with balanced gaps, not perfect measurements
Real kitchens are not laboratory-level, especially in older properties. The goal is an even visual line, reliable closure and hinges that are not under strain. Tighten loose fixings first, correct height, straighten the side gap, set depth last, and test the whole bank of units. That order preserves the available adjustment and makes future fine-tuning straightforward.

