
How to Stop a Dripping Tap: A Step-by-Step Guide
How to Stop a Dripping Tap
- Always turn off the water supply before starting any tap repair.
- Pop the plug in the sink to avoid losing small screws or washers.
- Identify whether you have a compression tap or a mixer tap first.
- Take the old washer or cartridge with you when buying a replacement.
- Use PTFE tape on threads to help prevent future leaks.
- Don’t overtighten fittings when reassembling, as this can crack components.
- If the drip continues after a repair, the valve seat may need attention.
- When in doubt, a professional handyman can save you time and prevent water damage.
"*" indicates required fields
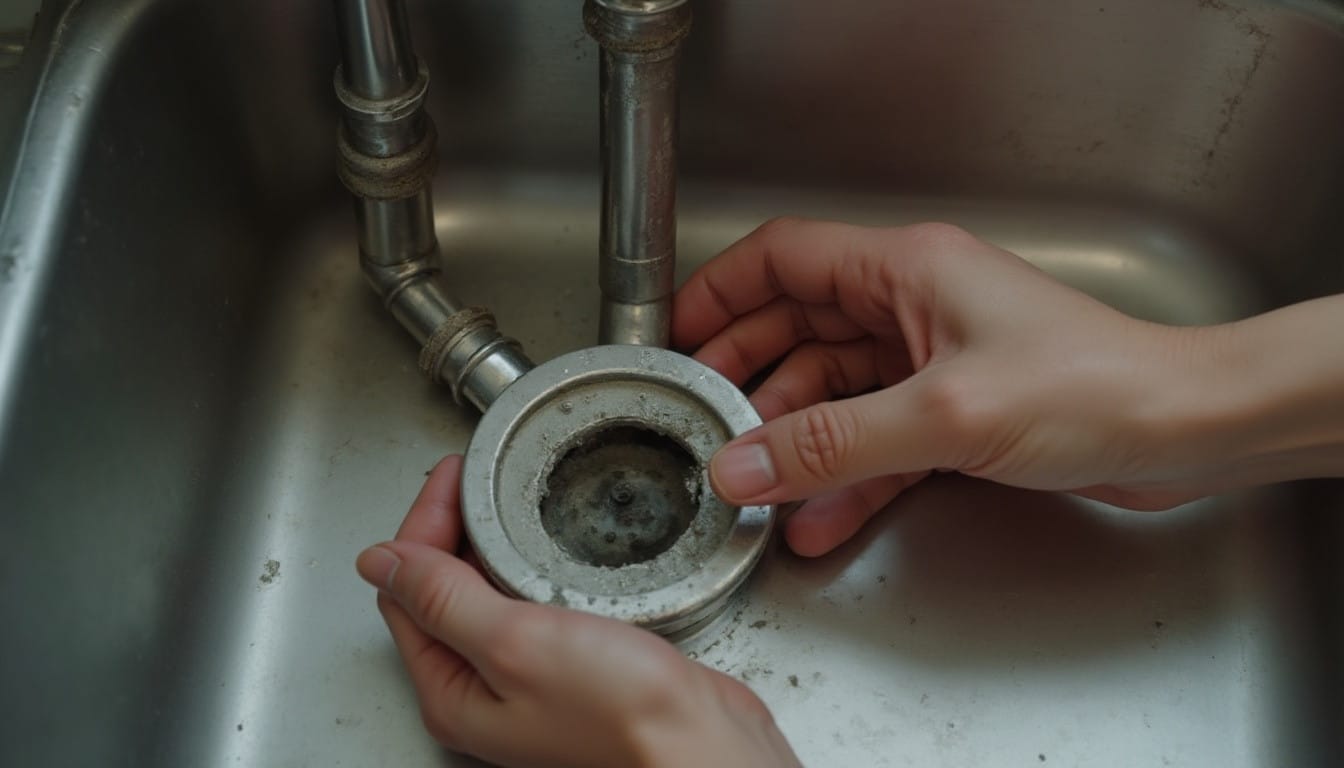
A dripping tap is one of those small annoyances that quickly becomes a big headache. Beyond the constant drip, drip, drip keeping you up at night, a leaking tap wastes water, pushes up your bills, and can lead to limescale build-up or even water damage if left unchecked. The good news is that fixing a dripping tap is often a straightforward DIY job that most London homeowners and tenants can tackle in under an hour with the right tools and a bit of patience.
In this guide, we’ll walk you through exactly how to stop a dripping tap, whether you’ve got an older compression tap or a modern mixer tap, and help you work out when it’s time to call in a professional instead.
Why Is My Tap Dripping?
Before you start unscrewing anything, it helps to understand what’s actually causing the problem. Most dripping taps in UK homes come down to one of a few common culprits.
The most frequent cause is a worn or perished washer. Every time you turn a compression tap off, the washer is pressed against the valve seat to stop the flow of water. Over time, this rubber or fibre washer hardens, cracks, or wears down, and it stops forming a tight seal. This is especially common in older London properties with traditional taps.
In mixer taps, the culprit is usually a worn cartridge or O-ring rather than a washer. These taps use a ceramic disc cartridge to control water flow and temperature, and when the cartridge wears out, drips and leaks follow.
Other causes include a damaged valve seat, which can develop pitting or corrosion over time, loose components that have worked their way free through daily use, or simply high water pressure that’s putting extra strain on ageing fittings. London’s notoriously hard water doesn’t help either, as limescale build-up can prevent components from sealing properly.
Tools You’ll Need
Before you begin, gather everything together so you’re not halfway through the job with wet hands, hunting for a spanner. For most tap repairs, you’ll need an adjustable spanner, a flathead and a Phillips screwdriver, a replacement washer or cartridge (matched to your tap’s make and model), some PTFE tape for sealing threads, and a cloth or towel to catch any drips and protect the sink surface. It’s also worth having a small container to hand for any tiny screws or components you remove, as these have a habit of disappearing down the plughole at the worst possible moment.
Step-by-Step: Fixing a Compression Tap
Compression taps are the traditional style found in many older London homes, usually with separate hot and cold handles that you turn to open and close.
Start by turning off the water supply, either at the isolation valve beneath the sink or at the main stopcock if there isn’t one. Once the supply is off, turn on the tap to release any remaining water and pressure in the pipe, and pop the plug in the sink so you don’t lose any small parts.
Next, remove the tap handle. Most handles have a small screw hidden beneath a decorative cap on top, which pops off with a flathead screwdriver. Undo the screw and lift the handle away.
With the handle off, you’ll see the headgear nut. Use your adjustable spanner to loosen and remove this, then lift out the entire valve mechanism. At the bottom of the valve, you’ll find the old washer held in place by a small retaining nut. Undo this nut, slide off the worn washer, and replace it with a new one of the same size.
Before reassembling, take a look at the valve seat inside the tap body. If it feels rough or pitted, this could be contributing to the drip and may need resurfacing or replacing separately. Once you’re happy, reassemble the tap in reverse order, tightening each part firmly but without overdoing it, then turn the water supply back on and test.
Step-by-Step: Fixing a Mixer Tap
Mixer taps are common in London kitchens and bathrooms, and while the principle is similar, the internal mechanism is different.
As with a compression tap, turn off the water supply first and release any pressure by opening the tap. Protect the sink with a towel and keep the plug in.
Locate the small cap on top of the handle, usually marked hot or cold or with a coloured indicator, and prise it off carefully with a flathead screwdriver. Underneath, you’ll find a fixing screw. Remove this and lift the handle away to expose the cartridge.
Using your spanner, unscrew the retaining collar or nut around the cartridge, then carefully lift the old cartridge straight out. Take it with you to a plumbers’ merchant if possible, as cartridges vary by brand and model and you’ll want an exact match.
Fit the new cartridge in the same orientation as the old one, replace the retaining collar, and reassemble the handle and cap. Turn the water supply back on gradually and test the tap through its full range of movement to make sure the drip has stopped and the temperature control still works properly.
When a Dripping Tap Means a Bigger Problem
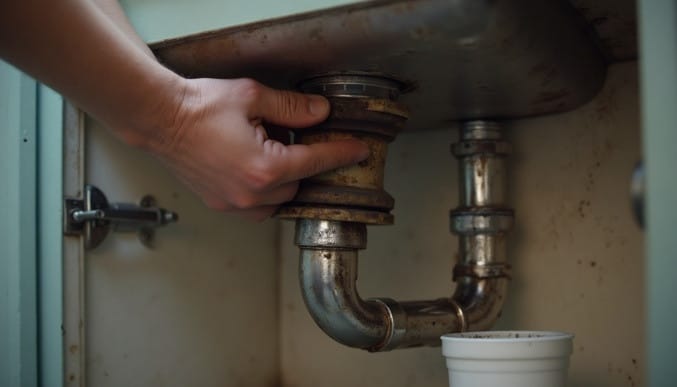
Sometimes a drip is more than just a worn washer. If you’ve replaced the washer or cartridge and the tap is still leaking, this could point to a damaged valve seat, corroded internal threads, or a fault with the tap body itself. Dripping from the base of the tap rather than the spout often indicates a worn O-ring rather than a washer issue. And if you’re noticing low water pressure, discoloured water, or leaks appearing elsewhere in the same pipework, this could suggest a wider plumbing issue rather than a simple tap fault, and is worth having looked at properly.
When to Call a Professional Instead of DIY
DIY tap repairs are a great option for straightforward washer or cartridge replacements, but there are times when calling a professional makes far more sense. If you’re dealing with an unusual or high-end tap design, if you’ve attempted a repair and the drip persists, if you’re not confident isolating your water supply safely, or if you suspect the issue is linked to your home’s wider plumbing, it’s worth bringing in an experienced handyman. This saves you time, avoids the risk of water damage from a botched repair, and ensures the job is done properly the first time, particularly important in rented London properties where you may need the work documented for your landlord.
