
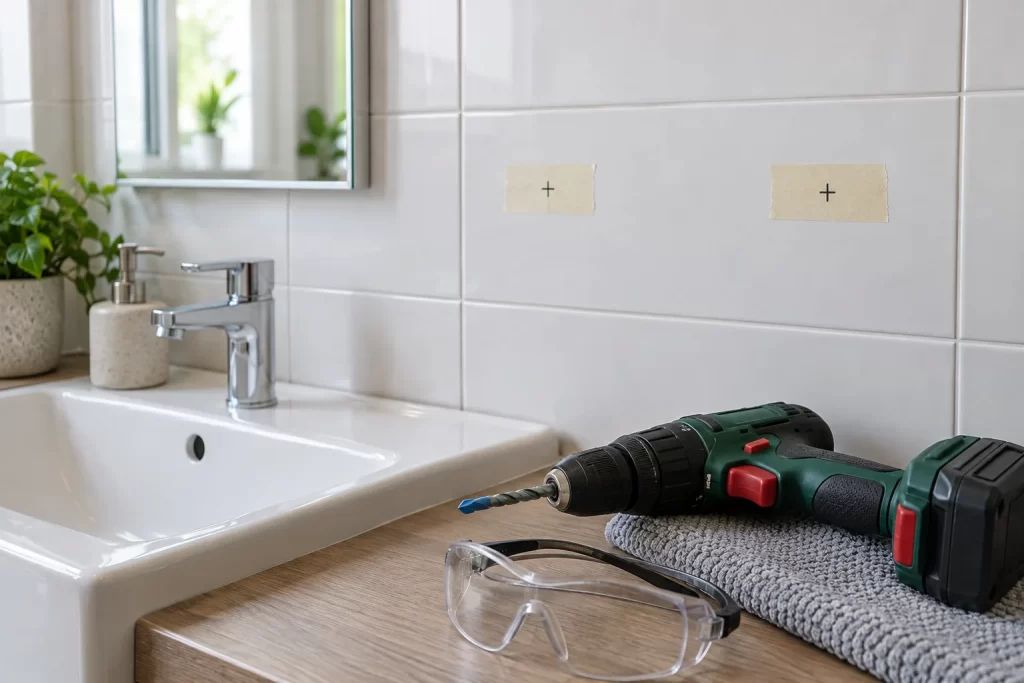
Glazed ceramic tile is hard at the surface but brittle when struck or drilled near an unsupported edge. A clean hole depends on the correct bit, low speed and light pressure. The more important check happens before the drill starts: bathrooms and kitchens contain concealed water pipes and electrical cables that a tile surface does not reveal.
Confirm the tile type
This guide covers ordinary glazed ceramic wall tile. Porcelain, natural stone, glass and thick floor tile need different bits, cooling and techniques. A ceramic tile often has a coloured clay body visible at an unfinished edge; porcelain is denser and consistent through its thickness. If uncertain, test a spare tile or ask the supplier.
Do not experiment on irreplaceable decorative, glass, cracked or hollow-sounding tiles. Specialist drilling is sensible when the finish is costly or the fixing carries a grab rail, screen or other safety-critical load.
Choose the fixing position, not just the visible centre
Keep holes away from tile edges and corners where stress concentrates. Avoid existing hairline cracks and very narrow cuts. Check that the fitting’s cover plate will sit flat and that its screws land in sound backing rather than a grout void.
Use the fitting as a template, level it and mark centres on masking tape. The tape helps the mark stay visible but does not prevent cracking by itself.
Check behind the tile
Review plans and trace visible taps, valves, sockets, switches and radiator pipes. Use a suitable detector across a broad area, recognising that foil-backed board, metal studs, tile adhesive and wet walls can affect readings. Do not drill directly above, below or horizontally from an electrical accessory without understanding the likely cable route.
Pipes may run vertically to a shower valve or basin and can sit close behind plasterboard. If the route cannot be established, move the fixing or use a bathroom fitting professional. A detector is not permission to drill blindly.
Tools and materials
- Safety glasses and suitable gloves
- Variable-speed drill with hammer action switched off
- Sharp spear-point carbide ceramic-tile bit
- Masonry or wood bit for the confirmed substrate behind
- Masking tape, pencil, level and centre template
- Depth stop or tape flag on the bit
- Water spray for cooling where the bit maker recommends it
- Fixing matched to the backing material and load
Practise on a spare tile
Support the spare fully on flat timber and rehearse starting the bit without skidding. Note the speed and pressure that produce powder rather than heat. Do not hold a loose tile in your hand or drill it over a void.
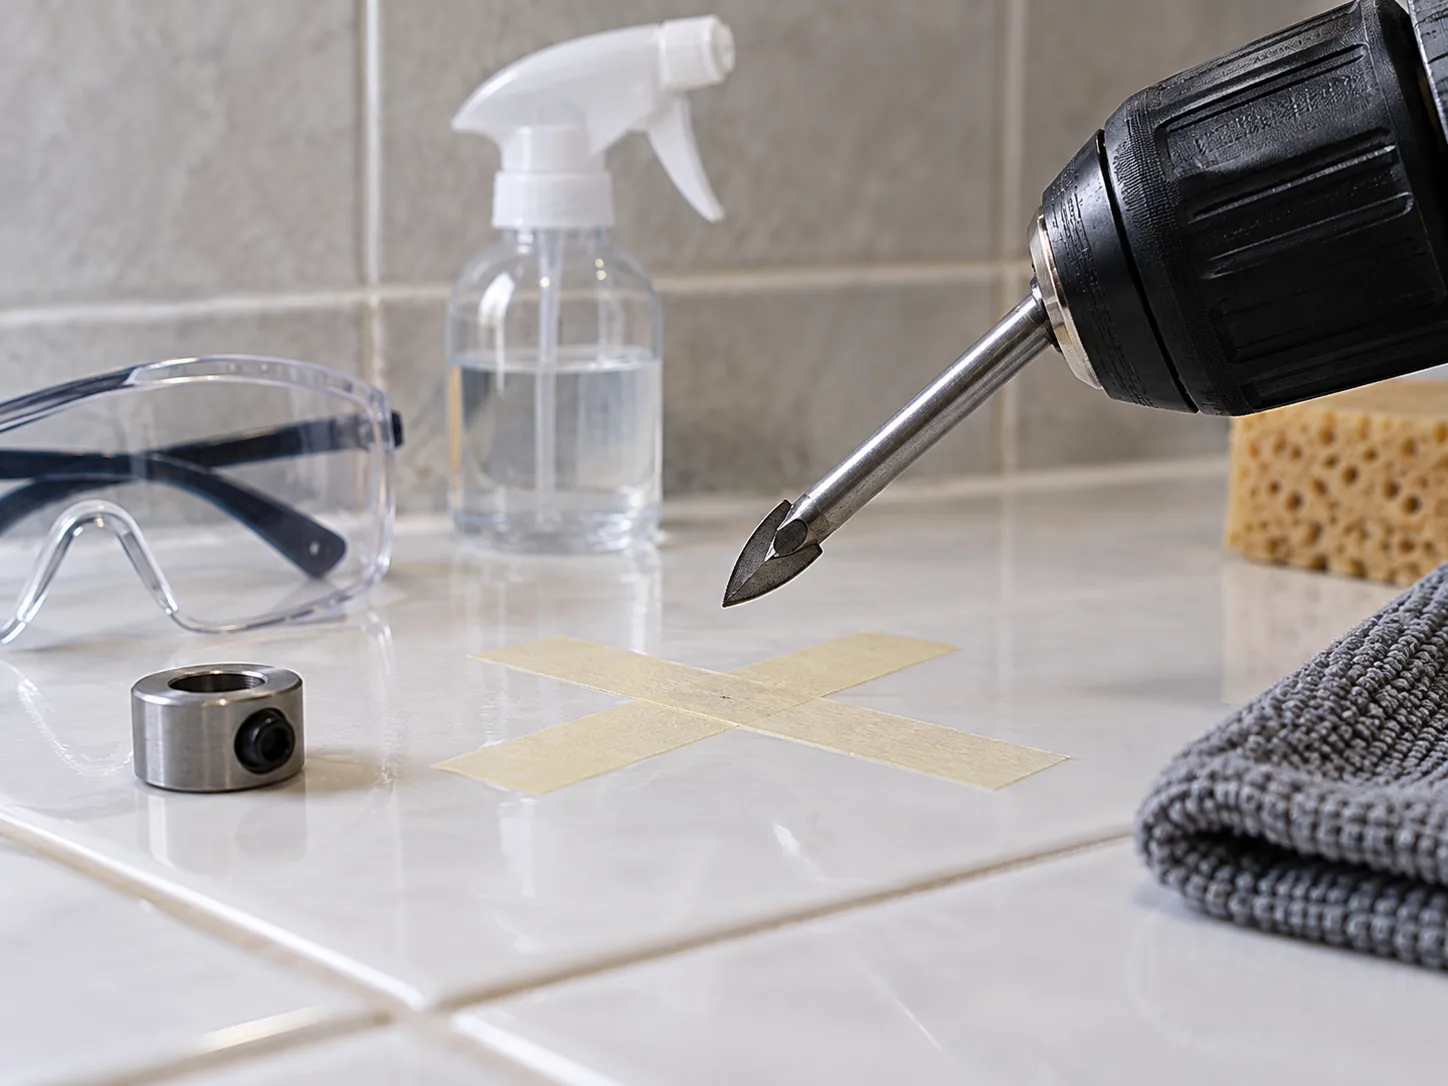
Step 1: make the surface safe and dry
Keep water away from sockets and powered tools. Dry the wall and floor, provide stable steps if needed and clear breakable objects. If cooling water will be used, choose a battery drill and apply only a small controlled amount at the bit, never a flowing stream.
Step 2: start slowly with no hammer action
Place the spear tip precisely on the mark, hold the drill square in both planes and run at low speed. Use very light pressure until the glazed surface is breached. A guide block or purpose-made suction guide can help on large smooth tiles. Do not centre-punch glaze.
Step 3: control heat and dust
Pause regularly and let the bit cool. Follow the bit manufacturer’s wet or dry instructions. Overheating dulls carbide and increases the force needed, which raises crack risk. Wipe slurry away so the hole remains visible, and never touch the hot tip.
Step 4: stop when the tile is penetrated
You will feel the resistance change as the bit reaches adhesive or the void behind. Stop and withdraw while rotating slowly. Do not continue deep into the wall with the tile bit. Vacuum the hole and reconfirm the substrate and safe depth.
Step 5: drill the backing separately
Change to the correct bit for known masonry, timber or board. Keep hammer action off until the ceramic is fully cleared; even then it may be unnecessary and can loosen tile adhesive. Use the depth stop so the hole is only as deep as the selected fixing requires.
Step 6: insert the fixing without stressing the tile
The plug should pass through the tile and expand in the backing, not inside the ceramic layer. Clear dust, seat it carefully and use a screw that matches the fixing. Tighten until the fitting is secure, using a protective washer where specified. Overtightening a small bracket can crack a tile hours later.
Common mistakes
- Using hammer action on the glaze.
- Drilling too close to a tile edge.
- Using a blunt general-purpose masonry bit to start.
- Applying body weight when the bit stops cutting.
- Letting a wall plug expand in the tile itself.
- Assuming a detector proves there are no pipes.
- Overtightening the final screw.
If the glaze chips or a crack starts
Stop immediately and remove pressure. A tiny edge chip hidden by the bracket may be cosmetic, but a radiating crack can admit water and grow under load. Do not conceal a crack inside a shower area with the fitting. Replace or professionally repair the tile and inspect the backing.
Make a test record for repeated holes
For several brackets on the same wall, note the successful bit, speed, cooling method and measured depth from the first hole. Recheck for services at every position; a safe first hole does not prove the route is clear farther along. Replace a bit that has lost its sharp spear profile instead of increasing pressure to compensate.
Vacuum dust between holes and inspect the tile face under raking light. Fine cracks are easier to see before a fitting covers them.
When to avoid DIY drilling
Use professional tiling support for porcelain or glass you cannot practise on, suspected tanking close behind the surface, underfloor heating, large-format tiles with uncertain support, or safety-critical fittings. Any uncertainty about electrical cables belongs with a qualified electrician.
For an accessory with failed fixings, the guide to repairing a loose towel rail shows how the wall material and bracket load affect the next step.
Let the substrate carry the load
For a small accessory where the wall build-up and service route are already known, an experienced handyman can choose the correct tile bit and substrate fixing.
The tile is a finish, not the main fixing material. Drill its glaze slowly, stop at the backing and then use a fixing designed for the wall and load. Accurate service checks and restrained final tightening matter more than speed.

