
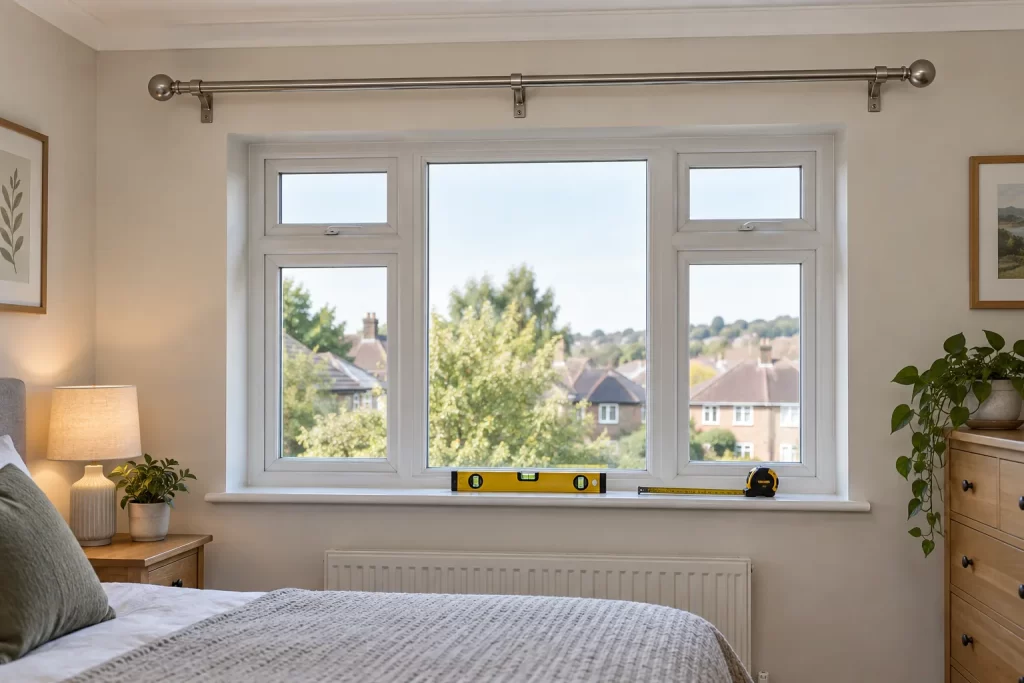
A curtain pole carries more load than its weight suggests. Heavy fabric creates leverage at the brackets every time the curtains open, and fixings above a window may meet lintels, hollow plasterboard or old crumbly plaster. The pole stays straight when the bracket layout, wall material and curtain load are considered together.
Measure the window and the curtains
Measure the opening at the top, middle and sill. Decide how far the pole should extend beyond each side so curtains stack clear of the glass. Confirm the finished curtain drop and where rings or eyelets sit relative to the pole. A radiator, deep sill or projecting handle may affect how far fabric must stand from the wall.
Check the pole’s maximum span and bracket spacing. Wide windows and heavy lined curtains normally require a centre support, but eyelet curtains must still pass or divide correctly. Follow the pole manufacturer’s limits rather than copying an existing lightweight rail.
Understand what is above the opening
A masonry wall may contain a concrete, steel or timber lintel immediately above the window. Dot-and-dab plaster can create a void before masonry. Stud walls need known timber or suitable cavity fixings. Old plaster may sound hollow while still covering solid brick.
Use construction information and a suitable detector to check for electrical cables and pipes. Cables can run vertically or horizontally from nearby accessories. Do not drill where the substrate or service route is uncertain; a curtain and blind fitting service can select an appropriate method.
Tools and materials
- Stable steps, tape measure, pencil and long spirit level
- Detector suited to cables, pipes and studs
- Drill and bits appropriate for the confirmed substrate
- Depth stop and vacuum
- Fixings rated for the wall and curtain load
- Screwdrivers and the complete pole kit
- Low-tack tape and a straight timber batten for marking
Do not rely on the small generic plugs supplied with every kit. They may be unsuitable for your wall. Never stand on a chair or drill one-handed from an overreaching position.
Lay out bracket centres
Mark the centre of the window, then the left and right bracket centres at equal distances beyond the reveals. Choose a height that provides clearance above the frame and matches curtain length. Use a long level or laser to transfer a true horizontal line; ceilings and window heads are not always level.
Offer each bracket plate to the marks and ensure screw holes are not too close to a plaster edge. Check the pole will clear the window handle, vents and any blind. For three brackets, centre support alignment must allow the pole to sit naturally without being forced upward.
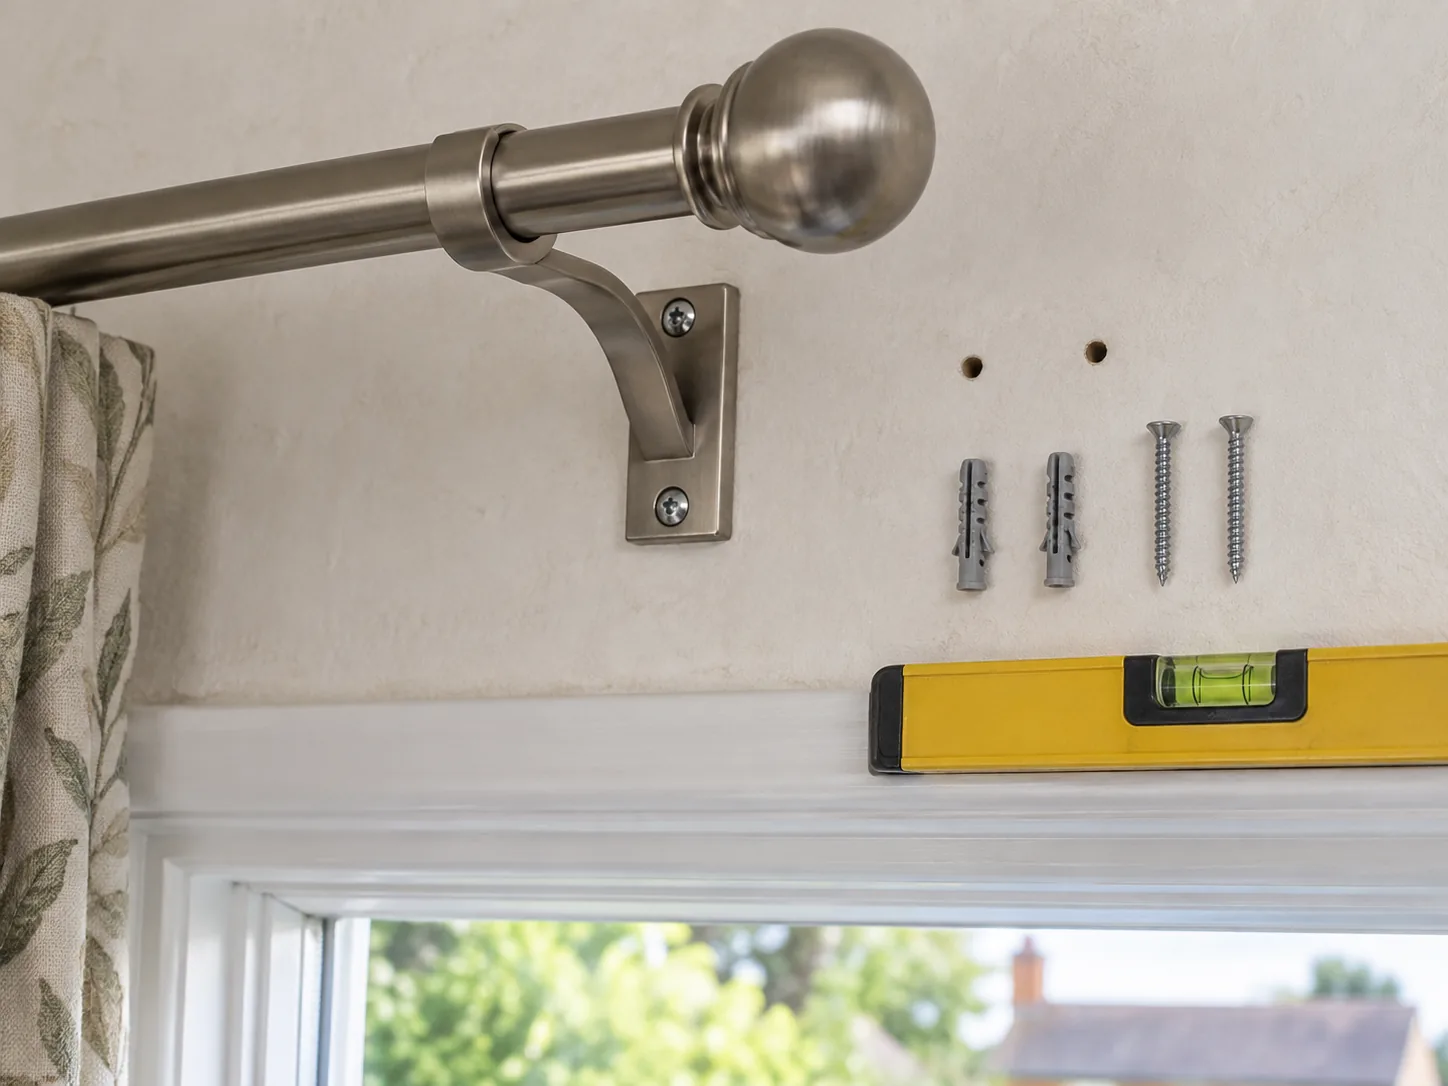
Test one position before drilling every hole
Run the detector across a broad area, not only the pencil mark. If it indicates a service or metal lintel, stop. Moving a hole a few millimetres may not make it safe because the hidden object continues behind the plaster. Specialist lintel drilling or an alternative mounting board may be required.
Drilling into known masonry
Start through plaster without hammer action to reduce breakout, then use the bit and setting appropriate for the masonry. Keep the drill square and control depth. Vacuum the hole so a plug can seat fully in solid material rather than remaining in soft plaster.
Use screws long enough to engage the rated plug but no deeper than safely planned. Tighten the plate firmly without crushing plaster or bending the bracket.
Fixing to plasterboard
Where possible, position brackets over verified timber studs or a planned timber pattress. For a cavity position, use a fixing whose load rating and board-thickness range suit the curtain and bracket leverage. Self-drilling plugs intended for light loads may not support wide, heavy curtains.
Do not place a cavity fixing into damaged board or too close to an opening edge. If the board flexes, several old holes overlap or the bracket base is small, install proper support through carpentry work.
Small areas of damaged plaster around abandoned holes should be made sound before decorating; the method in the guide to repairing plasterboard holes explains the preparation.
Step 1: install the outer brackets lightly
Fix both plates but leave final adjustment available. Place the empty pole in its cups and check level. Measure from pole to sill at both ends as a secondary check, recognising that the sill itself may vary.
Step 2: position the centre bracket from the pole
With a wide pole supported at both ends, bring the centre bracket up to it without lifting the pole above the level line. Mark, check for services again and fix. This prevents a centre support from introducing a visible hump.
Step 3: prepare the pole and rings
Cut a metal or timber pole only if the kit permits it. Measure between finials and account for any connector. Cut square with the correct fine-tooth blade, deburr metal thoroughly and keep swarf away from carpet. Place the required curtain rings on each section before fitting finials.
Step 4: tighten, hang and load gradually
Tighten bracket and cup screws evenly. Hang one curtain at a time while another adult supports the pole. Open and close slowly, watching for bracket rotation, plaster movement and rings catching at a connector. Stop if a fixing shifts.
Common mistakes
- Using the window head as a level reference.
- Omitting a required centre support.
- Using generic plugs without identifying the wall.
- Drilling near a detector signal.
- Setting brackets too close to a reveal edge.
- Forcing the pole into a high centre bracket.
- Testing immediately with both heavy curtains pulled sharply.
Troubleshooting
The pole looks level but curtains hang unevenly
Measure the curtain headings and hooks, then check floor and sill levels. Do not tilt a secure pole to compensate for one curtain being hooked differently.
A bracket screw spins
Remove the load immediately. Do not fit a longer screw until the wall and service depth are known. Repair the substrate or select a rated fixing in a safe new position.
The centre joint catches rings
Check connector orientation and centre-bracket position. A single long pole or passing-ring system may be needed for curtains intended to cross the whole span.
Secure fixings come before a perfect line
Where the substrate is sound but the installation is awkward or high, a handyman installation avoids compromising bracket spacing simply to reuse old holes.
Measure from a true level, but choose positions that also offer sound support and avoid services. Correct bracket spacing, suitable fixings and gradual load testing give the pole a straight appearance that remains stable when the curtains are used every day.

