
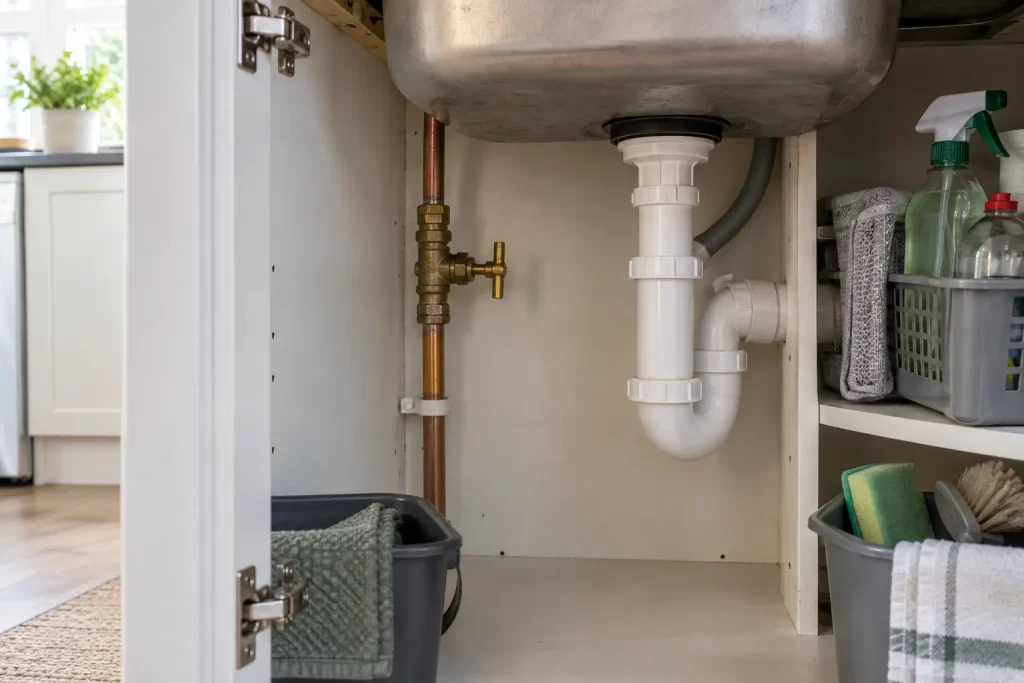
A burst connector is the wrong moment to discover that nobody knows where the mains water turns off. Finding the internal stopcock in advance, checking that it is accessible and learning how it moves can limit water damage without turning a simple valve test into a leak. The aim is not to dismantle the valve, but to identify it confidently and operate it gently.
What an internal stopcock controls
The main internal stopcock normally isolates the incoming cold-water supply to the property. It may not stop water already stored in a cold-water cistern or hot-water cylinder, and communal blocks or converted buildings can have unusual arrangements. Appliance isolators and small service valves only control one branch; they are not substitutes for the main valve.
In an emergency involving electrics, do not step into standing water or touch wet electrical equipment. Keep people away and call the appropriate emergency service or qualified tradesperson. Water near a consumer unit, sockets or light fittings requires particular caution and electrical assessment.
Start where the mains pipe is likely to enter
In many British homes the supply enters near the front elevation, then runs towards the kitchen. Check beneath the kitchen sink, inside the adjacent base unit, in a utility cupboard, under the stairs and near the front door. Flats may have a valve in a service cupboard, bathroom boxing or communal riser.
Look for a brass valve fitted directly in copper or plastic incoming pipe. Traditional stopcocks have a small crutch or T-shaped handle; modern installations may use a lever valve. Trace the pipe rather than choosing a valve purely by appearance. The main valve is usually before branches to taps and appliances.
Places to check without causing damage
- Behind removable kickboards below kitchen cabinets
- Inside a purpose-made access panel
- Beside the water meter where one is fitted indoors
- In an airing cupboard at low level
- Near a boiler, but not on gas pipework
- Within a labelled landlord or building-services cupboard
Do not unscrew fixed boxing or drill exploratory holes without checking for pipes and cables. Ask the previous owner, landlord, managing agent or water company if the route is unclear. A plumber can trace and label it.
How to distinguish water from gas
Never turn a valve simply because it resembles a stopcock. Gas pipework and meters have their own emergency controls and must be treated separately. Follow the pipe: a water main supplies cold taps and typically enters below ground level. If there is any doubt, leave it alone and contact a competent professional. Do not paint, conceal or hang items from any service pipe.
Prepare before testing the valve
- Clear the cupboard fully and provide good lighting.
- Place a dry cloth below the spindle and compression joints.
- Photograph the valve and surrounding pipework.
- Tell other occupants that water will briefly stop.
- Choose a cold tap at the lowest practical point for verification.
Check for green staining, corrosion, dampness or a badly unsupported pipe. If the valve already weeps, is buried in plaster, or the pipe moves when lightly touched, do not test it. Arrange repair while the situation is controlled.
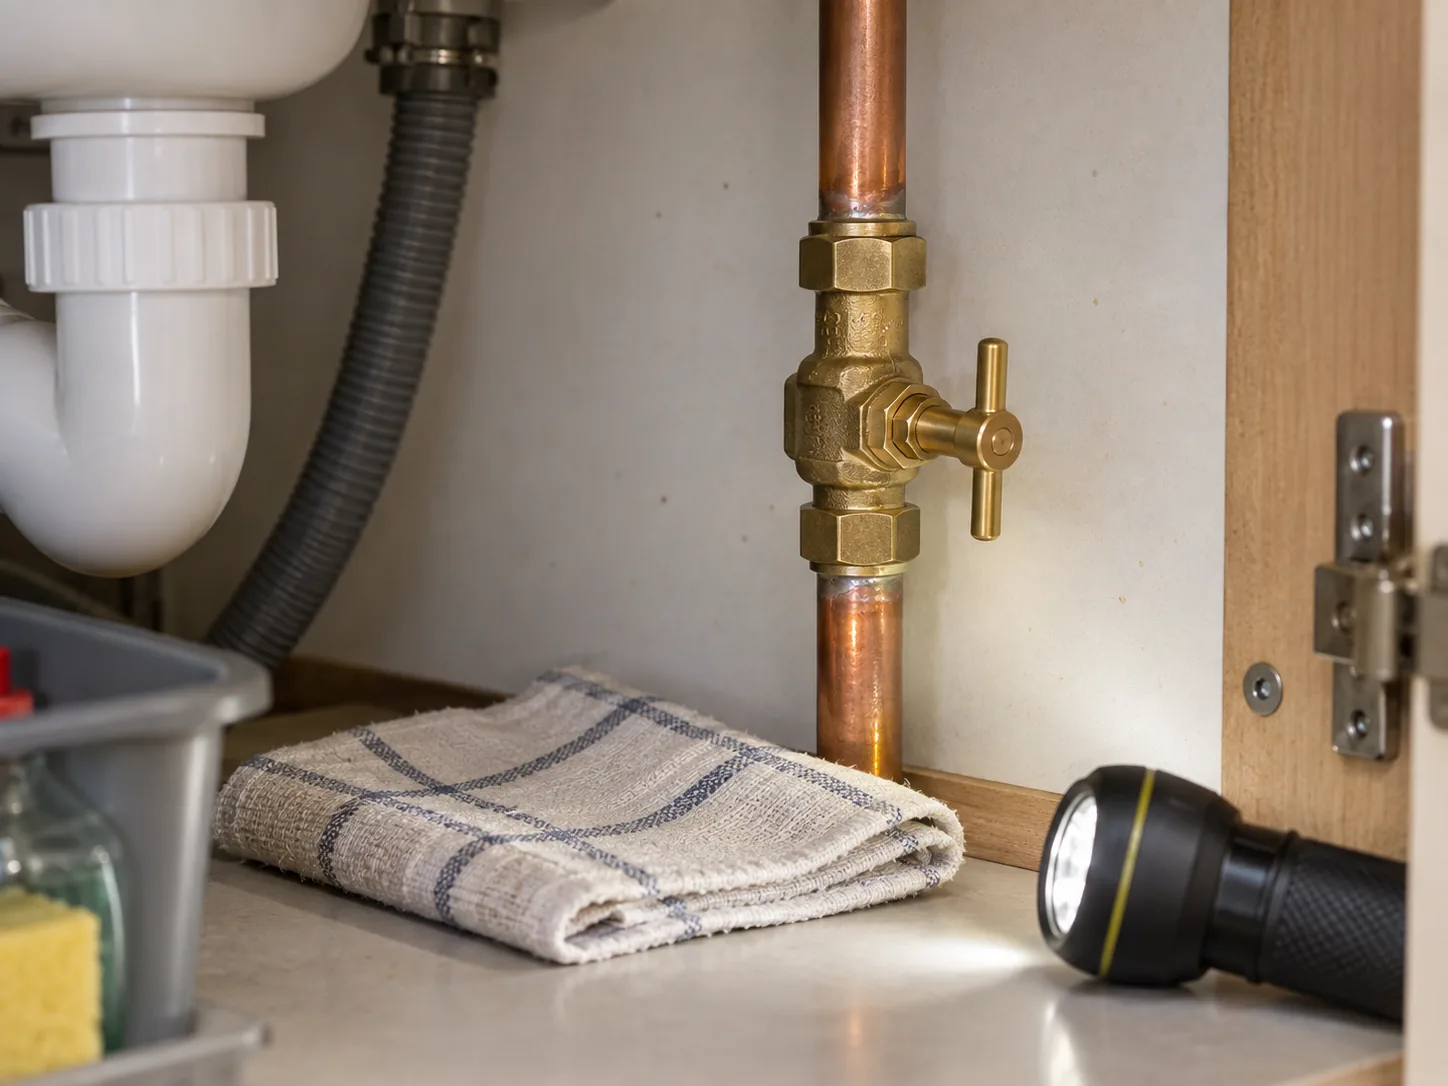
Step 1: turn clockwise with your hand only
A traditional stopcock closes clockwise when viewed from the handle end. Apply steady hand pressure and count the turns. Do not use grips, a wrench or an extension bar on a seized handle: excessive leverage can snap the spindle or disturb old joints. If it will not move with moderate hand force, stop.
Step 2: verify that the supply has stopped
Open the selected cold tap. Flow should reduce and stop after the short section of pipe empties. A loft tank-fed tap may continue, so test a mains-fed kitchen cold tap where possible. If flow only reduces, the stopcock may not be closing fully or you may have found a branch valve.
Do not leave a stiff valve forced hard against its seat. Once closed, use tissue around the spindle and joints to check for a new seep. A leak that starts during operation needs prompt emergency plumbing support.
Step 3: reopen it slowly
Turn anticlockwise gradually. Sudden flow can create water hammer and stress old fittings. When fully open, turn it back a fraction of a turn so it is not jammed against the end stop. Run the cold tap until air clears, then recheck the valve and nearby joints with dry tissue.
If the stopcock is seized
Do not soak it with an unidentified spray in a food-storage cupboard or apply heat. Do not strike the handle. The external boundary stop tap may isolate the property, but it can belong to the water company or serve more than one home. Confirm ownership and access rules before using it.
A plumber can isolate upstream, service or replace the valve and install a more accessible control where appropriate. This planned job is far safer than discovering the failure during a burst.
If the valve closes but water continues
Allow for water stored in pipework and tanks, then identify which outlets continue. A kitchen mains tap that runs at normal pressure suggests the wrong valve, a bypass or incomplete closure. A bathroom tap supplied from a cistern may run until stored water falls. Do not assume the property is isolated until the relevant flow is proven to have stopped.
Label and keep access clear
Attach a simple waterproof label and record a photo in the household maintenance file. Show adult occupants where the valve is and which direction closes it. Do not pack the cupboard tightly around the handle. If a removable panel hides it, make the opening obvious and tool-free where practical.
Test the stopcock gently every six months and inspect for seepage afterwards. Landlords should ensure occupants know the location without implying they should repair plumbing themselves; include it in the property’s maintenance information.
Emergency sequence for a serious leak
- Keep clear of electrical hazards and warn occupants.
- Close the confirmed internal stopcock by hand.
- Open a safe cold tap to relieve pressure.
- Contain water only where this can be done safely.
- Call the relevant plumber, insurer or building manager.
- Photograph damage without delaying isolation.
Access matters as much as identification
Knowing the valve location also makes later diagnosis safer. Keep it accessible before following the guide to clearing a slow sink or the checks for a toilet that will not stop filling.
A stopcock is useful only when it is recognisable, operable and reachable. Find it in calm conditions, prove what it controls, reopen it carefully and deal with stiffness or corrosion before an emergency. That short test turns an uncertain fitting in a dark cupboard into a reliable first response.

