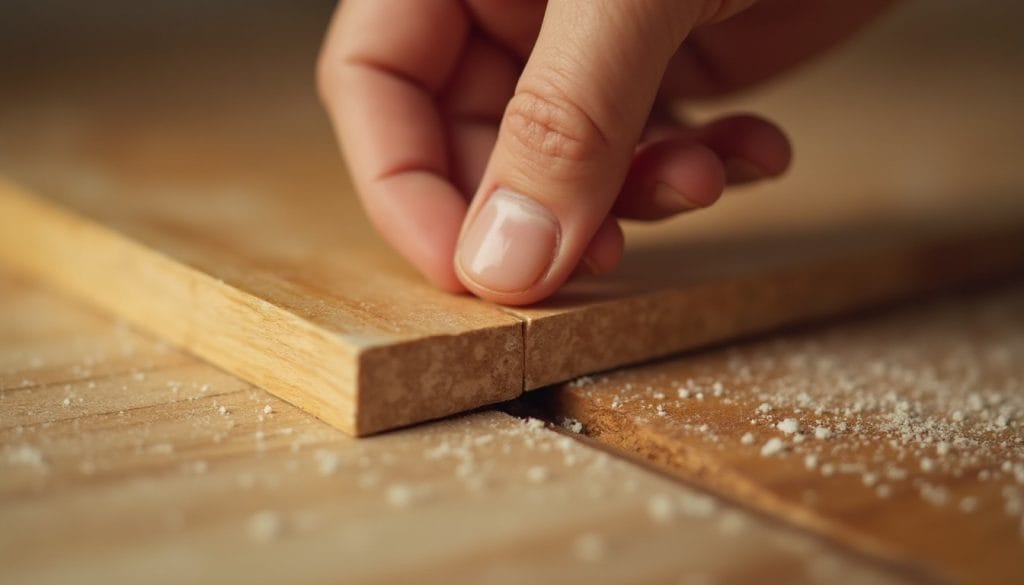
Fix Squeaky Floorboards
- Squeaks happen when loosened nails or screws let boards shift and rub against the joists below.
- Find the exact spot by walking slowly and pressing down where the noise starts.
- Talcum powder or graphite worked into the carpet pile can quieten mild squeaks quickly.
- Breakaway screw kits fix squeaks permanently through carpet, with no visible mark left behind.
- If you have access from below, shims or extra screws into the joists give a longer-lasting repair.
- Widespread squeaking, sagging, or damp signs mean it’s time to call a professional.
Squeaky floorboards have a way of announcing themselves at the worst possible moment. The good news: most squeaks can be fixed without lifting your carpet at all, using a few simple tools and a bit of patience.
"*" indicates required fields

There’s a particular kind of dread that comes with tiptoeing past a sleeping baby, a light-sleeping partner, or a flatmate who works nights, only for one floorboard to let out a creak so loud it could wake the neighbours. Squeaky floors are one of those problems that seem minor until you’re the one holding your breath at 2am, weight balanced on one foot like a poorly trained ballet dancer.
The good news is that you don’t need to rip up your carpet to sort it out. Most squeaks can be tackled with a bit of patience, the right tools, and an afternoon you weren’t planning to spend crawling around your living room. This guide walks through how to fix squeaky floorboards without lifting carpet, from working out what’s actually causing the noise to the fixes that genuinely work.
Why Do Floorboards Squeak?
Floorboards squeak for one simple reason: something is moving that shouldn’t be. Wood expands and contracts with changes in temperature and humidity, which is completely normal, but over time this movement can loosen the nails or screws holding boards to the joists underneath. Once that grip weakens, the board shifts slightly whenever weight is applied, and the friction between wood, nail, and joist creates that unmistakable creak.
Older London properties are particularly prone to this. Many homes have original timber floors that have been through decades of seasonal movement, DIY carpet fittings, and the occasional over-enthusiastic house party. Add in the fact that carpet hides the floorboards from view, and it’s easy for small gaps or loose fixings to go unnoticed until the squeaking becomes impossible to ignore.
Other common culprits include joists that have dried out and shrunk slightly, subfloor panels that weren’t fully secured, or boards that were never quite fitted flush in the first place. None of this means your floor is falling apart. It just means a few fixings need attention.
Finding the Source of the Squeak
Before reaching for tools, spend ten minutes playing detective. Walk slowly across the room in socks, applying steady weight with each step, and listen carefully for where the noise starts. It’s often not exactly where you’d expect, so it helps to mark the spot with a small piece of masking tape once you find it.
Press down firmly on the suspected area with your hand or foot. A squeak that appears with downward pressure usually means a board is rubbing against a nail or against a neighbouring board. If you feel any give or slight movement in the floor as you press, that’s a good sign the fixings underneath have loosened.
It’s worth checking a few square feet around the noisy spot too, since squeaks can travel along a board and seem to come from slightly the wrong place. Once you’ve narrowed it down, you’re ready to try a fix. If the sound is on the staircase rather than the room floor, creaking stair treads need a separate check.
Fixes You Can Try Without Lifting the Carpet
The beauty of most squeaky floorboard repairs is that they work through the carpet itself, so there’s no need to touch your flooring.
The simplest option is a lubricant. Talcum powder, powdered graphite, or a specialist floor lubricant can be worked into the carpet pile at the squeaky spot. Sprinkle it on, then work it gently into the fibres with your fingers or a soft brush so it filters down between the boards. This reduces the friction that’s causing the noise and is often enough to quieten a mild squeak, though it’s more of a short-term fix than a permanent one.
For something longer lasting, specialist squeak-fixing screw kits are widely available and designed specifically for use through carpet. These kits use a breakaway screw head: you drive the screw through the carpet and into the floorboard and joist below, and once it’s fully seated, the head snaps off cleanly below the carpet pile, leaving no visible mark. It sounds fiddly, but the kits come with a depth-control jig that makes the process fairly foolproof, and it’s genuinely satisfying to hear a squeak disappear for good.
If you don’t fancy buying a specialist kit, a standard countersunk screw can work in a similar way, though you’ll need to locate the joist first using a stud finder so you’re screwing into something solid rather than thin air. Drive the screw at a slight angle through the carpet, board, and into the joist, then use pliers to snap off any protruding tip before smoothing the carpet back over the top.

Fixes From Below If You Have Access
If you have access to the floor from underneath, such as through a cellar, crawl space, or an accessible loft for upstairs floors, you’re in a much stronger position, because these repairs tend to be more permanent and don’t involve going anywhere near the carpet at all.
Look for gaps between the floorboards and the joists. A common fix is to insert shims, thin wedges of wood coated with a little wood glue, into any gaps you find, tapping them gently into place so the board sits snugly again. Avoid overdoing it, since forcing a shim in too far can actually lift the board and create a new squeak somewhere else.
Another effective approach is to add extra screws from below, driven up through the subfloor and into the underside of the floorboard, pulling everything tightly together. Metal bridging or additional blocking between joists can also help stiffen a bouncy section of floor that’s contributing to multiple squeaks in one area.
When the Repair Needs a Professional
Most squeaks respond well to a DIY fix, but there are times when it’s worth calling in a professional rather than spending your weekend under the floor. If squeaking is widespread across an entire room rather than isolated to a board or two, this can point to more significant movement in the subfloor or joists, which is a bigger job than a few screws can solve.
Persistent squeaking paired with visible sagging, soft or springy patches underfoot, or any sign of damp is also worth getting checked properly, since these can indicate structural issues rather than simple wear. Likewise, if your home has engineered or floating floors rather than traditional floorboards, the fix is often different and can be easily bungled by well-meaning DIY attempts.
A professional can also access areas you can’t, such as spaces beneath fitted carpet in awkward corners, and will have the tools to make a lasting repair without damaging your flooring or décor in the process.