Broken Tile
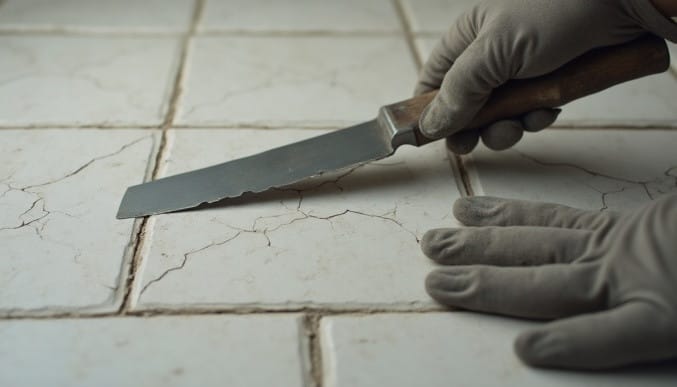
- Remove the surrounding grout before lifting the broken tile.
- Always clear away old adhesive for a level installation.
- Use tile spacers to maintain even grout joints.
- Check the tile with a spirit level before the adhesive sets.
- Allow the adhesive to cure fully before applying grout.
- Match the grout colour carefully for an invisible repair.
A cracked or chipped tile may seem like a minor cosmetic issue, but leaving it unattended can allow moisture to penetrate beneath the surface and weaken the adhesive over time. Whether you’re replacing a single wall tile or repairing a damaged floor tile, following the correct steps will help you achieve a durable, professional-looking finish.
"*" indicates required fields
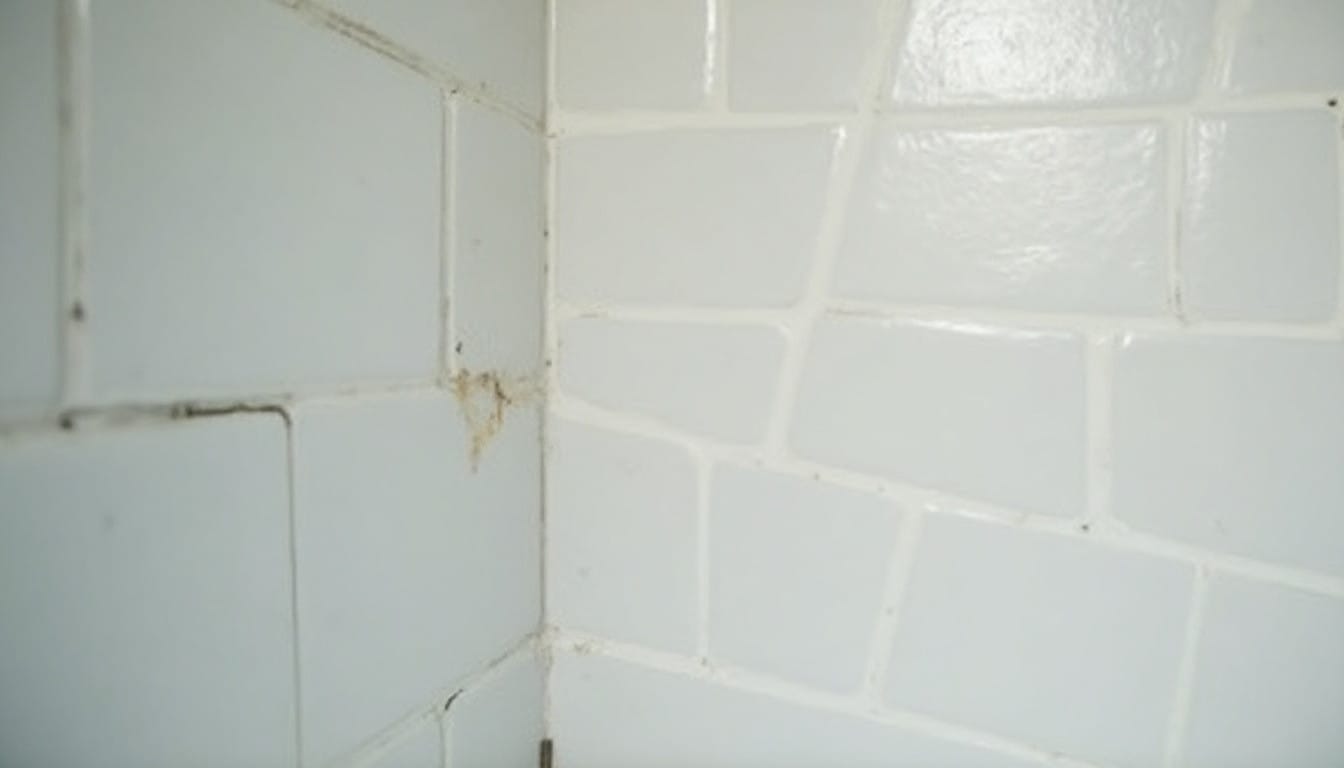
There’s always one, isn’t there? A cracked tile behind the toilet that you’ve been stepping around for six months. A chipped one by the back door that catches your eye every time you bring the bins in. Nobody plans to live with a broken tile — it just sort of happens. You mean to sort it, then life gets in the way, and before you know it you’ve mentally filed it under “not today.”
Here’s the thing though: a single broken tile rarely stays a single broken tile. Water gets into the crack, the adhesive underneath starts to weaken, and what was a five-minute fix becomes a proper job. The good news is that replacing one tile is genuinely one of the more forgiving DIY jobs out there — as long as you take your time and don’t rush the drying stages. Let’s walk through how to do it properly.
When to DIY vs When to Call a Pro
If you’re dealing with a single cracked or chipped tile on a wall or floor away from major water exposure — a kitchen splashback, a hallway floor, a spare bedroom — this is a very doable weekend job for a confident beginner.
Where we’d suggest pausing and picking up the phone instead: tiles inside a shower enclosure or wet room, anything near underfloor heating pipes, or a run of several tiles that all seem to be lifting or hollow-sounding when you tap them. That last one usually means a wider problem with the substrate or the original installation, and waterproofing (tanking, in the trade) is not something you want to guess at. Get it wrong in a shower and you’re looking at a leak into the flat below, not just an ugly tile. If in doubt, it’s always worth a quick chat with a professional before you start chiselling.
Tools and Materials You’ll Need
You don’t need a van full of kit for this. Most of it you can pick up from Wickes, Screwfix, or B&Q in one trip, and a lot of it you’ll already have knocking about in a toolbox.
- Safety gear — safety goggles and gloves, non-negotiable, tile shards go everywhere
- Grout removal tool or a multi-tool with a grout blade — saves your wrists
- Cold chisel and club hammer — for lifting the old tile
- Tile adhesive — check whether you need a rapid-set for a floor you need back in use quickly
- Notched trowel — matched to your tile size, ask in-store if you’re not sure which notch
- Tile spacers — cheap, and worth buying a fresh pack rather than reusing bent old ones
- Spirit level
- Grout, ideally colour-matched to your existing grout
- Grout float and a sponge
- A replacement tile — see below, this trips people up more than anything else
A word on sourcing the replacement tile: if your tiling is a few years old, the exact match may well be discontinued. Check under the bath panel, in the loft, or wherever the original installer left spare tiles — homeowners forget these exist more often than you’d think. If there’s nothing spare, take a broken piece to a tile shop and see what’s closest. Sometimes a “close enough” tile placed somewhere less obvious does the job just fine.
Step-by-Step: Removing the Broken Tile
This bit’s oddly satisfying, if a little violent for a Sunday afternoon.
- Suit up first. Goggles on, gloves on. Old tile shatters in unpredictable directions and you don’t want a shard in your eye over something this small.
- Remove the grout around the broken tile. Run your grout tool or multi-tool along all four edges, cutting through fully so the tile is isolated from its neighbours. Don’t skip this — trying to lever a tile out with the grout still bonded will crack the tiles either side of it too, and now you’ve got three problems instead of one.
- Score the tile. A few criss-cross scores with the chisel across the face of the broken tile helps it break into smaller, more manageable pieces rather than one big awkward slab.
- Chisel out from the centre. Start in the middle of the tile where it’s already cracked, angling the chisel slightly and working outwards towards the edges. Working from the middle out reduces the risk of chipping the tiles around it.
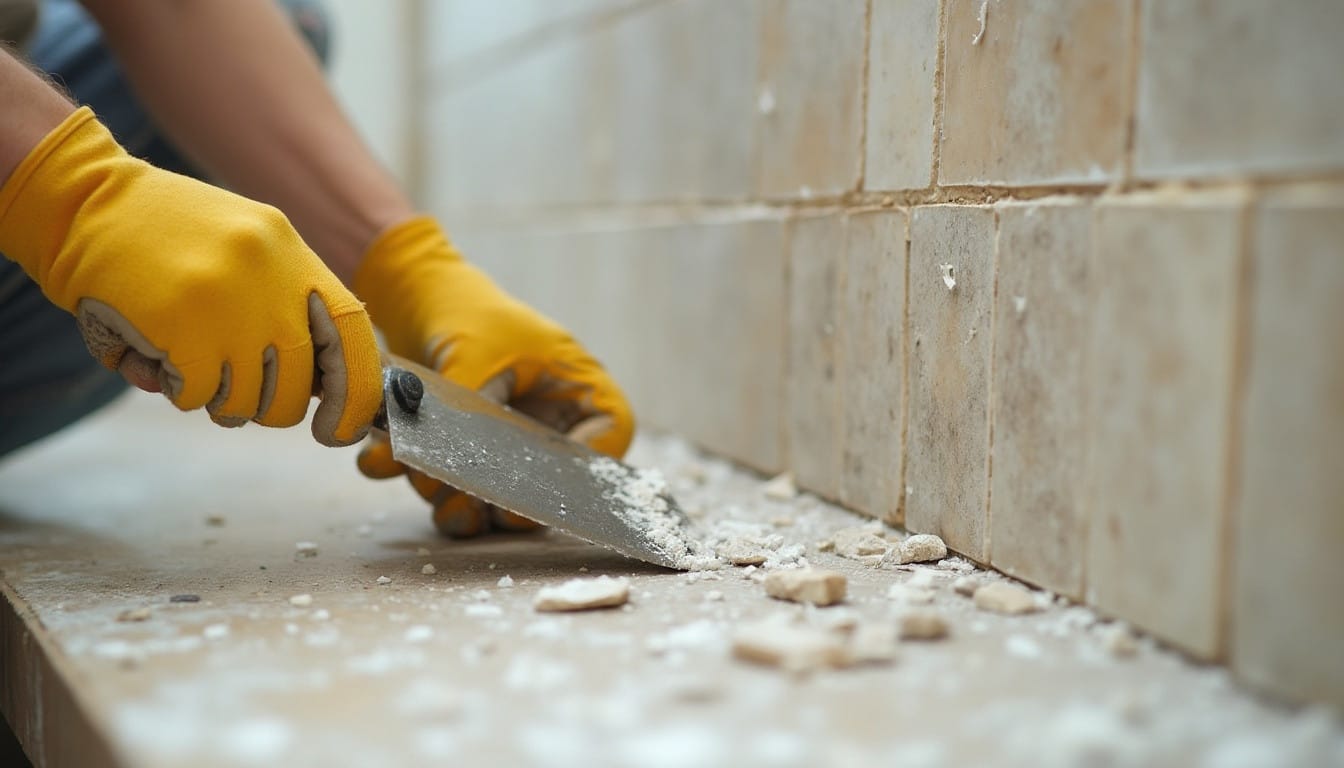
- Clear the old adhesive. Once the tile’s out, you’ll have a bed of old adhesive on the wall or floor. Chisel this back as flat as you reasonably can — you’re aiming for a clean, sound surface, not perfection. Hoover up the dust and debris properly before moving on.
Step-by-Step: Fitting the Replacement Tile
Mix your adhesive according to the packet instructions if you’re using a powder — you want a consistency like thick peanut butter, not soup.
Apply adhesive to the back of the tile using your notched trowel, combing it in one direction to create even ridges. This helps the tile bed in properly and avoids air pockets, which is usually what causes tiles to sound hollow later on.
Press the tile into place, wiggling it very slightly to help it settle, and use your spacers on all sides to keep the gap even with the surrounding tiles.
Check it with the spirit level, both across the tile and in line with the tiles around it. This is the step people rush, and it’s the one that makes or breaks how the finished job looks. A tile that sits even a millimetre proud catches the light differently and it’ll bug you every time you walk past it.
Leave it to set. Standard adhesive typically needs 24 hours before grouting, though rapid-set versions can be quicker — check the tub. Resist the temptation to crack on with grouting early. We see this a lot: someone grouts the next morning, the tile shifts slightly under the grout, and they’re back to square one.
Grouting and Finishing
Once the adhesive’s fully cured, remove your spacers and mix your grout to a similar thick, spreadable consistency.
Using the grout float, work the grout into the joints at a diagonal angle across the tile, pushing firmly to fill the gaps completely. Matching the grout colour matters more than people expect — grout does fade and discolour over time, so hold your new grout up against the old before you commit, and consider a slightly worn-in shade rather than a bright white that’ll stick out.
Wipe away the excess with a damp sponge once it starts to firm up, rinsing the sponge regularly so you’re not just smearing grout haze around. Leave it to cure fully — again, check the packet, but 24 to 48 hours is typical — before applying a grout sealer if the area’s prone to moisture, such as a kitchen splashback or a floor near an external door.
Common Mistakes to Avoid
The single biggest one we come across: people rushing the drying time because they want their bathroom or kitchen back to normal. Adhesive and grout both need proper curing time, and cutting corners here is almost always why a repaired tile fails again within a few months.
A close second is not clearing old adhesive off the substrate properly before fitting the new tile — leaving it lumpy means the new tile never sits flush, however careful you are with the spirit level.
And a smaller but common one: forgetting to dry-fit the tile and spacers before mixing the adhesive. Once that adhesive’s mixed, the clock’s ticking, so any last-minute “does this actually fit” moment should happen beforehand, not while you’re on your knees with sticky hands.
When It’s Worth Calling In a Professional
If you’ve read all this and thought “that sounds like a lot of ways to go wrong,” you’re not being unreasonable. Tiling rewards patience and a steady hand, but not everyone’s got a free weekend or the inclination to find out the hard way. That’s especially true for bathroom and wet area repairs, where getting the waterproofing wrong can cause damage well beyond the tile itself.
This is exactly the kind of job our team handles regularly as part of flooring and tiling work — whether it’s a single broken tile or a full retile, we’ll match the job to what actually needs doing rather than talking you into more than you need.
A Small Fix, Well Worth Doing
A broken tile is a small problem that’s very easy to fix properly, and very easy to make worse by rushing. Take it slow, respect the drying times, and you’ll end up with a repair nobody would ever guess wasn’t done by a professional. And if it turns out not to be your cup of tea halfway through — no shame in that, we’re only ever a phone call away.