
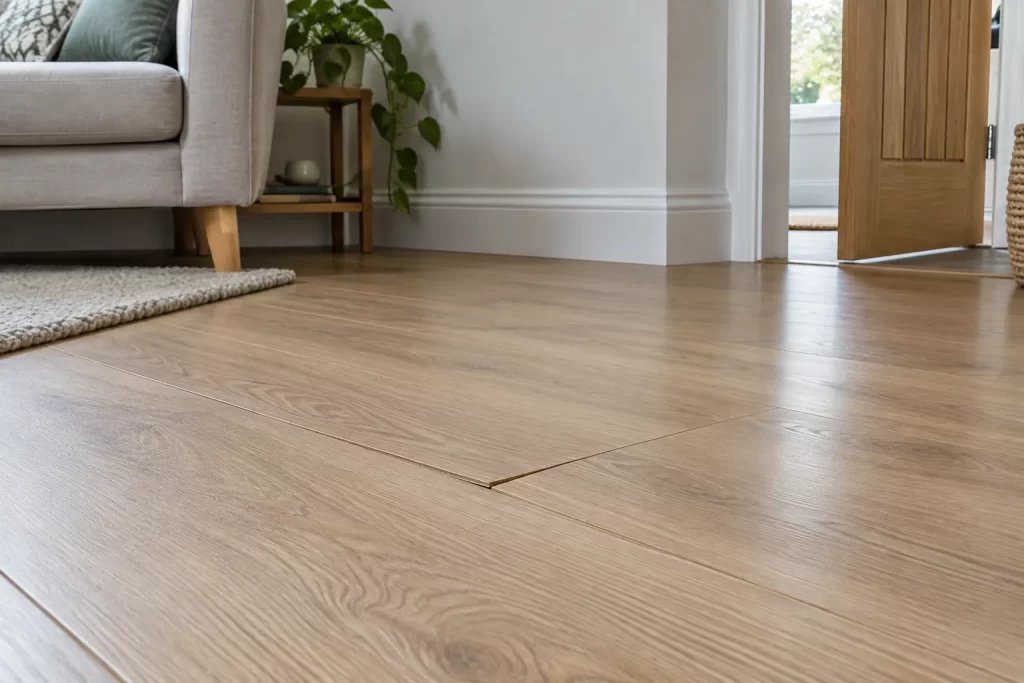
A narrow gap at the end of a laminate board can sometimes be closed without lifting the floor. Before moving anything, find out whether one plank has slid, several joints are separating, or the whole floating floor is trapped against a wall. Pulling a board into place without correcting the cause usually transfers the gap to the next joint.
Identify the type of opening
End-joint gaps run across the short ends of boards and often appear when a row shifts under repeated foot traffic. A long-edge gap may indicate an unlocked click joint, subfloor movement or damaged tongues. A raised ridge, tenting or boards pressed hard against skirting point to inadequate expansion space and should not be pulled tighter.
Check the floor in daylight from several angles. Mark the gap width with removable tape and inspect adjoining rooms, thresholds and heavy fitted units. Photograph the pattern before attempting a repair.
Look for moisture and temperature causes
Laminate changes dimension with indoor conditions. A recent leak, very dry heating season or rapid humidity change can expose joints. Check for swelling, dark edges, musty odour and soft underlay. Water-damaged high-density fibreboard rarely returns to its original shape and should be assessed through water-damage repair.
Do not close gaps while the floor is still wet or the room has just undergone a major humidity change. Find and repair the moisture source first, allow conditions to stabilise, and follow the flooring manufacturer’s stated environmental range.
Check whether the floor can move
A floating laminate floor needs a continuous expansion gap around walls, pipes, door linings and fixed objects. Skirting or beading hides this space but must not clamp the boards. Look beneath removable threshold trims and at radiator pipes. Kitchen islands and built-in wardrobes should not sit on top unless the floor system specifically allows it.
If the floor is trapped, free the obstruction before drawing a joint together. Cutting expansion space accurately can require removal of trims and specialist tools; use flooring support where edges are inaccessible.
Tools and preparation
- Vacuum and thin plastic pick
- Purpose-made suction gap closer or clean rubber-soled pulling tool
- Laminate tapping block and pull bar
- Rubber mallet
- Painter’s tape and pencil
- Spare matching boards if available
Never strike the decorative edge directly. Steel hammers, screwdrivers and improvised adhesive tape can chip the wear layer or leave residue. Test any suction or friction tool on an inconspicuous area, particularly on textured finishes.
Step 1: clean the joint fully
Vacuum grit from the gap and use a thin plastic pick to remove compacted debris. Do not scrape the brown core or widen the edge. A tiny stone can prevent closure and crush the click profile when force is applied.
Step 2: trace where the movement can go
Follow the affected row towards both walls or thresholds. If one end gap has opened, closing it moves the plank and may open another joint. Decide which board needs to travel and confirm there is expansion space at the destination. Number several related gaps with tape so none is overlooked.
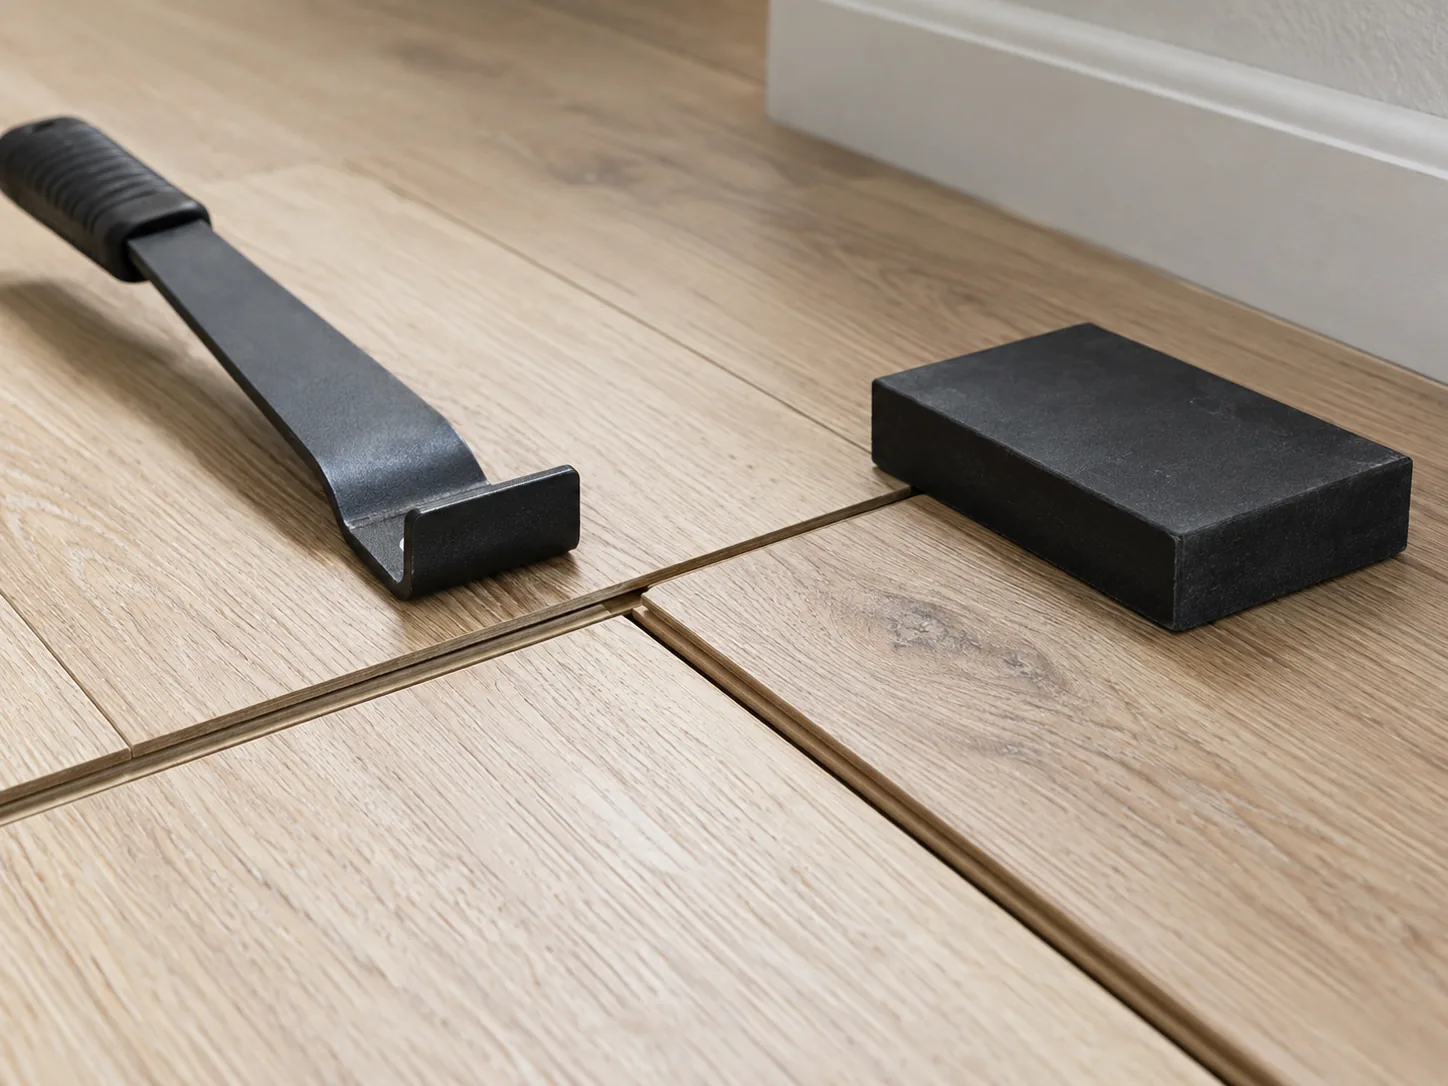
Step 3: move the loose plank gently
Attach the approved friction or suction tool near the centre of the board. Tap the tool lightly in the direction needed to close the joint, keeping force parallel to the row. Use many small taps and watch the decorative edges meet. Stop if the board bows, the long edge rises or the gap refuses to narrow.
Near a wall, removing the beading may allow a pull bar to engage the cut end. Protect the board with a manufacturer-compatible block and pull in small increments. Do not lever against plasterboard or skirting.
Step 4: inspect the closed joint
The surface should be flush and the printed bevel should form a consistent line. Run a fingertip lightly across it. A lip means the click profile has not engaged or is damaged. Do not hammer down on the face; lift and reassemble the row from an edge if the system requires it.
Should the joint be glued?
Most click floors are designed to remain unglued. Adding general-purpose adhesive can prevent future movement, swell the core and invalidate a warranty. Some manufacturers approve a specific joint adhesive for repairs, but use it only when their instructions explicitly allow it and the boards are dry and undamaged.
When boards must be lifted
Lift from the nearest free edge if several long joints are unlocked, the tongue has broken, or gaps immediately reopen. Label each row and board, remove skirting or thresholds carefully and follow the click angle specified for the product. Repeatedly flexing a joint can break it.
A damaged board in the middle of a large room may be reached by sequential disassembly. Cutting it out is an advanced repair that can harm underfloor heating or vapour layers. Professional laminate-floor work is safer where the build-up is unknown.
Common mistakes
- Closing a gap without checking expansion clearance.
- Striking a board edge directly with a hammer.
- Filling the opening with coloured sealant or wood filler.
- Gluing an unapproved floating joint.
- Moving one plank and leaving a new gap farther along the row.
- Ignoring swelling or moisture below the floor.
- Pinning laminate beneath a threshold or fitted unit.
Monitor the repair
Leave the tape marks at the joint ends for a week and measure again after normal foot traffic. If the gap returns, note the room conditions and direction of travel. Repeated movement may be caused by a damaged lock, excessive run length, uneven subfloor or insufficient perimeter space.
Keep spare boards flat and dry rather than in a damp shed. A matching board from the same production batch can make a future replacement far less noticeable.
Move the cause, not just the board
Check doorway movement with the guide to securing a loose threshold strip. If exposed timber below also needs assessment, the preparation checks in the floorboard sanding guide help identify fixings and damage before machinery is used.
A successful local repair begins with a clean intact joint and a floating floor that is free to move. Close the gap with controlled force, inspect for a flush lock and track it afterwards. Where the core is swollen, the click is broken or the floor is trapped, replacing or relaying the affected section is more durable than repeated tapping.

