
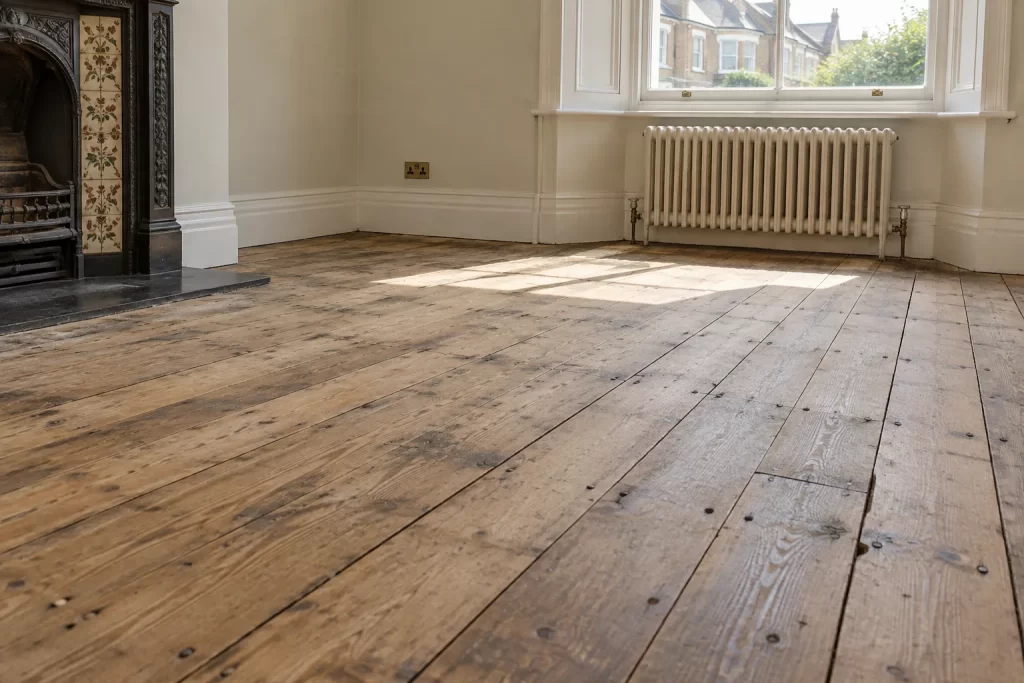
Floor sanding removes only a thin layer of timber, so preparation is not simply moving furniture. Protruding metal can tear abrasive belts and throw sparks, loose boards can split, and historic repairs may conceal pipes or cables just beneath the surface. A careful survey gives the sanding contractor clean access while preserving boards that may be difficult to replace.
Agree the scope before touching the floor
Ask the contractor what they expect the room to contain, whether they will punch nails, fill gaps, replace boards, remove finishes and apply the final coating. Confirm who moves appliances, doors and radiators. Some sanders prefer to inspect every fixing before the homeowner carries out minor work.
Discuss the intended appearance. Deep black staining, worm trails, wide gaps and old patches will not necessarily disappear. Sanding cannot make thin, cupped or heavily damaged boards new, and excessive material removal shortens their life.
Identify the floor construction
Original pine boards often span joists, with a void containing electrical cables, heating pipes and sometimes ceilings directly below. Later boards may sit over chipboard, concrete or previous flooring. Lift nothing until you understand the likely direction of joists and service routes.
Check whether the visible boards are structural or decorative overlay. Thin engineered timber and wood-effect laminate require different treatment and may not tolerate conventional sanding. If uncertain, ask a floor-sanding specialist to identify them.
Look for moisture before planning a finish
Search for dark edges near external walls, staining around radiator valves, musty odour, soft fibres and boards that have swollen together. Resolve plumbing, damp or ventilation faults and allow the timber to stabilise. Sanding damp wood clogs abrasives and can expose a clean surface that later moves or discolours.
Where a leak has affected the structure, arrange water-damage assessment. Do not rely on surface dryness alone; a contractor may use a moisture meter to compare areas.
Plan for dust, noise and curing time
Modern extraction reduces dust but does not eliminate it. Empty adjacent open shelving, close internal doors and discuss sealing routes to the rest of the property. Arrange access, parking and electrical supply with the contractor. Finishes can require hours or days before socks, furniture, rugs or pets are allowed back.
Remove curtains or tie them well above floor level. Take pictures, lamps and fragile objects from walls because vibration can move them. Protect smoke alarms only in the manner agreed for the work, and restore them immediately afterwards.
Clear the room completely
Move furniture, rugs, floor lamps and loose cables to another room. Do not stack belongings in one corner; edge sanding needs the full perimeter. Heavy pianos, built-in cupboards and connected appliances require a separate plan rather than last-minute dragging.
Lift removable door stops if they obstruct sanding, label them and store their screws. Ask whether doors need taking off. A door may no longer clear after underlay or thresholds change, so record existing gaps.
Inspect every board in strong light
Vacuum first, then walk slowly in soft shoes. Mark protruding nails, screws, splinters, rocking ends and previous filler with low-tack tape on the skirting, not directly on fragile finish. Press boards with body weight; do not stamp. Listen for movement and note exactly where it occurs.
Deal with exposed metal carefully
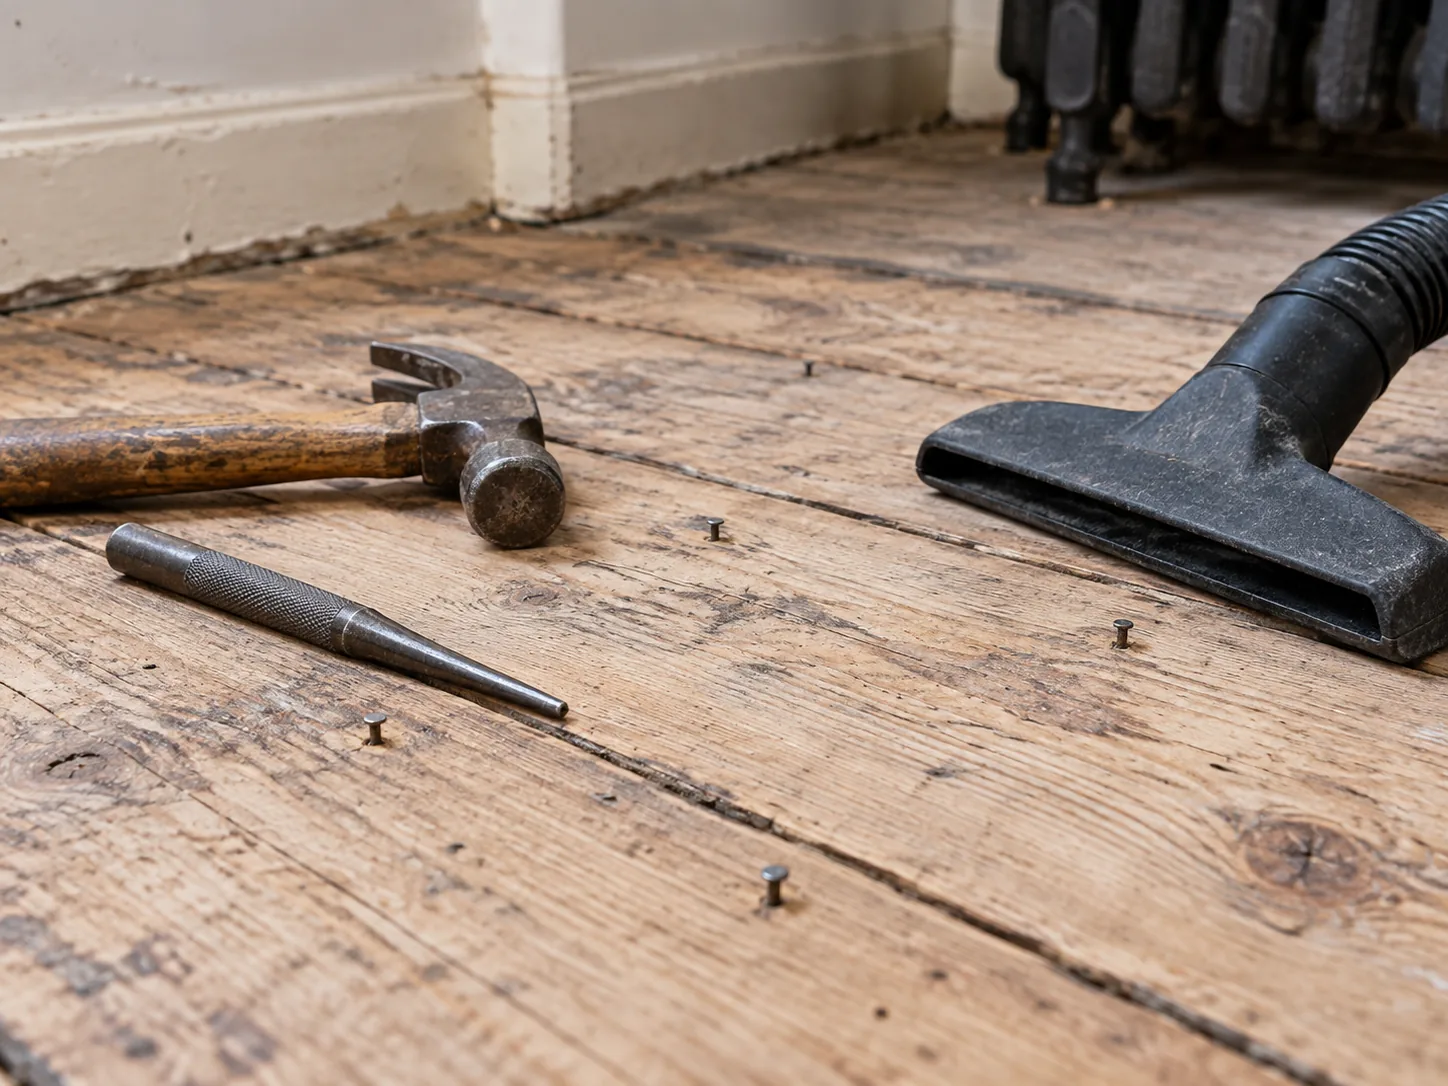
Old cut nails, modern screws, carpet staples and broken tacks all damage sanding equipment. Remove surface staples and stray carpet pins with appropriate pliers while protecting the timber. Existing board nails are usually punched a few millimetres below the planned finished surface, but only after checking the board is supported.
Never drive a nail or screw where the service route is unknown. A fixing that has risen may have been selected to avoid a pipe. If you did not install it and cannot verify below, mark it for the contractor instead. Loose boards belong with careful carpentry repair.
Do not lift boards casually
Old boards can split at the tongue, edges or nail holes. Levering from one point damages the face that sanding is meant to preserve. If access is essential, identify services, cut paint at edges, work across several joists and use proper lifting tools. Replacement timber should match thickness, species and moisture condition as closely as practical.
Decide how gaps will be treated
Narrow seasonal gaps may be left open. Wider gaps can be filled with timber slivers, flexible products or resin-and-dust systems depending on construction and movement. Ordinary decorator’s filler becomes brittle and drops into the void. Expanding foam restricts movement and looks poor.
Agree the method before sanding because slivers and repairs may need fitting first, while fine filler often follows an initial sanding pass. Ventilation requirements must not be compromised by indiscriminately sealing a suspended timber floor.
Check edges, thresholds and hearths
Remove carpet gripper rods and sharp pins where the whole room is changing to timber, but confirm the final junction detail first. Protect stone hearths and tile edges. A loose doorway profile should be repaired using the threshold-strip guide or removed for planned replacement.
Final checklist for the day before
- Room empty from wall to wall
- Known damp sources resolved and timber condition agreed
- Loose boards and metal fixings marked
- Service routes disclosed to the contractor
- Pets, children and valuables kept away
- Access, sockets, waste and parking agreed
- Finish colour, sheen and cure restrictions confirmed
- Ventilation and overnight security planned
Common preparation mistakes
- Leaving furniture in the centre of the room.
- Punching every visible fixing without checking below.
- Filling moving gaps with rigid decorator’s filler.
- Assuming dark stains will sand out completely.
- Washing boards immediately before the visit.
- Ignoring curing time when planning furniture return.
- Removing historic boards without labelling their positions.
Preparation protects more than the sanding belt
Give the contractor a written note of every marked concern so useful information is not lost when protective tape is removed or dust extraction begins.
A clear room, dry timber, documented service routes and properly assessed fixings let the contractor concentrate on an even surface rather than emergency repairs. Mark uncertainty instead of hiding it. The best preparation preserves original material and makes the final finish predictable.

