
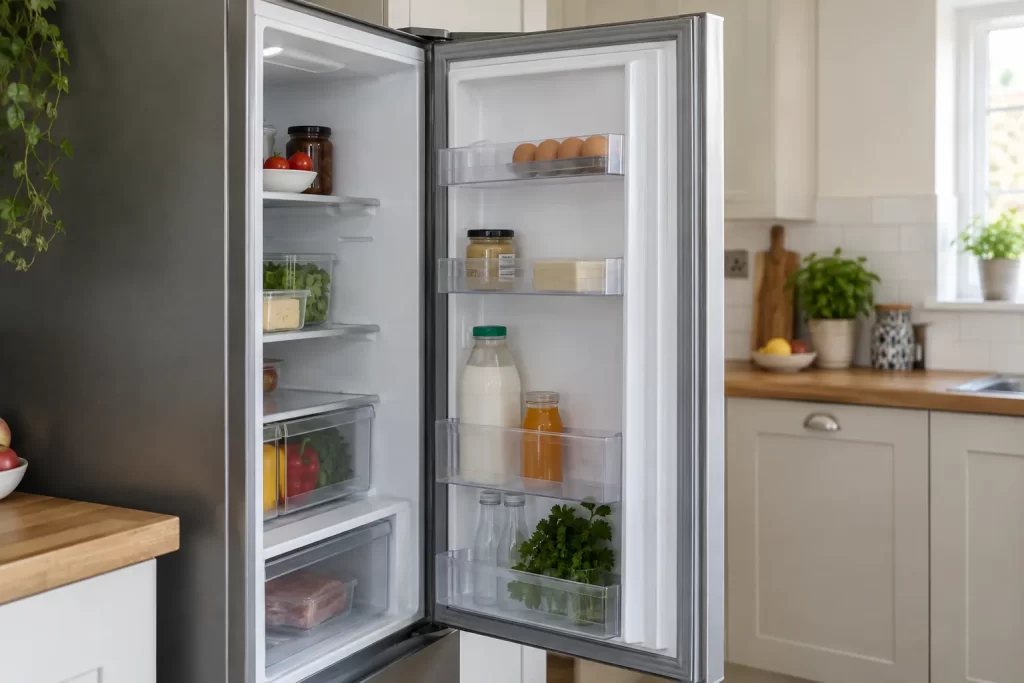
A fridge gasket does not need to look perfect to work, and condensation near the door is not proof that the rubber has failed. Food packaging, overloaded door shelves, dirty contact surfaces, loose hinges and a cabinet leaning forward can all prevent closure. Testing the seal section by section separates a replaceable gasket fault from an alignment or temperature problem.
Begin with the symptoms
Look for persistent moisture on one edge, frost close to the door, a compressor that runs much longer than usual, or a door that rebounds after closing. Check the displayed or measured temperature according to the manufacturer. Warm food with a fully closed door may indicate a cooling-system fault, not just air leakage.
Remove any packet, drawer or bottle that touches the door. Clean crumbs from the threshold and make sure door bins are correctly seated. A surprisingly small obstruction can imitate a weak seal.
Inspect the gasket without pulling it off
With the appliance switched on and the door open briefly, examine the full perimeter under good light. Look for splits, hardened glossy areas, flattened corners, detached magnetic strips and sections pulled from their retaining channel. Gently flex the lip; sound rubber should return to shape rather than remain folded.
Check the cabinet contact face as well. Dried spills and grease stop the soft lip conforming. Rust, a dented cabinet or damaged liner needs assessment before ordering a gasket.
Clean before testing
Use warm water with a small amount of mild washing-up liquid and a soft cloth. Clean inside each fold without stretching it, then wipe the cabinet face and dry both surfaces. Avoid bleach, solvents, abrasive pads and excessive oil unless the manufacturer explicitly approves them; they can harden or swell the material.
The paper test
Place a strip of ordinary paper across the gasket and close the door. Pull steadily. You should feel clear resistance. Repeat every 10–15 centimetres around all four sides, including both corners. Compare weak areas with strong ones rather than relying on one test at the handle side.
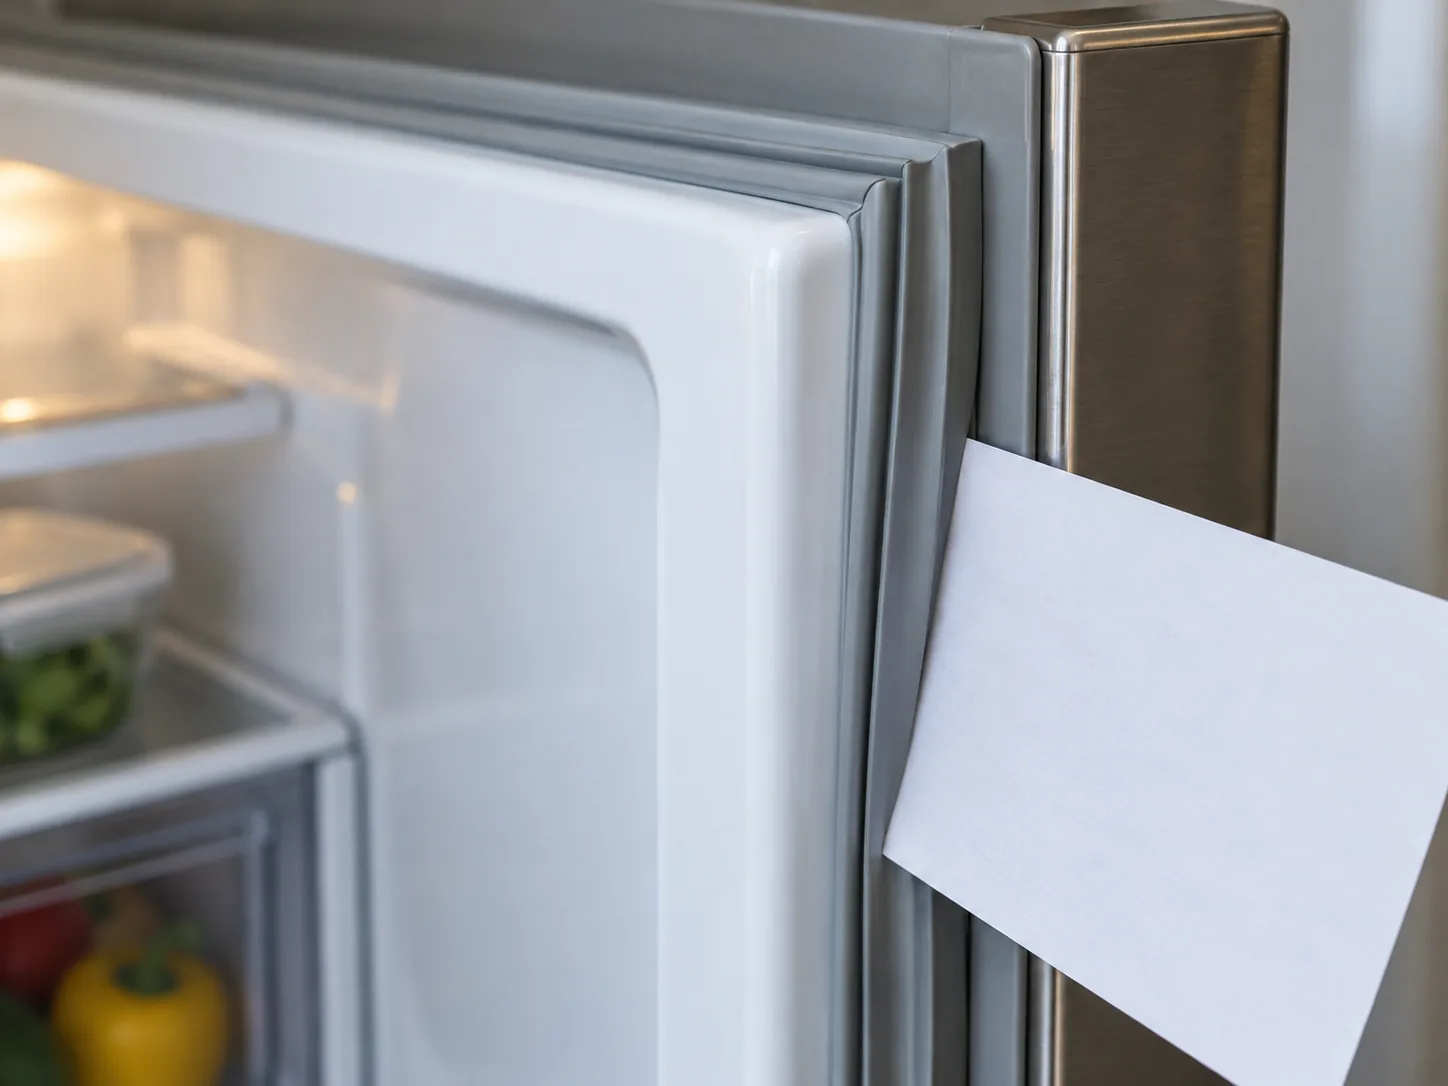
If paper slides freely along a continuous vertical edge, alignment is more likely than several simultaneous gasket failures. One isolated loose point beside a split or permanent kink points towards the seal itself. Do not use bank cards or thick cardboard, which give misleading results.
Check door and cabinet alignment
Stand back and compare gaps around the door. It should not sag at the handle corner. Lift the open door very gently; obvious play can mean worn or loose hinges. Do not adjust a loaded door—remove heavy items first and follow the appliance instructions.
Place a spirit level on a suitable flat cabinet surface. Many fridges are intended to lean very slightly backwards so the door closes under its own weight, but use the manufacturer’s specification. If the appliance rocks, correct the feet rather than packing it with cardboard. Similar principles are covered in the guide to levelling a washing machine, though fridge instructions take priority.
Can a distorted seal be reshaped?
A newly unpacked replacement or a soft gasket folded in storage may relax after cleaning and warming to room temperature. Some manufacturers permit gentle warming with a hairdryer on the lowest setting from a safe distance. Keep it moving, protect plastic liners and stop before the rubber becomes hot. Never use boiling water or a heat gun.
Close the door for several hours after reshaping, then repeat the paper test. Heat cannot repair a tear, missing magnetic insert or hardened rubber.
Identify the exact replacement
Record the full model and serial number from the rating plate inside the cabinet. Similar models use different gasket dimensions, corner profiles and fixing methods. Confirm whether the seal pushes into a channel, screws beneath an inner panel or is bonded into the door.
A push-in gasket can be a reasonable DIY replacement when the instructions are clear. A seal retained behind a brittle liner, a warped door or hinge damage is better handled by fridge repair. Do not drill, glue or screw a universal strip onto an appliance door.
Replacing a push-in gasket
- Unplug the fridge and keep food cold elsewhere.
- Photograph corner orientation and note where the old joint sits.
- Pull a short section from the retaining channel to confirm the method.
- Clean and dry the channel without sharp tools.
- Start the new gasket at the corners, then seat the straight runs evenly.
- Check for twists and close the door gently.
- Restore power and repeat the paper test after the material settles.
Common mistakes
- Ordering by fridge width instead of the exact model number.
- Testing before cleaning the gasket and contact face.
- Replacing a seal when a shelf or bottle obstructs closure.
- Heating one spot aggressively.
- Adjusting hinges while the door is heavily loaded.
- Stretching the replacement, which leaves short or distorted corners.
- Ignoring a warped cabinet or damaged door liner.
When the seal is not the main fault
Arrange appliance diagnosis if temperatures remain unsafe, the compressor runs continuously after a proven seal repair, frost forms away from the door, or fans make unusual noise. Keep the door closed and follow food-safety guidance if cooling is unreliable.
Recheck after fitting a new gasket
Give the rubber the settling period stated by the manufacturer, then repeat the paper test around the complete perimeter. Watch each corner while closing the door; the lip should roll into contact rather than folding underneath itself. Clean away packing residue and make sure the replacement has not been stretched along one edge.
Monitor cabinet temperature and compressor behaviour over the next day without repeatedly opening the door. A small temporary condensation change can follow installation, but a warm compartment, heavy frost or a motor that never cycles off needs prompt investigation. Keep the old gasket and packaging until the fit and part number are confirmed.
If only the hinge-side corner remains weak, check that the gasket is fully seated and the door clears adjacent cabinets. Do not add adhesive, foam tape or extra magnets; these prevent proper seating and make later repair harder.
Use the whole perimeter as evidence
If adjacent units or a badly fitted plinth prevent the door from closing, a handyman can correct the surrounding fit without altering the appliance cabinet.
A useful diagnosis combines a clean contact surface, repeated paper tests and an alignment check. Replace the gasket when the weakness follows damaged rubber; correct hinges, loading or levelling when the pattern follows the door. That avoids buying a seal that cannot cure the real gap.

