
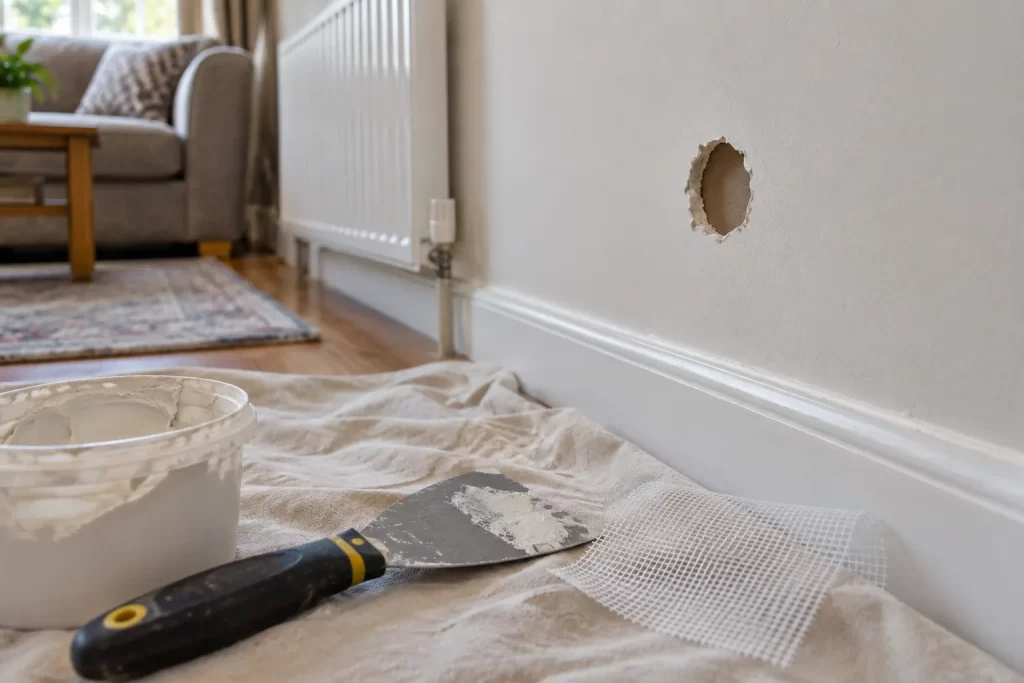
Small plasterboard holes are easy to underestimate. A screw hole needs little more than cleaning and filling, while an impact hole the size of a door handle needs support across the opening. Treat both in the same way and the larger repair often sinks, cracks or shows as a raised circle after painting.
A good patch replaces damaged material, remains stable when the wall moves slightly and blends into a broad area rather than forming a hard-edged mound. The following method covers holes from redundant wall plugs up to modest local damage between studs. Damp, widespread cracking or a soft wall needs diagnosis before cosmetic repair.
Check the hole and the wall around it
Remove loose paper and gypsum gently, then press around the edge with a fingertip. Sound plasterboard feels firm. If the face paper has detached over a wide area, the board flexes, or the gypsum crumbles without resistance, enlarge the repair to reach stable material. Look for water staining, mould and rusted fixings. A recurring damp mark should be investigated through leak detection and repair before it is covered.
Consider why the hole formed. A door handle impact will happen again unless a stop is fitted. A failed shelf or rail may indicate unsuitable fixings or an overloaded board. Repairing the surface alone does not restore the strength required to rehang a heavy item in the same spot.
Select the repair method by size
Pinholes and screw holes
Clean out dust, remove any proud paper and fill in one or two thin applications. Deep holes shrink if packed with a thick surface filler in one pass.
Old wall-plug holes
Remove the plug if it is loose or proud. A plug can sometimes be driven just below the surface, but first make sure it will not push damaged board into the cavity. Seal torn face paper before filling so moisture in the compound does not cause it to bubble.
Small impact holes
Use a self-adhesive mesh patch only where the surrounding board is sound and the patch can overlap it generously. A rigid backing patch or small replacement piece is stronger for an irregular opening. Do not bridge a deep cavity with filler alone.
Tools and materials
- Sharp utility knife
- Dust mask, eye protection and vacuum
- Filling knives in narrow and wide sizes
- Mesh patch or plasterboard offcut and timber backing strip
- Joint compound or appropriate repair filler
- Primer for torn plasterboard paper
- Fine abrasive and sanding block
- Matching primer and wall paint
Older painted surfaces may contain hazardous coatings, and cutting into any wall risks concealed services. Use a detector and avoid openings in likely cable or pipe routes. Stop if you cannot establish what is behind the board.
Step 1: make the edge stable
Cut away only paper and gypsum that are already loose. Beveling a tiny screw hole slightly gives filler a clean key, but do not turn a small defect into a large crater. For an impact hole, trim the edge to a simple shape if a plasterboard insert will be used. Vacuum the dust rather than wiping loose gypsum around with a wet cloth.
Where the brown paper layer is exposed or fuzzy, apply a suitable sealer and let it dry. Filling directly over torn paper often creates a blister that appears only after decoration.
Step 2: support anything larger than a simple filler repair
For a backed patch, slide a narrow timber strip into the cavity, hold it across the rear of the opening and screw through the existing board into both ends. Keep screw heads just below the surface without breaking the paper. Cut a plasterboard piece to fit the opening and secure it to the backing.
A mesh patch is quicker on a small sound area. Centre it with adequate overlap and press it flat. Mesh does not make a weak surrounding board strong, so do not use it over crushed gypsum or a hole next to a failed fixing that will be loaded again.
Step 3: apply filler in thin, widening coats
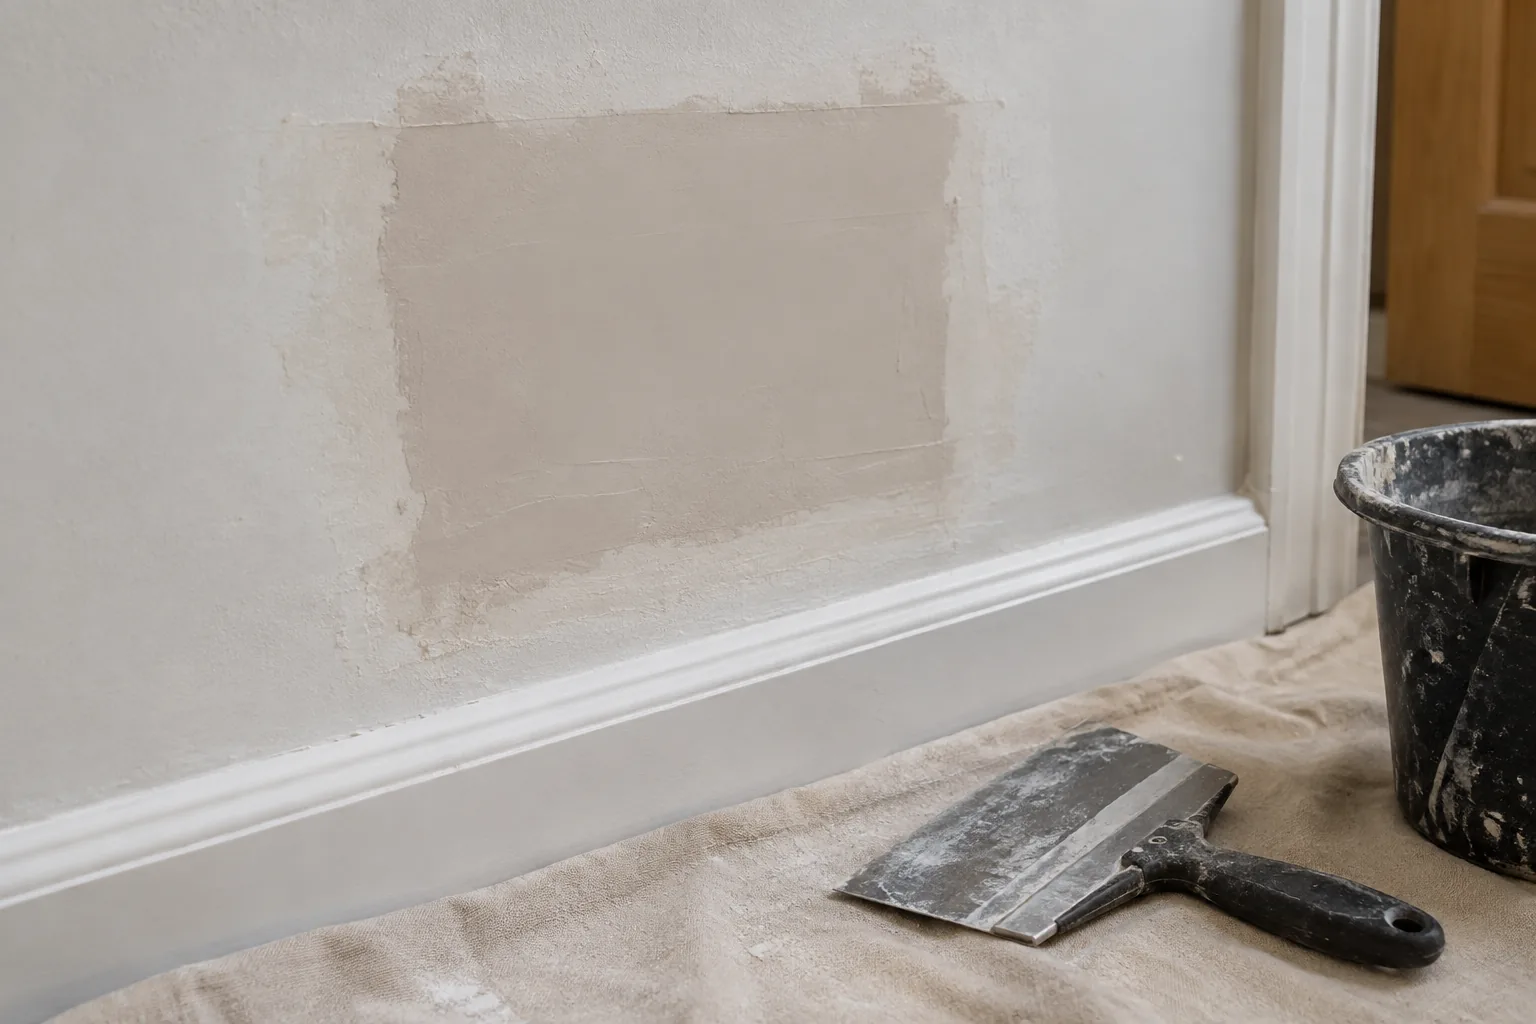
Press the first coat through the mesh or into the joints around an insert. Scrape it nearly level and allow it to dry fully. Apply the next coat with a wider knife, extending well beyond the patch. The centre needs enough material to cover the mesh, while the outer edge should be almost transparent.
Do not keep working compound as it begins to set; dragging it creates ridges and weakens the edge. Several controlled coats are faster to finish than one thick mound that shrinks and requires heavy sanding.
Step 4: check the surface with side light
Once dry, use a sanding block lightly and keep it flat. A fingertip can miss a broad hump, so hold a work light close to the wall and shine it across the repair. Shadows reveal ridges and hollows. Apply a final skim rather than sanding through the face paper around the patch.
Vacuum dust and wipe the area according to the filler instructions. A repaired patch is more porous than painted wall, so prime it before applying the finish coat. Without primer, the repair can show as a dull patch even when perfectly flat.
Step 5: blend the paint
Use the same paint type and sheen as the wall. Old paint changes colour, and a small spot repair can remain visible because of texture and fading rather than colour alone. Feather the paint beyond the filler. On a strongly lit or dark-coloured wall, repainting from corner to corner may produce a better result. Bob’s wall painting service is relevant where several repairs need a uniform finish.
Common causes of a visible or failed patch
- Filling over loose gypsum or torn paper.
- Trying to span an opening with unsupported filler.
- Leaving the mesh proud instead of embedding it.
- Applying one thick coat that shrinks at the centre.
- Sanding a small circle and creating a polished halo.
- Painting bare filler without primer.
- Reusing the patched area for a heavy fixing.
When the wall needs more than a small patch
Arrange professional help when the board moves between studs, damage reaches an electrical accessory, the hole exposes a cable or pipe, or staining suggests an active leak. Multiple impacts, failed fixings and large detached areas may justify replacing a section of board. Cracks that return quickly may reflect movement rather than poor filler; compare them with the separate guide to repairing hairline plaster cracks.
An odd-jobs appointment can combine patching with door stops, small fixing repairs and preparation for decorating. Larger making-good is often best coordinated with painters and decorators.
Build the repair from sound edges outwards
The most important work is hidden beneath the paint: stable edges, suitable support and fully dried thin coats. Once those are right, broad feathering, side-light inspection and primer make the patch disappear. If the same hole is likely to be struck or loaded again, correct that cause before treating the surface as finished.

