
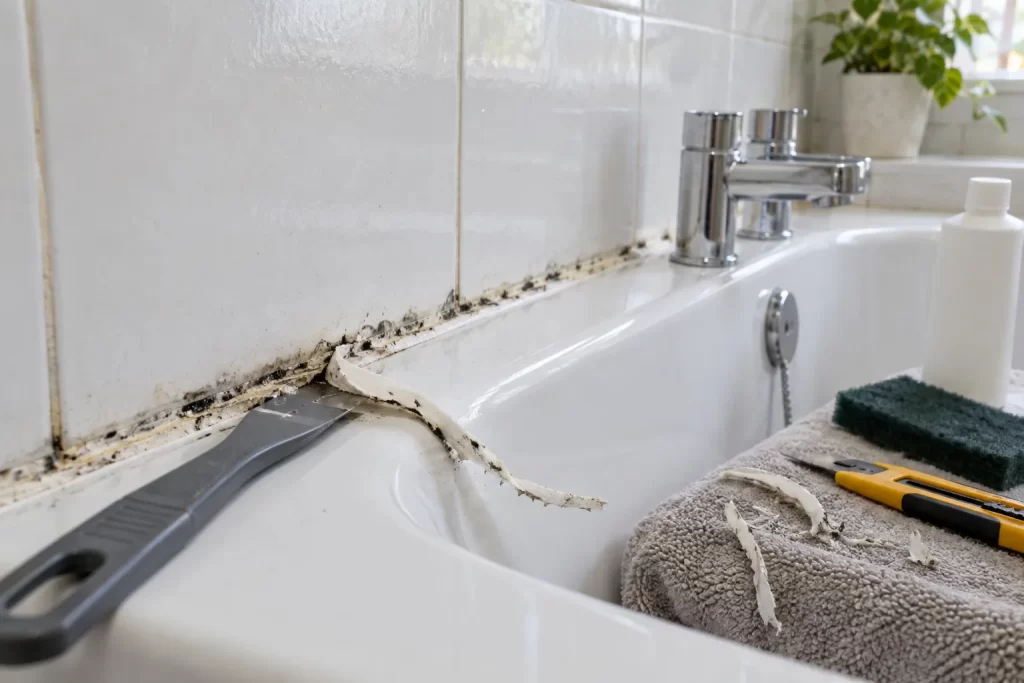
Black spots on bath silicone are not always a surface-cleaning problem. Once mould penetrates the sealant or the bead separates from the bath, cleaning cannot restore adhesion. Water can then pass behind the joint and damage the wall, bath panel or floor. A durable reseal depends more on removal, drying and movement control than on drawing a perfect-looking bead.
This guide covers the flexible joint between a bath and tiled or solid wall. It does not replace repairs to loose tiles, leaking pipework or a bath that moves because its frame is insecure.
Work out why the old seal failed
Inspect the full perimeter before cutting anything. Mould concentrated in one cold corner may relate to poor ventilation. A split that opens when someone stands in the bath indicates movement. Wet staining below the bath can mean water is travelling from taps, waste fittings or pipework rather than the wall joint.
Press the bath rim gently. It should not drop away from the tiles. If it moves, check the feet, wall brackets and supporting frame where safely accessible. Resealing a flexible bath in its unloaded position creates a bead that tears the first time it is used. Significant movement belongs with bathroom repair or refurbishment work.
Tools and materials
- Plastic sealant-removal tool and sharp utility knife
- Silicone-remover product compatible with the surfaces
- Non-scratch pads, white cloths and vacuum
- Isopropyl alcohol or cleaner approved by the silicone maker
- Good-quality sanitary silicone for bathrooms
- Cartridge gun and profiling tool
- Low-tack masking tape if desired
- Gloves, ventilation and eye protection
Never mix cleaning chemicals. In particular, do not combine bleach with acidic products. Follow the silicone and remover instructions, protect acrylic baths from sharp metal tools and keep the room ventilated.
Step 1: stop using the bath and dry the area
Allow the joint and surrounding wall to dry before removal. If water is trapped behind the bead, cutting it open may release moisture. Place towels or a protective sheet below the work area. Keep the bath out of service until the new silicone has fully cured, not merely until it feels dry on the surface.
Step 2: cut and peel away the old silicone
Score along the upper and lower edges without cutting into grout, wall panels or the bath. Lift an end with a plastic tool and pull slowly at a low angle. Long strips are easier to control than many chopped fragments. Work around taps and corners patiently, where sealant is often thicker.
Remove every attached ridge. New silicone does not bond reliably to cured silicone, so leaving a thin transparent film is enough to cause early peeling.
Step 3: remove residue without damaging the finish
Apply a compatible silicone remover only where needed and leave it for the specified time. Use a non-scratch tool to lift softened residue, then clean as directed. On porous grout or natural stone, test first because solvents can stain. Acrylic and enamel surfaces also have different chemical tolerances.
Vacuum particles and wipe the joint with a clean lint-free cloth. Repeat until the wall and bath edges feel clean rather than rubbery.
Step 4: treat mould and investigate hidden damp
Clean surface mould with a product intended for the substrate, following its safety guidance. Mouldy plasterboard, softened timber or staining that extends behind tiles cannot be solved by a new bead. Allow wet materials to dry and replace anything that has lost strength.
If water continues to appear with the joint open and the bath unused, check plumbing sources. Bob’s leak-fixing service can distinguish failed sealant from waste, supply or overflow leaks.
Step 5: load the bath before sealing
Where the bath manufacturer and installation allow, fill the bath with water to represent normal loading. This opens the joint to its working position. Do not do this if the bath support is suspect or a plumbing leak is present. Keep water away from the prepared rim and make sure the surface remains completely dry.
Some rigidly installed baths or specialist materials have different requirements, so follow the installation guidance. The principle is to seal at the position in which the joint must perform.
Step 6: mask and apply one continuous bead
Masking tape can define the edges, but leave a bead wide enough to contact both surfaces. Cut the nozzle slightly narrower than the intended finished bead and at roughly 45 degrees. Push the gun steadily so silicone fills the joint rather than sitting as a hollow bridge.
Work in manageable continuous lengths. Starting and stopping repeatedly creates weak overlaps. Keep pressure and speed consistent, especially through internal corners.
Step 7: profile once and remove tape promptly
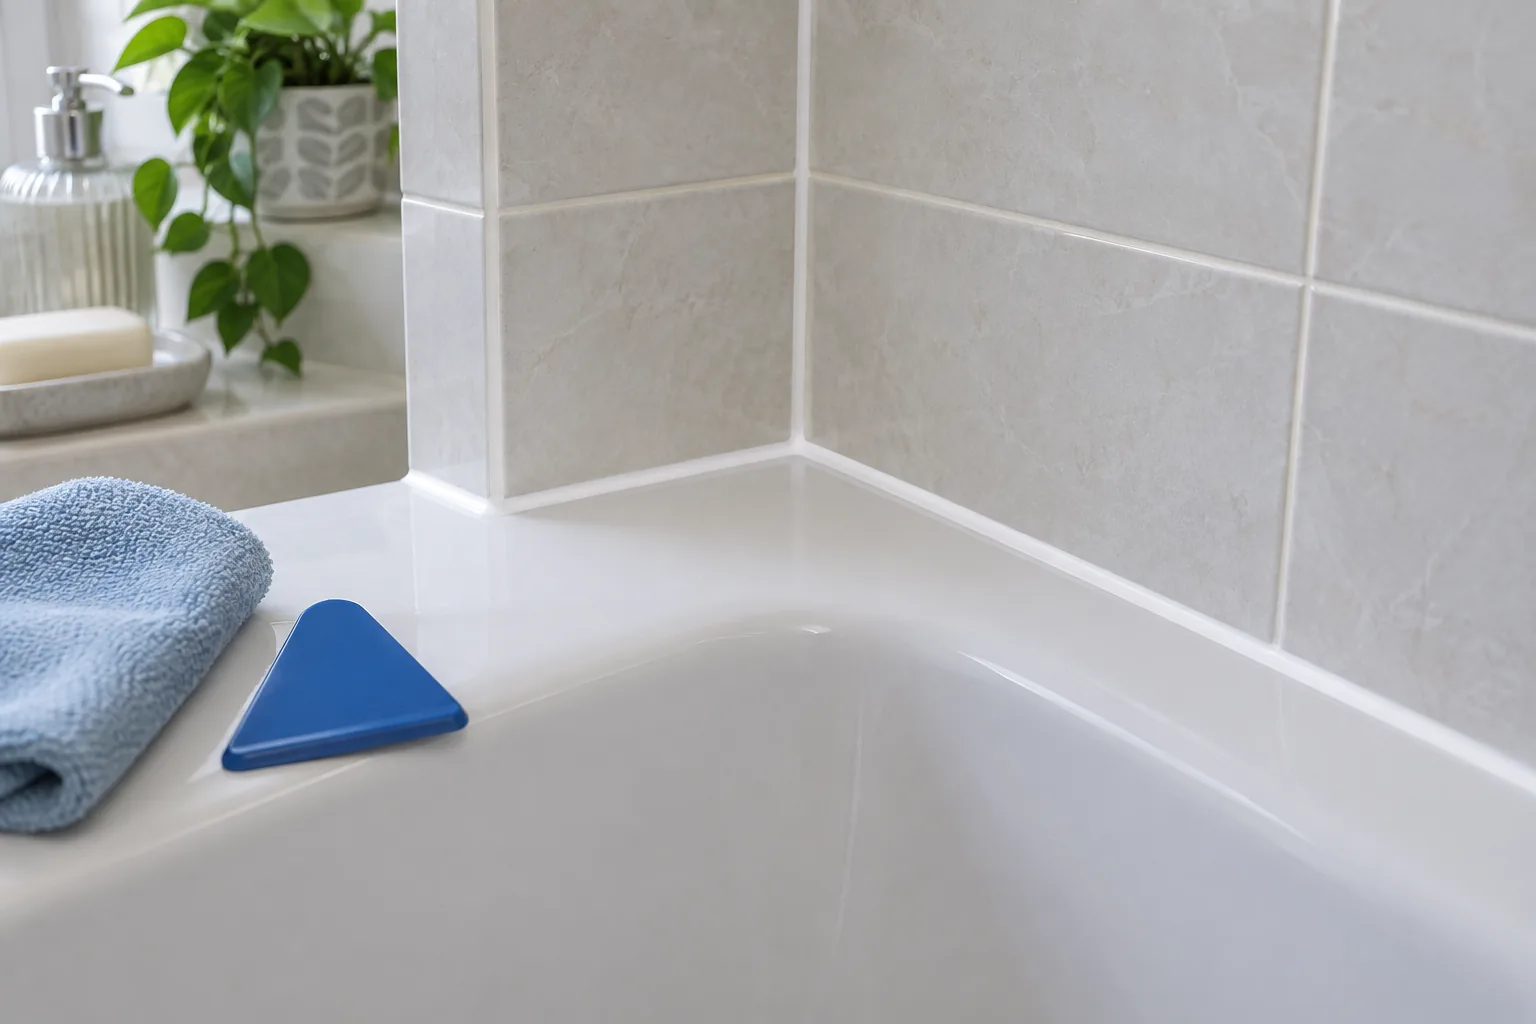
Use a clean profiling tool to create a shallow concave bead that sheds water. Remove excess from the tool between passes. Avoid repeated smoothing as the surface begins to skin, which drags and wrinkles the silicone.
Pull masking tape away before the sealant cures, following the product guidance, then make only a minimal final touch at the edge if necessary. Do not use saliva as a smoothing agent; it is unhygienic and can contaminate the joint.
Step 8: respect the full curing time
Leave the bath loaded if that is part of the chosen method until the sealant has cured as directed. Keep the area dry and ventilated. Curing time depends on bead size, product, temperature and humidity. A skin on the surface does not mean the centre is ready for shower spray or bath movement.
Common reasons a new bath seal fails
- Silicone residue remained on one surface.
- The joint was damp or contaminated with cleaner.
- The bath moved because its support was loose.
- The bead bridged the gap without contacting both sides.
- Decorators’ caulk or non-sanitary sealant was used.
- The bath was used before full cure.
- Hidden leakage continued behind the joint.
When to call a professional
Stop if tiles are loose, the wall is soft, the bath frame moves, or water has damaged the floor below. Cracked grout in the same area may need the separate method in repairing shower grout. Complex screens and bath panels can obstruct the joint and require careful removal.
A plumber should deal with leaking wastes, taps and supply pipework. Making good after prolonged water entry may involve water damage repairs rather than sealant alone.
The clean bead is the last step, not the repair itself
A reliable bath seal starts with a stable bath, clean dry surfaces and no hidden leak. Remove every trace of failed silicone, let the background recover, apply the new bead in the bath’s working position and protect it for the full cure. Those unseen details determine whether it lasts.

