
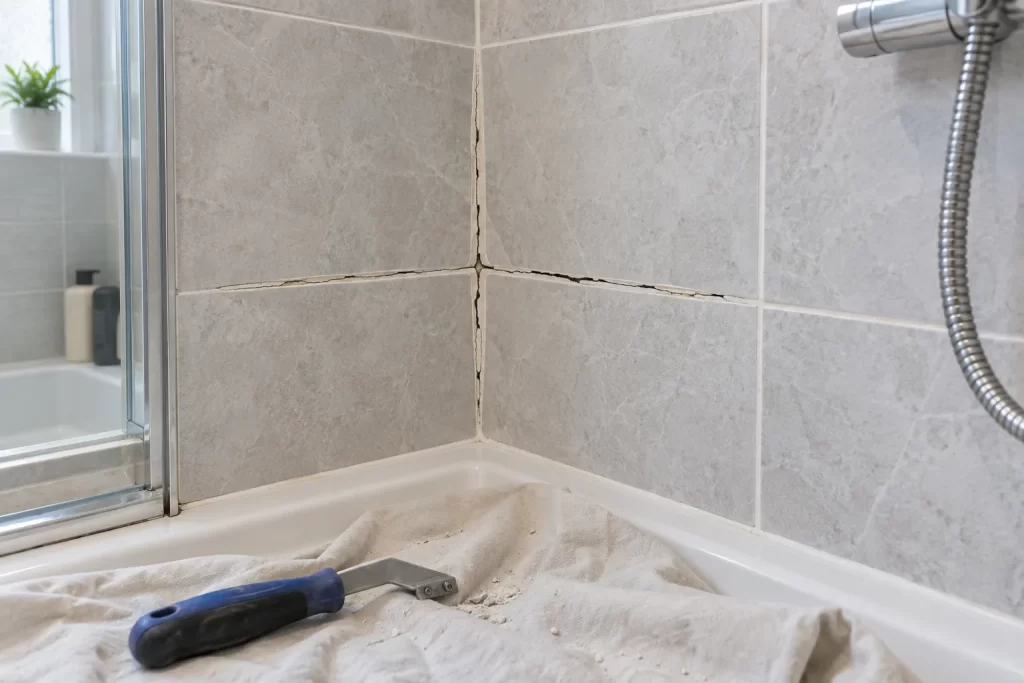
A hairline break in shower grout can look cosmetic, but the right repair depends on where it is and why it opened. Rigid grout belongs between tiles on the same stable surface. Corners, tray edges and joints between different materials normally need a flexible sanitary sealant. Filling every crack with more grout can therefore recreate the failure and may hide movement or damp behind the tiles.
This guide explains how to assess a small localised defect, remove weak grout and make a sound repair. Loose tiles, widespread cracking, a flexible wall or water damage outside the enclosure need investigation before regrouting.
Decide whether the joint should be grout or silicone
Look at the position before choosing a product. Straight joints between tiles on one flat wall are generally grouted. Internal corners, the line above a shower tray, and junctions around glass profiles are movement joints and should normally use suitable flexible sealant. Check the tile and enclosure manufacturer’s instructions because details vary.
If silicone at the tray has failed, use the preparation method in the guide to removing and replacing bathroom silicone. If water appears beyond the glass, first trace it with the leaking shower-screen checks.
Check for movement and hidden moisture
Press each tile gently with fingertips, never with a tool. A hollow sound alone does not prove failure, but a tile that moves, rocks or clicks must not simply be regrouted. Inspect the wall on the other side and the ceiling below for staining, swelling or peeling paint. A musty smell, soft board or recurring dark patch suggests moisture has travelled farther than the visible crack.
One short crack caused by an impact is a reasonable DIY repair. Repeated horizontal cracks, several loose tiles, or a joint that reopens quickly point to substrate movement. Arrange bathroom repair or water-damage assessment before covering it.
Tools and materials
- Grout rake or oscillating multi-tool with a grout blade
- Eye protection, gloves and a suitable dust mask
- Vacuum with a narrow nozzle and clean sponge
- Compatible mould-resistant grout in the correct colour
- Small mixing container, margin trowel and grout float
- Two buckets of clean water and lint-free cloths
- Flexible sanitary sealant if the repair includes a movement joint
Match cementitious, epoxy or ready-mixed grout to the existing installation. Do not mix product families in one joint without checking compatibility. Read the stated water ratio, working time and cure time rather than judging by appearance.
Step 1: let the shower dry completely
Stop using the shower long enough for the joint to dry; a full day is a sensible minimum for a superficial repair, and longer may be needed in a cool room. Improve ventilation but do not blast a damp wall with intense heat. Grout placed over retained moisture may discolour or fail to bond.
Step 2: remove all loose grout
Protect the tray and glass from falling grit. Work along the centre of the joint with a hand rake, keeping the blade away from tile edges. Remove grout to a consistent useful depth, not just the powder at the surface. Stop if a tile begins to move or the backing looks wet or degraded.
A powered grout blade is faster but can chip glaze in seconds. Use low speed, steady lighting and two-handed control. At corners and close to metal profiles, switch to a hand tool. Never cut into waterproofing behind the tile.
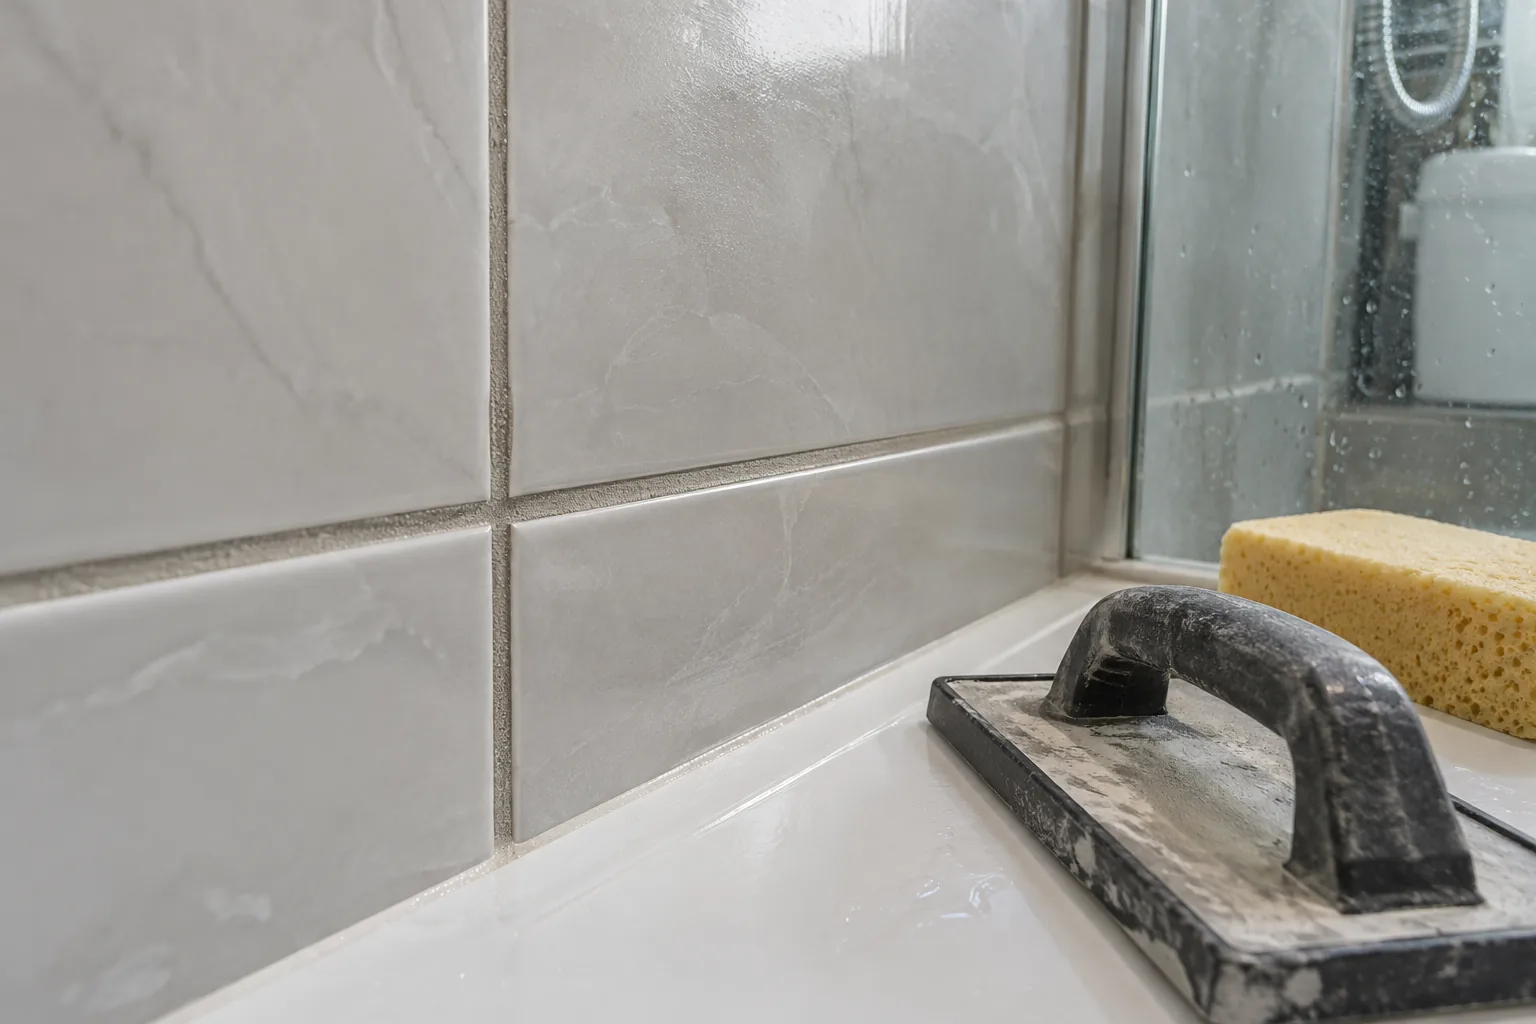
Step 3: clean and inspect the open joint
Vacuum the channel, brush it and wipe the tile faces. The joint must be free of dust, soap and old sealant. Do not leave chemical mould cleaner in it; rinse as directed and allow it to dry. Confirm that the sides of the tiles are firm and the gap has adequate depth for the new grout.
Step 4: mix only what you can use
Measure powder and water according to the bag. Adding extra water makes spreading easier but weakens cement grout and increases colour variation. Mix thoroughly, allow any specified slaking time, then remix without adding water. Discard material after its working time; do not revive it in the bucket.
Step 5: pack the joint, then clean in stages
Use the float diagonally across the tiles so it presses material into the gap instead of dragging it out. Make several passes and remove most residue with the float edge. When the grout begins to firm, wipe diagonally with a well-wrung sponge. Rinse often and avoid washing the joint hollow.
After the specified initial set, polish haze with a dry cloth. Persistent residue is easier to remove promptly than after full curing, but aggressive scrubbing too soon will damage the surface.
Step 6: cure before exposing it to water
Keep the repaired area dry for the product’s full stated period. Ventilate the room without directing a fan that dries only the surface. Apply a sealer only if the grout manufacturer recommends one, and only after the stated cure time. Epoxy and many ready-mixed products have different rules.
Common repair mistakes
- Smearing new grout over a crack without removing weak material.
- Using rigid grout in a corner or tray joint that needs flexibility.
- Adding too much water or repeatedly wetting the sponge.
- Reusing grout after it has started to set.
- Showering before curing is complete.
- Ignoring movement, loose tiles or damp backing board.
- Using harsh acid cleaners that damage grout and metal finishes.
What to do if the crack returns
Mark the ends with removable tape and note the date. A crack that lengthens, widens or follows several joints is evidence of movement, not a mixing problem. Check nearby flexible seals, tray stability and any plumbing leak. Do not keep layering material onto the same line.
Keep a photograph of the open joint and the product batch details. If a professional later needs to investigate, these show the depth removed, the material used and how quickly the defect returned. They are more useful than a freshly covered crack with no history.
Where the damage is limited but access or removal is awkward, a tiling repair service can cut out the failed joint without chipping the tile faces. A general handyman may also be appropriate for small, non-structural finishing repairs once leaks and movement have been ruled out.
For a small stable joint, careful removal and correct curing give the repair its best chance. For movement or moisture behind the surface, the lasting solution is to expose and correct the cause, then rebuild the joint with the appropriate rigid or flexible material.

