
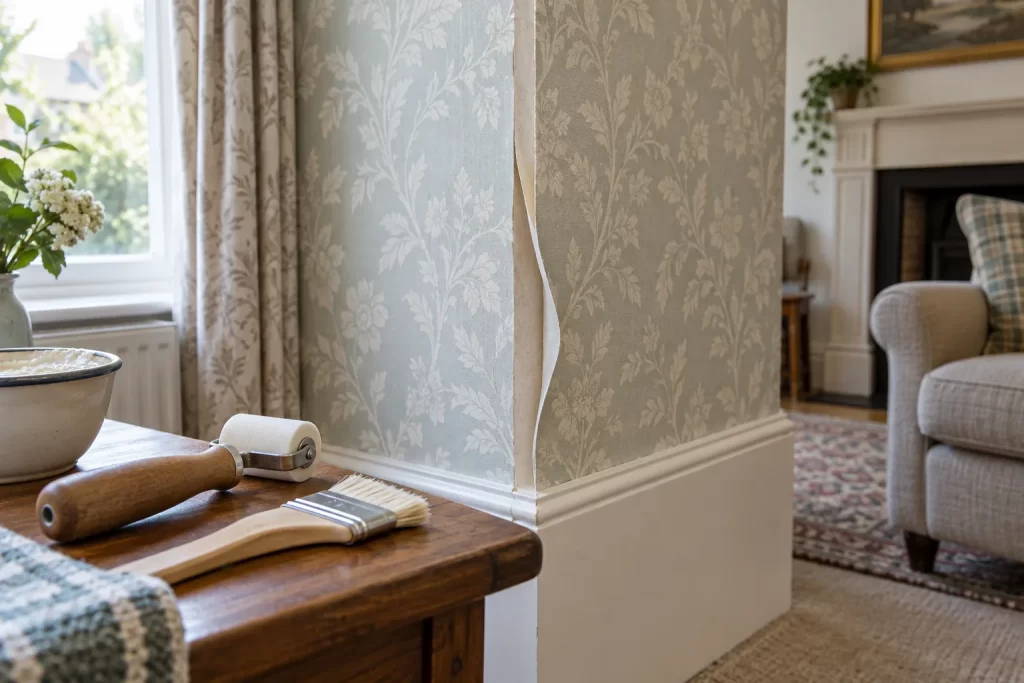
A lifted wallpaper seam can often be repaired without replacing a full drop, but only if the paper and wall beneath it remain sound. Pushing the edge flat with ordinary paste rarely lasts when dried adhesive, dust or a painted non-porous surface prevents contact. Too much adhesive creates a different problem: a shiny stain or swollen seam that catches the light.
The repair depends on the covering. Vinyl, washable paper, traditional paper and non-woven wallpaper tolerate moisture differently. Check spare material or manufacturer information where available, and always test cleaning and adhesive on an inconspicuous offcut.
Find out why the seam lifted
Short dry sections commonly follow insufficient paste or an edge that dried before hanging. Repeated lifting beside a radiator can result from heat and rapid drying. Corners move slightly and put tension on wallpaper wrapped too tightly around them. Widespread peeling, staining or a cold damp wall points to moisture rather than a local adhesive failure.
Run a clean finger beside the seam. A firm flat background is repairable. Powder, loose paint or softened plaster must be stabilised first. If the paper has shrunk and left a visible gap, rebonding cannot restore missing width; the seam may need a narrow colour-matched touch-up or replacement drop.
Gather delicate tools, not decorating force
- Wallpaper seam adhesive compatible with the covering
- Small artist’s brush or fine nozzle
- Plastic seam smoother or clean seam roller
- Damp white sponge and several clean cloths
- Low-tack masking tape where suitable
- Small vacuum brush
- Sharp blade only for removing loose debris, not trimming patterns
A metal roller can mark embossed paper and force adhesive out. Coloured cloths may transfer dye to a pale covering. Keep water away from electrical accessories and avoid soaking paper edges.
Step 1: lift only the already loose edge
Do not pull the seam further to create working space. Support the paper and lift the detached portion just enough to see behind it. Vacuum loose dust with a soft brush. Remove obvious dried lumps carefully; a hard fragment left beneath the paper creates a permanent bump.
If old paint comes away with the paper, the failure lies in the wall coating. Stop and stabilise that small area with a compatible primer, allowing it to dry fully. Adhesive applied to loose paint will merely glue the wallpaper to material that is no longer attached to the wall.
Step 2: test the wallpaper face
Dampen a hidden edge of spare paper or a concealed area and blot it. Check for colour transfer, darkening, swelling or loss of texture. Uncoated papers require especially careful cleaning. If the face is fragile, use the least adhesive possible and protect the visible surface while working.
Step 3: apply seam adhesive sparingly
Use a fine brush or nozzle to place a thin, even film behind the loose edge. Reach the full detached area without flooding beyond it. Avoid coating the printed face. Where both edges of a butt joint are loose, work on one side at a time so the pattern remains aligned.
Allow any short open time specified by the adhesive. Some products need immediate pressure; others bond better after a brief wait. Do not substitute general PVA unless the wallpaper manufacturer explicitly permits it. PVA can dry shiny, stiffen the seam and make later removal difficult.
Step 4: align the pattern before applying pressure
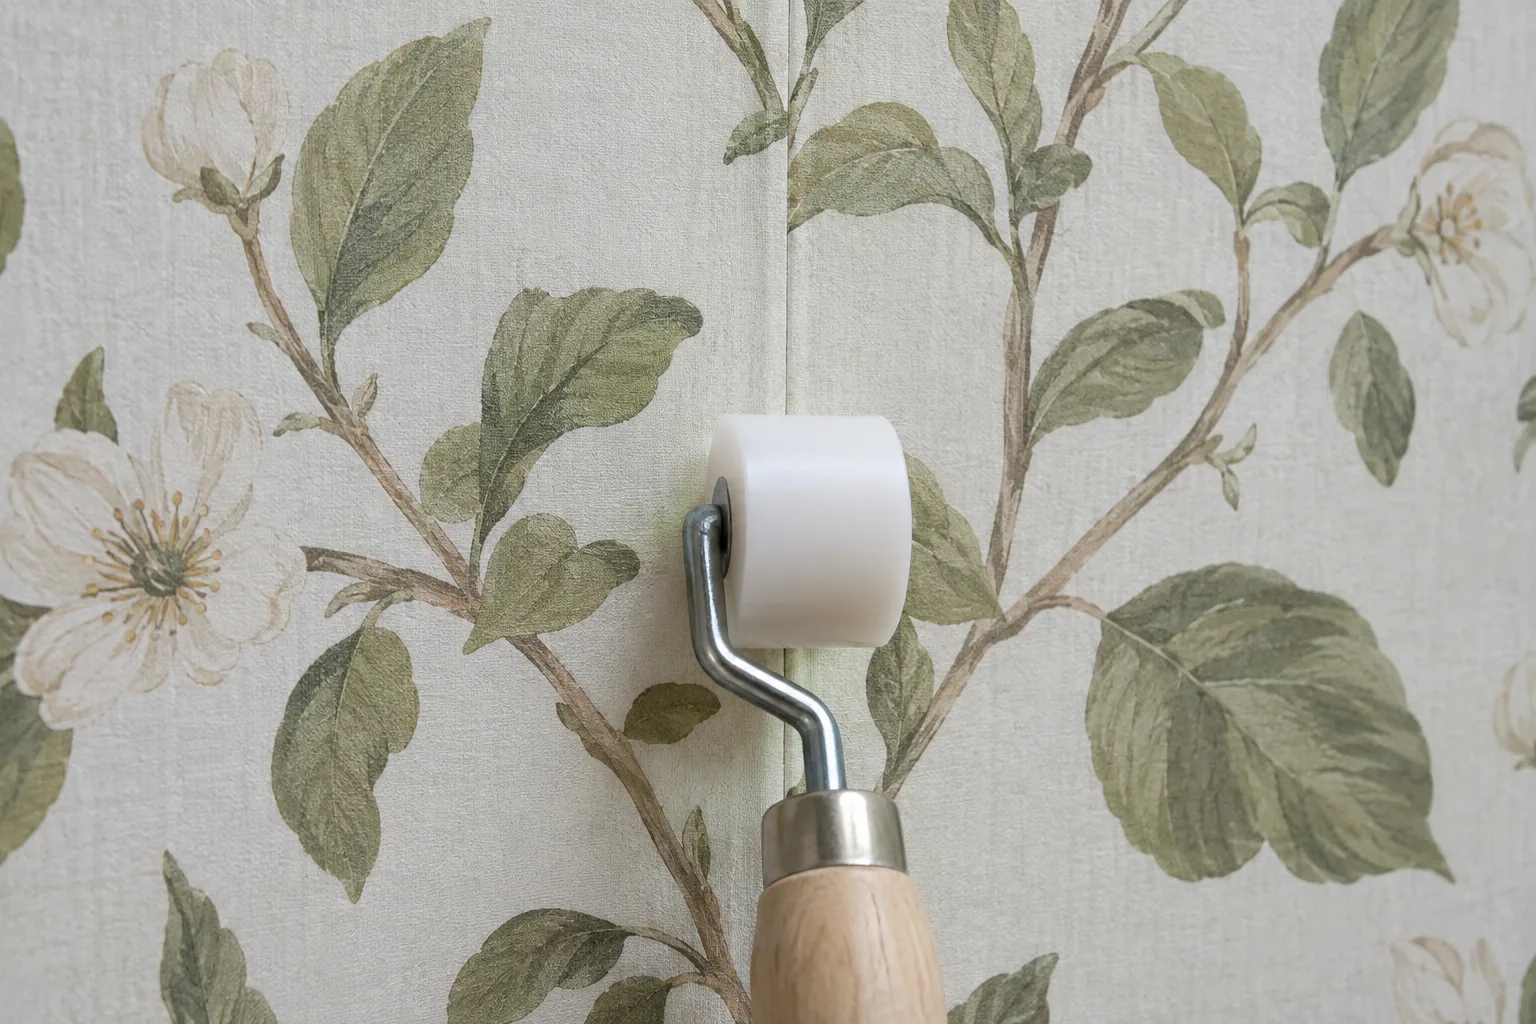
Start where the existing paper is still firmly attached and work towards the loose end. Match printed lines and maintain the original butt joint. Smooth with light strokes from the body of the paper towards the seam, pushing air out without stretching the damp edge.
Use a clean seam roller only if the paper surface can accept it. One or two gentle passes are enough. Excessive rolling squeezes out adhesive and can polish, flatten or stretch the design.
Step 5: remove adhesive while it is workable
Blot squeezed adhesive with a barely damp white sponge, turning to a clean face each time. Do not scrub across the seam. Follow with a dry lint-free cloth and inspect from the side. Adhesive allowed to dry on washable vinyl may still leave a shiny patch, while attempts to remove it from delicate paper can take off the print.
If the edge tries to curl while drying, low-tack tape can hold it only after testing that the tape will not lift the surface. Place it across the seam with minimal tension and remove it slowly at the recommended time.
Repairing an internal or external corner
Wallpaper wrapped around an uneven internal corner can pull away because the next wall is not plumb. Pressing it back may work for a small local lift, but a long tight bridge can keep returning. Professional hanging usually allows an overlap or cut appropriate to the covering and pattern.
External corners receive knocks and are less forgiving. If the edge is torn or the corner bead beneath is damaged, a patch may remain visible. Wider damage often needs replacement paper after the substrate is repaired by a decorator.
Why repaired seams fail again
- Dried paste and dust were left behind.
- The underlying paint or plaster is loose.
- Too little adhesive failed to wet the whole detached area.
- Too much adhesive stained the face and encouraged movement.
- The seam was rolled aggressively or shifted out of pattern.
- A hot radiator or persistent damp continues to affect the area.
- The paper has shrunk, so the original joint cannot close.
When peeling wallpaper is a symptom
Investigate if several seams lift on the same cold wall, paper darkens near a window, or mould appears beneath an edge. Condensation, penetration and plumbing leaks need different remedies. Do not trap moisture with more adhesive. Once the cause is corrected, the wall may need the preparation described in preparing walls after wallpaper removal.
Large failed areas, valuable wallpaper and complex pattern matching are sensible reasons to use professional decorating support. Small local seams can be included with other handyman tasks.
A nearly invisible repair uses very little of everything
Minimal lifting, a thin adhesive film, gentle alignment and immediate blotting produce the cleanest result. The repair should not announce itself through a ridge, flattened pattern or glossy residue. If the substrate is unstable or damp, pause the cosmetic work and correct that cause first.

