
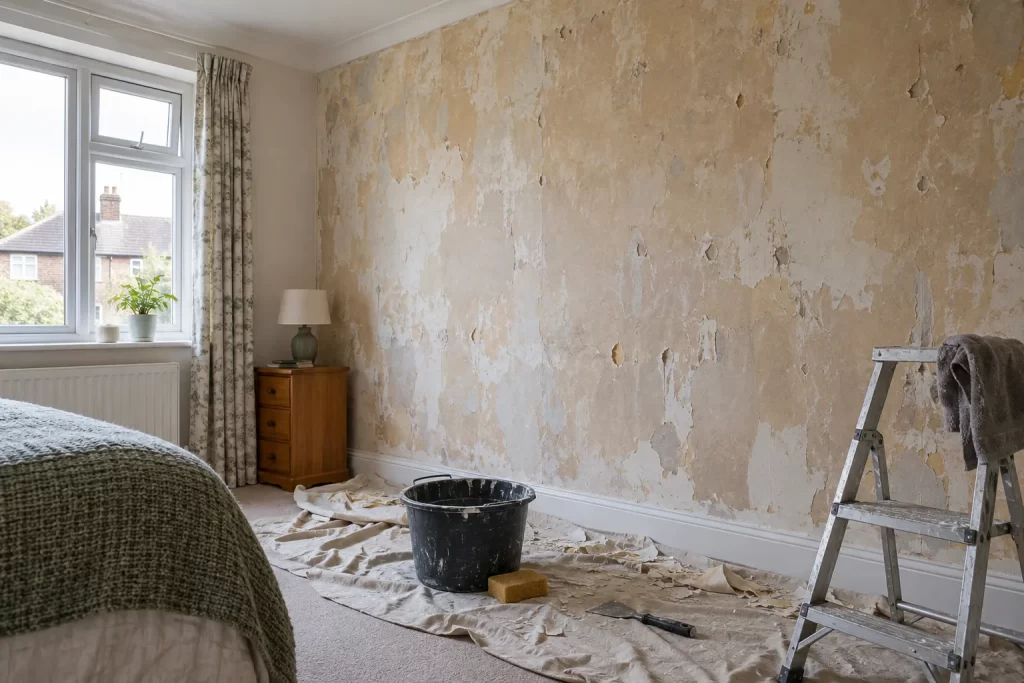
Removing wallpaper reveals the surface that the previous covering concealed. Even when the paper comes away cleanly, the wall can retain paste, torn lining paper, shallow gouges and glossy paint patches. Painting straight over that mixture produces flashing, poor adhesion and rough marks that become more obvious in daylight.
Preparation is a sequence rather than a single coat of filler. First identify the wall, remove adhesive without saturating it, stabilise exposed paper, repair defects, then prime for the next finish. This guide covers sound internal plaster and plasterboard. Damp, loose plaster and extensive mould need attention before decorating.
Let the stripped wall tell you what it needs
Use a work light held close to the surface. Paste often appears as glossy streaks and feels tacky when lightly dampened. Torn plasterboard face paper has fuzzy brown edges. Solid plaster may show old distemper, powdery filler or small areas pulled away by the paper. Circle defects with pencil rather than trying to remember them.
Check the corners, wall-to-ceiling line and areas behind radiators. Dark staining, salts or soft plaster can indicate moisture. Do not seal those beneath primer. If the wall was damaged by an escape of water, investigate the source and consider water damage repair.
Tools and materials
- Dust sheets and masking materials
- Warm water, sponge and clean buckets
- Wallpaper adhesive remover if plain water is ineffective
- Plastic scraper and broad filling knives
- Suitable filler or joint compound
- Sealer for torn plasterboard paper or unstable porous areas
- Fine abrasive block, vacuum and work light
- Primer selected for the wall and intended finish
Wear eye protection when scraping overhead and a suitable mask when sanding. Older coatings and textured finishes may require testing before disturbance. Isolate nearby electrical accessories before introducing water, and never flood the wall around sockets or switches.
Step 1: remove every scrap without digging into the wall
Lift remaining paper and backing with a plastic scraper held at a shallow angle. Soften stubborn patches in small areas and give moisture time to work. Forceful scraping leaves deep tracks that take longer to repair than the paper took to remove. Around edges and accessories, cut the covering cleanly rather than pulling it through old paint.
On plasterboard, limit water and steam. The face paper can swell, detach or tear when saturated. If the surface becomes soft, stop and let it dry before continuing.
Step 2: wash off wallpaper paste
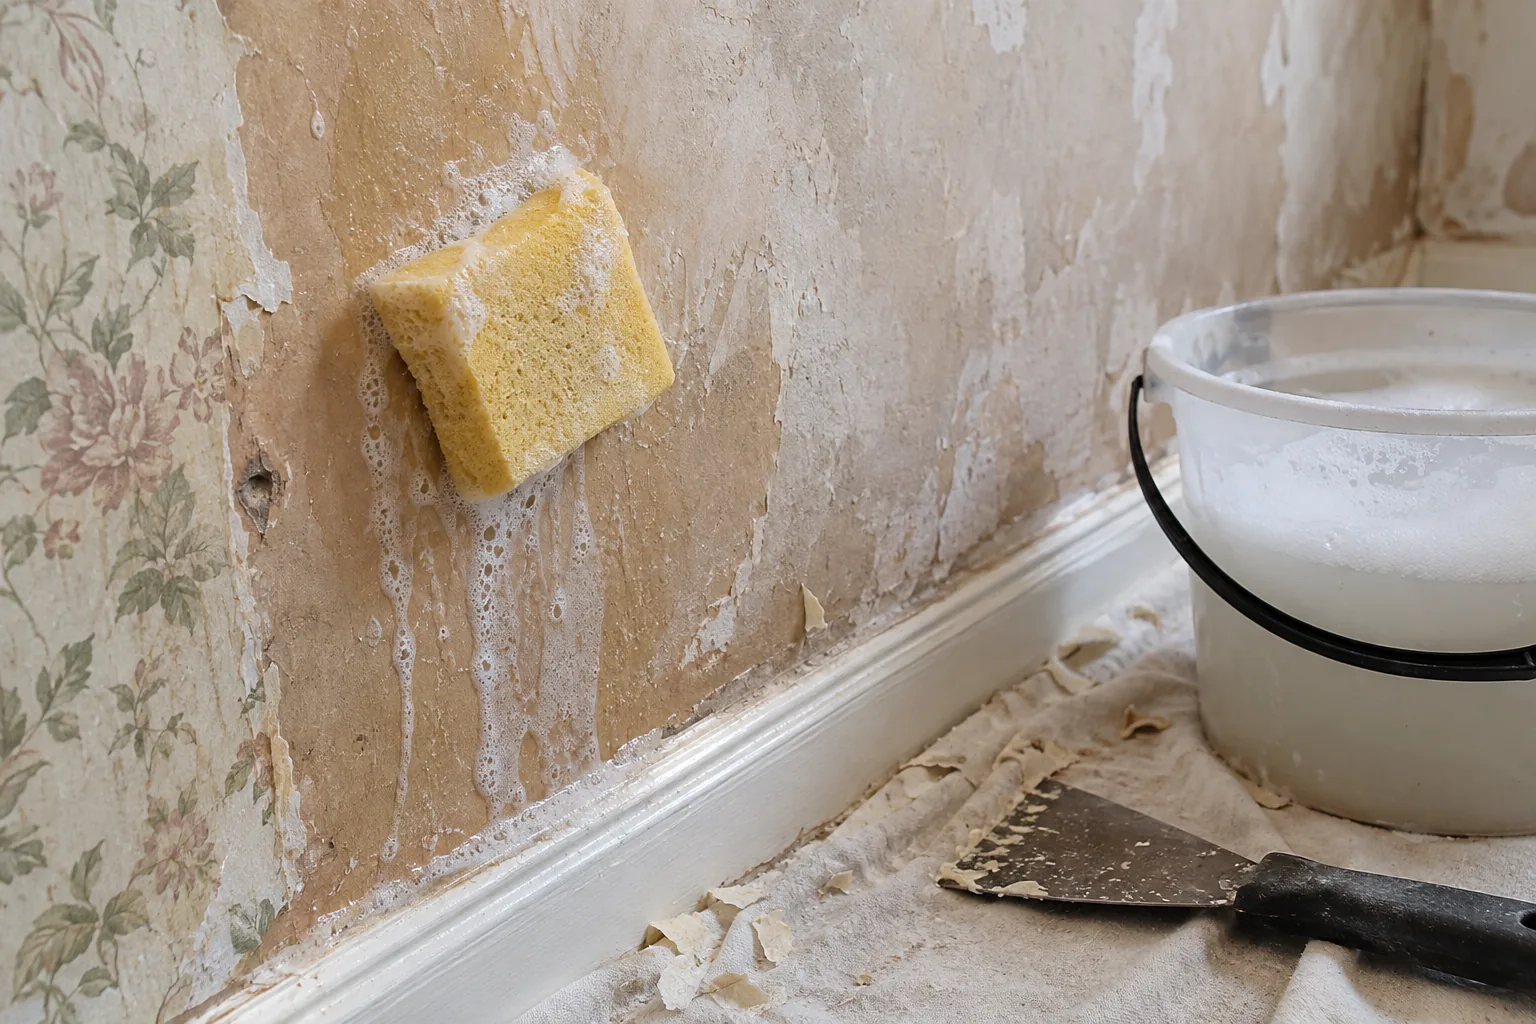
Work from the bottom upwards in manageable sections so dirty water does not form long runs. Apply warm water with a wrung sponge, allow a short dwell time, then wipe and scrape softened adhesive. Rinse the sponge frequently and change the water. Smearing dissolved paste across the wall merely redistributes it.
After the wall dries, test several areas with a damp fingertip. Any slippery or tacky feel means adhesive remains. Use a proprietary remover only as directed and rinse where the instructions require. Residue beneath emulsion can reactivate and cause crazing or poor bonding.
Step 3: stabilise damaged paper and powdery surfaces
Trim loose plasterboard paper with a sharp knife; do not peel beyond the detached area. Seal exposed brown paper with a compatible problem-surface primer. Water-based filler applied directly to fuzzy paper can make it bubble. Allow the sealer to dry, then skim the shallow depression.
For solid plaster, brush and vacuum powder. If the surface continues to shed, use an appropriate stabilising product after identifying the coating. Ordinary diluted emulsion is not a universal stabiliser and may form a weak layer over dust.
Step 4: fill gouges, plug holes and cracks
Repair deep defects in separate applications. Press filler into the clean base, scrape it close to level and let it dry before a wider finishing coat. Treat small plasterboard holes using the supported method in the guide to repairing plasterboard holes. Fine cracks need their own assessment; a moving joint cannot be solved by a smear of filler.
Keep the edges broad and shallow. A perfectly filled dent with a hard ridge around it will still show after painting. Use side light to find low spots rather than adding filler to the whole wall automatically.
Step 5: sand with restraint
Sand dry repairs with a flat block and fine abrasive. Concentrate on ridges, not the original wall. Excessive sanding can polish old paint, tear plasterboard paper and create undulations. Vacuum dust from the wall, skirting and floor; airborne filler dust quickly settles into wet primer.
Run a clean hand across the surface and inspect it from several angles. Mark anything that remains, apply a final thin skim and repeat the check. This is the stage that decides whether low side light will reveal the old wallpaper lines later.
Step 6: choose the primer for the next finish
Bare filler and plaster absorb differently from old paint, so spot priming alone can leave visible patches. A full suitable primer evens porosity and provides a consistent base. If adhesive staining cannot be removed completely, use a stain-blocking or problem-surface primer designed for that contamination rather than relying on extra emulsion coats.
New wallpaper may require a specific size or primer. Follow the wallcovering adhesive instructions. Paint systems also vary, especially over chalky old finishes. Bob’s painters and decorators can specify a compatible system where several old coatings remain.
Frequent preparation mistakes
- Painting while paste still feels tacky.
- Saturating plasterboard with water or steam.
- Filling directly over torn face paper.
- Sanding the sound wall more than the repair.
- Using a single thick filler coat in deep gouges.
- Skipping primer because the wall already has some paint.
- Assuming stains are cosmetic without checking for damp.
When lining paper or professional preparation makes sense
A wall with many shallow defects can sometimes be improved with lining paper, but lining does not stabilise loose plaster, remove paste or cure damp. Severe ridges, failed skim plaster and large areas of torn plasterboard may be faster and better to reskim or replace. Intricate rooms and high stairwells also involve access risks.
Minor repairs can be grouped into an odd-jobs visit. Where the room will be fully redecorated, coordinated wall painting preparation reduces visible differences between patched and original areas.
Do not let the new finish become the test coat
The wall should be clean, dry, firm and evenly absorbent before expensive paint or paper is opened. Wash until paste is gone, seal torn paper, fill only stable defects, inspect under side light and prime for the intended finish. That work is less dramatic than stripping wallpaper, but it is what makes the next surface last.

