
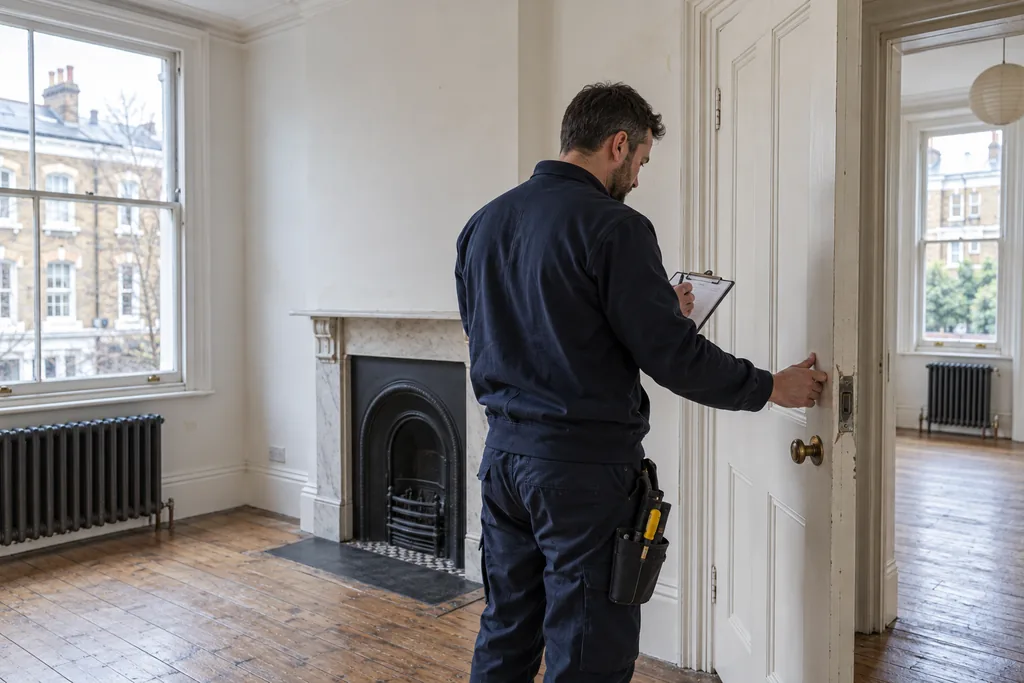
An empty rental property gives you a brief advantage: you can see every room clearly and arrange repairs without working around a tenant's belongings. That window can disappear quickly once cleaning, viewings and the next move-in date are booked. The useful question is not “What can we make look new?” but “What must work properly, what could worsen, and what can be done in the time available?”
This checklist is for planning a practical repair visit after the outgoing tenant has left. It covers the small defects a landlord or managing agent can spot on a careful walk-through, how to decide what needs specialist attention, and the order in which to book the work. It is not a substitute for any statutory checks or for your tenancy and inventory records.
Make one walk-through before booking individual jobs
Start at the entrance and move through the property in a fixed order. Take a dated photograph of each defect, then a wider photograph showing which room it is in. A close-up of a damaged hinge is less useful later if nobody can tell which cupboard it belongs to. Note the approximate size, the material, and whether the fitting can still be used.
Open and close doors, windows and cupboard fronts rather than relying on appearance. Run taps briefly, check under sinks for fresh moisture, test that drawers slide freely, and look along the edges of flooring for raised or loose sections. If a room smells damp, find the cause before putting fresh paint over the mark. The guide to signs of a hidden leak explains what to look for when staining is less obvious than a dripping tap.
Group the findings by room in one job list. For example: “Kitchen: upper left cupboard hinge loose; sealant split behind sink; two scuffs on wall by bin.” This makes it easier to quote, bring the right materials and finish several small tasks in one visit. Bob's guide to preparing for a handyman appointment is useful once the list is ready.
Sort the list by consequence, not by visibility
An obvious paint scuff may be the first thing you see, but it is rarely the first thing to fix. Put each item into one of three groups:
- Stop and investigate: active leaks, unsafe electrical fittings, a door that will not secure, unstable handrails, or signs of significant damp. Keep the affected area out of use and arrange the appropriate qualified trade where needed.
- Repair before occupation: fittings that are loose or unreliable, doors that catch, failed sealant, damaged flooring edges and appliances or fixtures supplied with the property that do not work as expected.
- Cosmetic and presentation: small filling jobs, local paint touch-ups and marks that cleaning will not remove.
This order keeps a quick decorating job from hiding a defect that still needs attention. It also prevents paying for two finishes on the same surface. A stained wall beneath a leak, for instance, needs the source of the water repaired and the area dried before filling and painting. If you are unsure whether a mark is old or active, investigate rather than promising the next tenant that it has been solved.
Check the parts tenants use every day
Doors, windows and security
Check every internal door for rubbing, stiff latches and loose handles. The entrance door should close and lock without being lifted or slammed. Window handles, restrictors and catches should work smoothly; do not force a jammed mechanism. A door that catches at the floor may need a simple hinge adjustment, but a changed gap around the frame can point to movement or swelling. The door-rubbing guide shows the distinction. Where the fit or hardware needs professional attention, include it in a door repair booking.
Kitchen and bathroom fittings
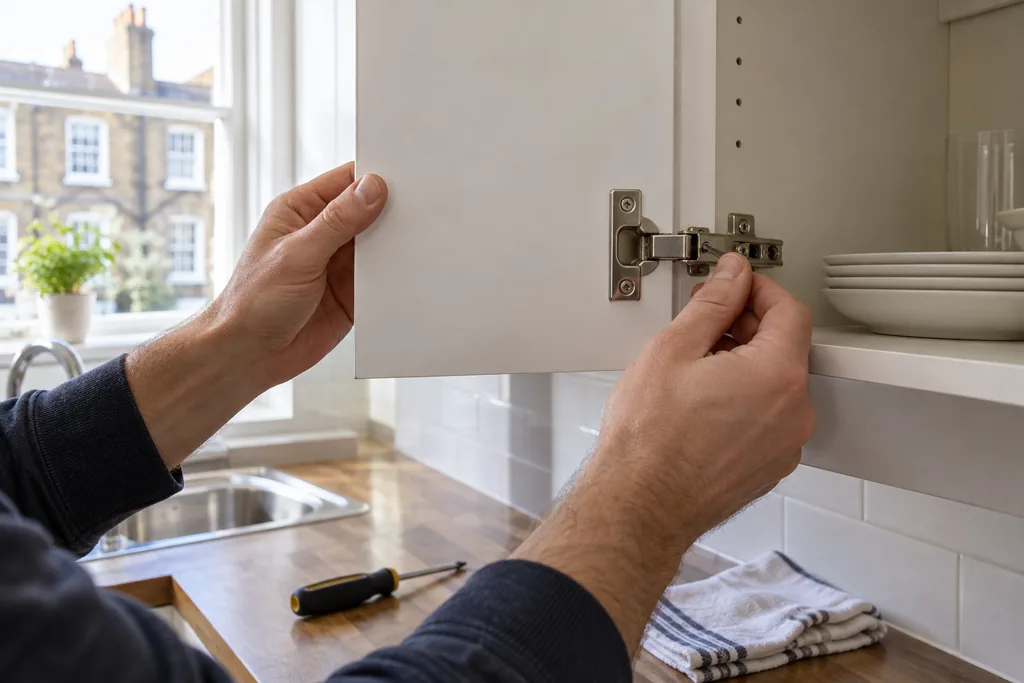
Pull each cupboard door gently and look for hinges that shift in their screw holes. Check drawer runners, handles and shelves; a tenant should not discover a falling shelf on moving day. Around sinks, baths and showers, look for split sealant, soft timber, loose taps and moisture in adjacent cupboards. Wipe under the waste pipe and check again after running water. A leak that only shows while the sink drains can otherwise go unnoticed during a quick visual inspection.
Record whether a repair is isolated or part of a wider failure. One loose hinge belongs on a small odd-jobs visit. A swollen cabinet base with repeated damp marks calls for investigation of the water source before any carpentry work. Do not paint or seal over damp material to meet a deadline.
Walls, floors and fixed furniture
Walk the floor slowly, especially at thresholds and around appliances. Note sharp or lifting trim, cracked tiles and boards that move underfoot. Check skirting near bathrooms and radiators for swelling; the guide to water-damaged skirting boards can help separate a localised repair from a moisture problem that needs tracing. Check fixed wardrobes, curtain rails, mirrors and bathroom accessories for movement. Empty rooms make screw holes and dents in walls conspicuous, but a localised repair may be enough. Photograph the finish and keep any paint information from previous work; a touch-up in the wrong shade or sheen can look more obvious than the original mark. For a room that genuinely needs a new finish, wall painting is best planned after drilling, filling and damp repairs.
Sequence the work around cleaning and the inventory
Book inspection and defect decisions first. Then arrange any specialist checks or leak repairs, followed by carpentry, fitting and surface repairs. Painting comes after dusty work and after prepared areas are dry. A final clean belongs near the end, with enough time afterwards for an inspection and photographs. If a trade must return, tell the cleaner and inventory clerk so fresh work is not mistaken for new damage.
Access matters in London flats. Confirm keys or codes, parking and loading restrictions, lift rules and any limits on noisy work. If the property is in a managed block, check the building's requirements before booking work in communal areas or altering shared fittings. Ask the person quoting to identify any materials that must be ordered; a missing hinge or matching threshold strip can determine whether a one-day visit is realistic.
Leave some time between the last repair and the new tenant's arrival. Sealant and paint need the curing or drying time stated by their manufacturers, and a newly repaired door should be opened and closed more than once. A “finished” room that cannot be used yet is not ready for handover.
Record what was fixed, then do a final use test
Keep the original photographs, the agreed job list and a short completion record. A simple note such as “bathroom basin waste repaired; checked after running tap” is more useful than “bathroom done”. Photograph the finished area from the same angle as the defect where possible. This helps the landlord, agent and incoming tenant share an accurate starting point; it is not a judgement about who caused earlier damage.
Before handing over keys, repeat a short practical test: doors close, locks operate, taps and drains behave normally, cupboard fronts are secure, and no tool or packaging has been left behind. Look at repairs in daylight and with the room lights on. Paint can reveal a patch only after it has dried, while a small drip may take several minutes to show beneath a sink.
There is no need to turn every changeover into a full refurbishment. A careful survey, a prioritised list and sensible sequencing usually reveal which jobs genuinely need doing now. If your London rental has several small repairs across different rooms, send Bob's Handyman Services one clear list and photographs when you enquire about an odd-jobs visit. That gives the team a practical starting point for scoping the work before the next tenant moves in.

