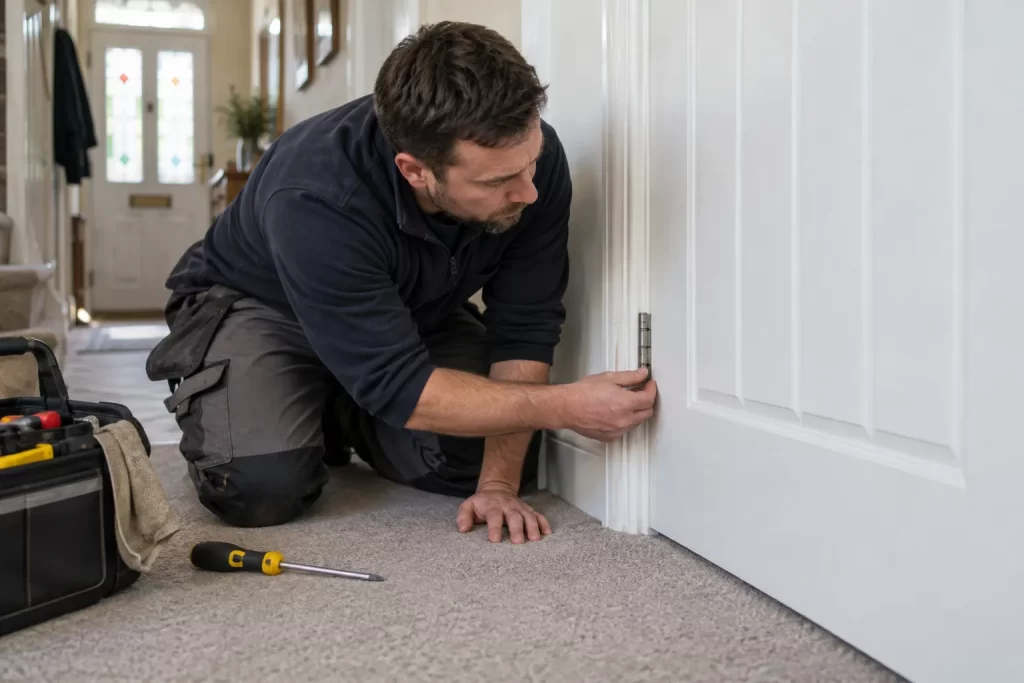
A door that drags across the floor rarely needs to be planed immediately. In many homes, the real cause is a loose hinge, a frame that has moved slightly, a new floor covering, or moisture making the timber swell. Removing wood before finding the cause can leave an oversized gap once the door settles or the season changes.
This guide explains how to locate the exact contact point, make the low-risk adjustments first, and decide when trimming the door is justified. It applies to ordinary internal timber doors over carpet, laminate and wooden flooring. Fire doors, external doors and doors with damaged frames need more caution because their clearances and security matter.
Start by finding where the door touches
Open and close the door slowly while watching the bottom edge. A rubbing mark on carpet may be obvious, but contact on a hard floor can be subtle. Look for a polished line, scuff, small pile of wood dust or a change in the sound as the door moves. Slide a sheet of paper beneath the closed door and move it along the gap. Where the paper will not pass, you have found the tight area.
Mark the contact point lightly with a pencil or a piece of low-tack masking tape. Then check whether the problem happens throughout the swing or only near the closed position. Contact close to the hinge side often indicates a loose or distorted lower hinge. Contact at the leading corner commonly points to the door dropping on its hinges. Rubbing across most of the width may follow a thicker carpet, raised threshold or general swelling.
Tools and materials you may need
- Pozidriv or Phillips screwdriver that fits the hinge screws properly
- Spirit level and pencil
- Masking tape and a sheet of paper
- Timber wedges or folded card to support the door
- Longer screws of the correct gauge for loose hinges
- Wood glue and hardwood slivers for damaged screw holes
- Block plane or powered planer only if adjustment cannot create enough clearance
- Sandpaper, primer and paint or varnish for a newly cut edge
A cordless drill can help with replacement screws, but use a low torque setting. Driving a screw too hard can strip the frame or pull the hinge leaf out of alignment.
Step 1: check every hinge screw
Support the outer edge of the open door with a wedge so its weight is not hanging from loose screws. Tighten the screws in the door leaf and frame leaf of each hinge. Use a manual screwdriver for the final turn so you can feel when the screw is secure. If a screw turns without tightening, the hole has stripped and simply fitting the same screw again will not solve it.
For a slightly worn frame hole, a longer screw of the same head type and suitable gauge may reach sound timber behind the lining. It must sit flush in the countersunk hinge hole; a proud screw head can stop the hinge closing. If the timber is badly damaged, repair the hole with glued hardwood slivers, allow the glue to cure, trim them flush and drill a small pilot hole before refitting the screw. Extensive splitting around the hinge is a job for a carpenter rather than another oversized screw.
Step 2: check whether the door has dropped
Close the door and compare the gap above it. A gap that is narrow above the latch side and wider above the hinge side is a classic sign of a dropped door. You may also see the latch sitting below its keep. Place a spirit level against the vertical edge, but remember that an older frame itself may not be perfectly plumb; the evenness of the surrounding gaps is often more useful than the bubble alone.
After tightening the top hinge, test the door again. If the frame fixing is sound but the door still drops, the hinges may be worn or bent. Replacing them like for like can restore the position without cutting the door. Match the hinge size, thickness, screw pattern and load rating. Changing to a thicker hinge alters the gap and can create a new bind on the opposite side. A door repair specialist can identify whether the hinge, frame or door edge needs correction.
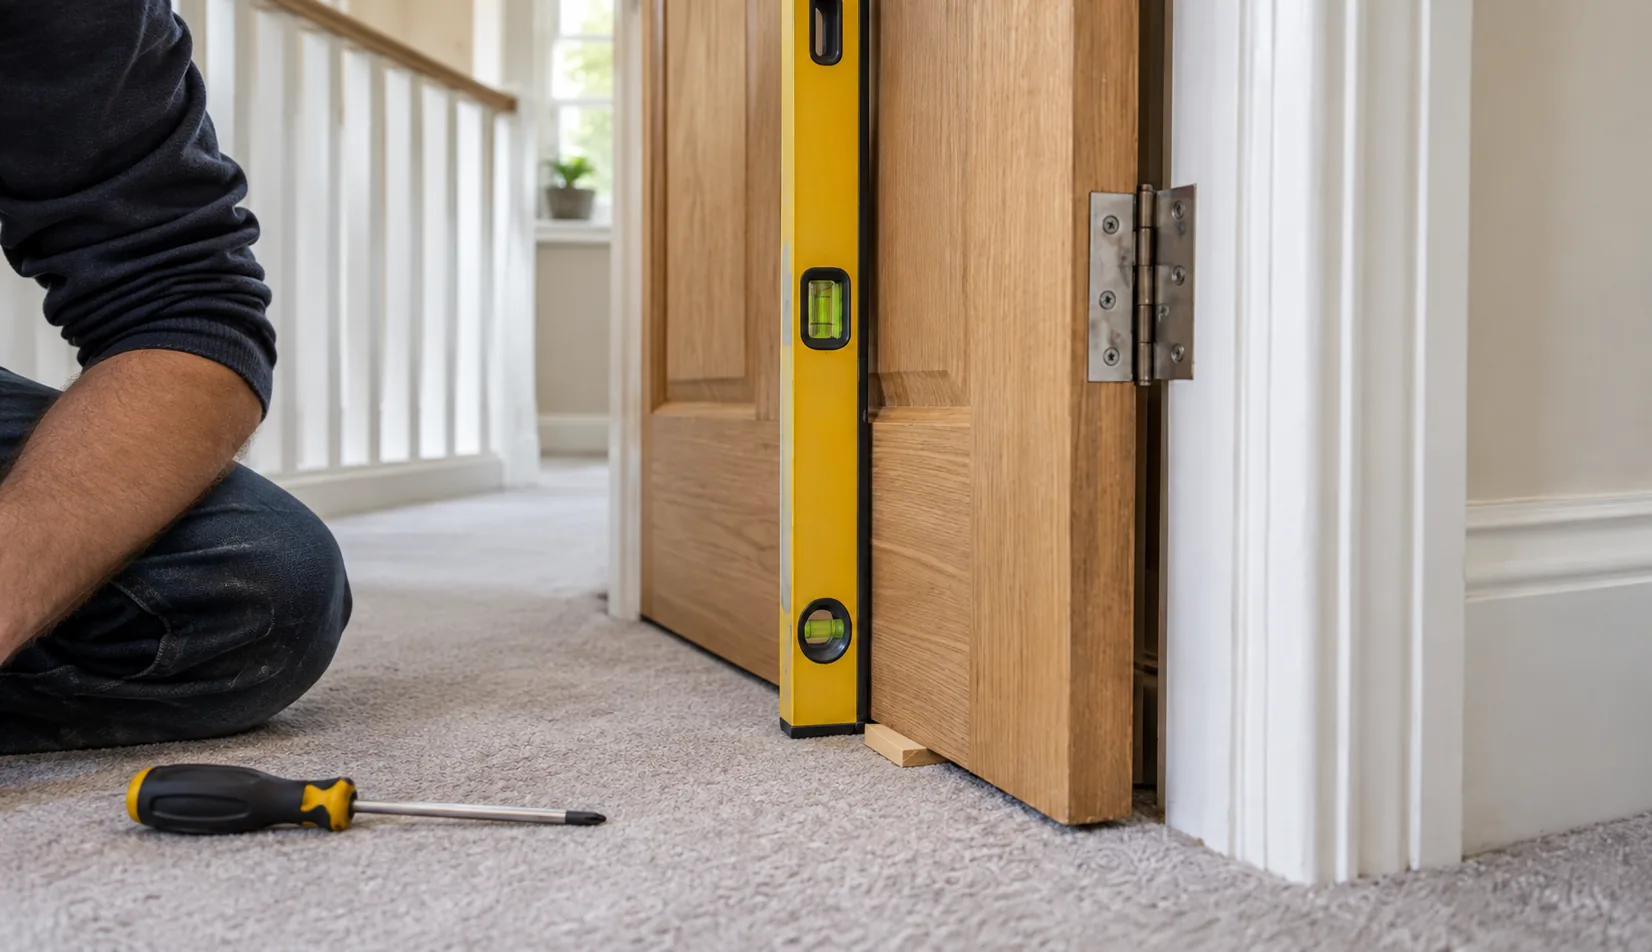
Step 3: rule out flooring and moisture changes
If the door moved freely before a new carpet or underlay was fitted, measure the clearance at several points. Do not compress thick carpet with the door indefinitely; it can damage the pile, loosen the hinges and make the door difficult to use. A loose threshold strip can also lift into the door path. Secure the strip correctly before altering the door, following the separate guide on fixing a loose doorway threshold.
Solid timber can swell after decorating work, a plumbing leak or a period of high indoor humidity. Look for fresh paint bridging the gap, damp staining, softened frame timber or condensation nearby. Deal with the moisture source first. If the rubbing reduces as the timber dries, permanent trimming may be unnecessary. Persistent water marks warrant a check for leaks or local water damage.
Step 4: adjust the hinge position only when necessary
A small alignment error can sometimes be corrected by resetting a hinge leaf squarely in its recess. Remove one hinge at a time while the door is fully supported. The leaf should sit flat and flush, not on paint ridges or crushed filler. Carefully remove only loose paint or debris. Do not deepen the recess casually: even a millimetre changes the position at the opposite edge.
Packing behind a hinge with random cardboard is a common short-term fix, but compressible material moves and absorbs moisture. Where a thin pack is genuinely needed, use stable hinge packing material cut to the full leaf shape. If several hinges need different packs, the frame may be distorted and professional adjustment is more predictable.
Step 5: trim the door only after the adjustments fail
Remove the minimum material needed for a free swing and an appropriate gap. Mark a straight line from the confirmed high spot rather than taking the same amount from the full width without checking. Take the door off and place it on stable trestles. Before planing, score a painted edge with a sharp knife to reduce chipping and check the grain direction. Work from each outer corner towards the centre so the end grain does not break away.
Test-fit the door before removing more. A carpeted room may need a little more working clearance than a hard floor, but an excessive gap looks poor and can affect privacy, sound and airflow. Prime and finish any bare timber, including the bottom edge. Leaving it unsealed makes moisture movement more likely.
Common mistakes that make the problem worse
- Planing first: this hides a loose hinge instead of repairing it.
- Using the wrong screwdriver: a damaged screw head becomes much harder to remove.
- Fitting oversized screws everywhere: this can split the frame or prevent the hinge closing.
- Ignoring a raised threshold: cutting the door does not secure loose flooring hardware.
- Removing too much timber: seasonal swelling may disappear, leaving a permanent gap.
- Failing to seal the cut edge: bare end grain absorbs moisture quickly.
When not to treat it as a DIY adjustment
Stop if the frame is cracked, the hinge screws have pulled out with chunks of timber, or the door is unusually heavy. Do not plane a labelled fire door or change its gaps without competent advice; fire-door clearances, seals and self-closing performance are safety features. An external door that rubs alongside lock or frame movement may have a security or structural issue. Doors containing glass also need careful support and handling.
For an ordinary internal door, tightening a loose hinge is a reasonable homeowner task. Hinge recess repairs, significant trimming and distorted frames are better included in an odd-jobs visit, particularly when several doors show the same problem.
A good repair preserves the door, not just the floor
The useful order is simple: locate the contact, support the door, secure the hinges, check the surrounding gap, investigate flooring or moisture, and trim only as a final measured step. That sequence fixes the cause in most cases and avoids sacrificing sound timber for a problem that began with one loose screw.