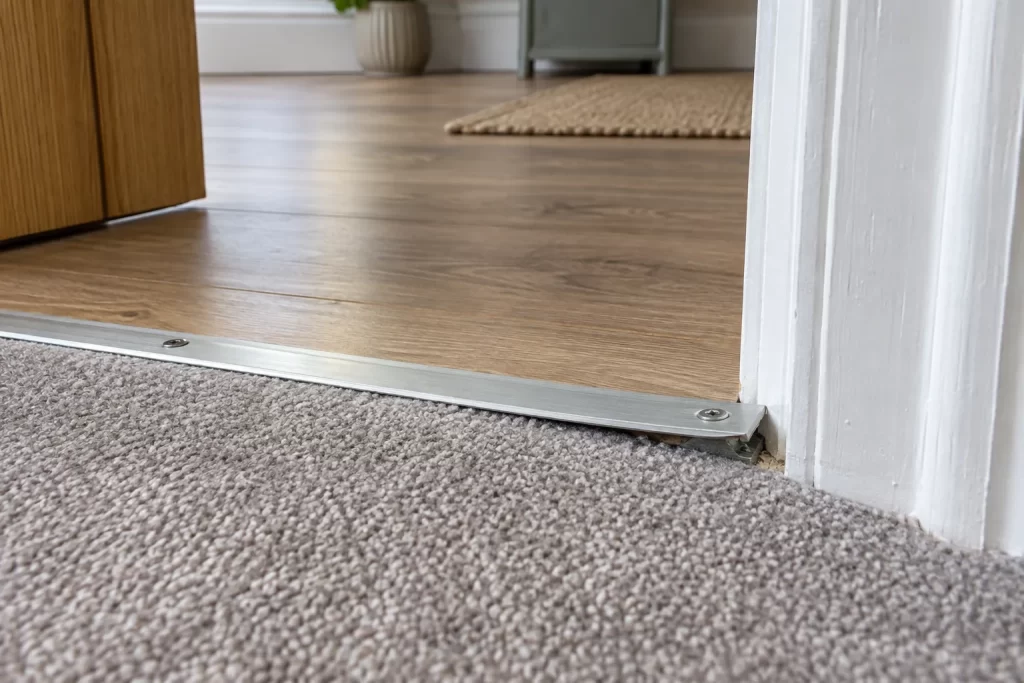
A loose threshold is more than a rattle. A raised end can trip someone, cut bare feet or let carpet and floating flooring move at the doorway. The lasting repair depends on the profile: some strips screw through the face, some clip into a base track, and others rely on adhesive. Forcing the wrong type down with longer screws risks hidden pipes, cables or underfloor heating.
Make the doorway safe first
Remove loose screws that could catch a foot and mark the area until repair. If the strip has a sharp or bent edge, lift it only if its fixing method is clear; otherwise cover the hazard temporarily with a rigid protector. Do not use loose tape across a busy doorway as a long-term measure.
Identify what the strip is doing
A transition profile may bridge equal-height finishes, ramp between different levels, cover a floating-floor expansion gap, grip carpet, or form part of a fire or acoustic detail. Photograph both sides and note the floor materials. The replacement must preserve the required movement and cover.
Lift one loose end gently. Visible countersunk screws indicate face fixing. A domed cover that springs from a rail is a clip system. No visible fasteners may mean adhesive or concealed clips. Do not prise against the decorative edge of laminate or tile.
Find out why it became loose
- Screw holes have enlarged in timber or screed
- Plastic plugs are the wrong diameter or depth
- A clip rail has cracked or been fitted unevenly
- Adhesive was applied over dust, polish or damp
- The strip is too short and fixings sit close to its ends
- Floor movement repeatedly pushes against the profile
- A door catches and levers the strip upward
Correct the cause before refixing. A door that rubs may need the checks in the rubbing-door guide. A nearby open laminate joint should be assessed with the laminate-gap method.
Tools and materials
- Eye protection, vacuum and pencil
- Screwdrivers and correct replacement screws
- Detector suitable for pipes and live cables
- Drill and bits matched to the known subfloor, if drilling is safe
- Correct plugs or timber repair material
- Manufacturer-approved grab adhesive for an adhesive profile
- Fine metal saw and file if a replacement needs cutting
Before drilling: identify the subfloor and services
Remove the profile and inspect existing holes. Timber, concrete, screed and tile require different fixings. Never assume a shallow floor is clear: heating pipes and electrical cables can cross doorways, and underfloor heating may lie immediately below the finish. Use drawings and an appropriate detector, but recognise that detectors have limits.
If the route cannot be established, reuse sound existing holes with the correct system or choose an approved adhesive profile. For uncertain floors, engage a flooring professional rather than drilling exploratory holes.
Method 1: refix a face-screwed strip
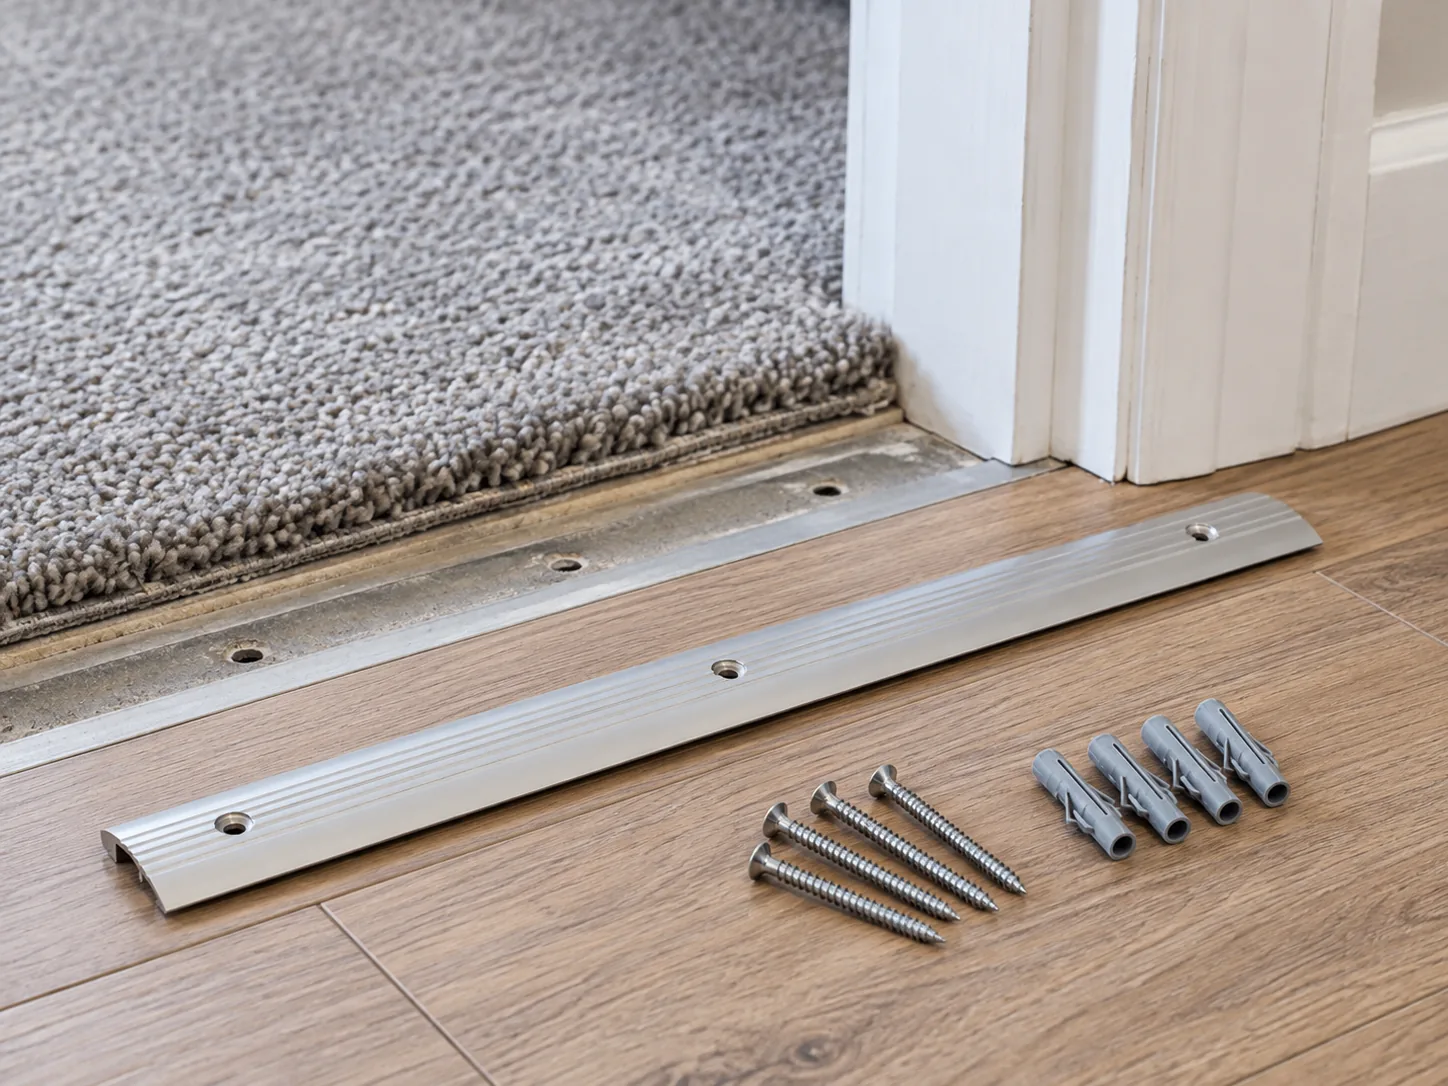
Vacuum the holes and test the strip’s alignment. Replace missing or damaged countersunk screws with the same diameter and an appropriate length. In sound timber, a slightly larger approved screw may hold; a badly stripped hole needs a proper timber repair, not several matchsticks in an unknown floor.
In masonry, replace spinning plugs with the correct type only after confirming safe depth. Seat every screw loosely, then tighten from the centre outward. Heads must finish flush so they do not catch feet, but overtightening bends the metal and pins floating laminate.
Method 2: repair a clip-in profile
Inspect the base track. Straighten only minor deformation; replace cracked clips or a twisted rail. Secure the track using its specified fixings and keep it centred over the expansion gap. Position the cover and press or tap it through a protective block in the sequence given by the manufacturer.
A clip profile that repeatedly releases may be the wrong height for the two floor finishes. Do not pack it with random offcuts. Choose the correct ramp or multi-level profile.
Method 3: rebond an adhesive strip
Scrape old adhesive from the subfloor without damaging floor edges, then vacuum and degrease with a product compatible with both surfaces. The base must be dry and firm. Dry-fit the strip, mask its position and apply only the adhesive specified for the profile and substrate.
Weight it evenly without blocking the doorway unsafely and leave it untouched for the full cure time. Excess adhesive should not bridge a floating-floor expansion gap.
Check carpet and laminate edges
Carpet backing should remain secured on the correct gripper or clamp, with no sharp pins exposed. Do not stretch carpet using the threshold as an anchor unless the system is designed for that purpose. Laminate needs concealed expansion space and must slide beneath or beside the profile as specified.
Cutting and fitting a replacement
Measure between the door stops at floor level and account for the profile’s end shape. Mark with a square, cut with the suitable fine-tooth blade and deburr every edge. Keep fixings away from the extreme ends, and check that the closed door clears before drilling or bonding.
Common mistakes
- Using longer screws without checking for services.
- Driving a screw through floating laminate.
- Bending a strip down over an incorrect floor-height change.
- Bonding onto dust, damp or floor polish.
- Leaving proud screw heads.
- Covering exposed carpet gripper pins rather than repairing the edge.
- Ignoring the door that catches the profile.
Test the finished transition
Walk across from both directions in normal footwear, press each edge and listen for movement. Open and close the door fully. The strip should not flex, rock or produce a sharp lip, and the adjoining floating floor should retain movement space. Recheck fixings after several days of traffic.
Vacuum the joint during routine cleaning instead of flooding it with water. Early movement, a dark damp line or a returning click should be investigated before the holes enlarge again.
A secure strip still allows each floor to work
For damaged door edges or an opening that has moved out of square, use a door repair service. A handyman can handle a straightforward replacement where the subfloor is sound and the hidden service route is known.
The goal is not merely to clamp the doorway harder. Identify the profile, repair its base, protect hidden services and preserve the carpet grip or laminate expansion detail. When the floor build-up or service route is uncertain, replacing the transition professionally is safer than escalating screw length.