5 Golden Tips On Halloween Pumpkin Carving
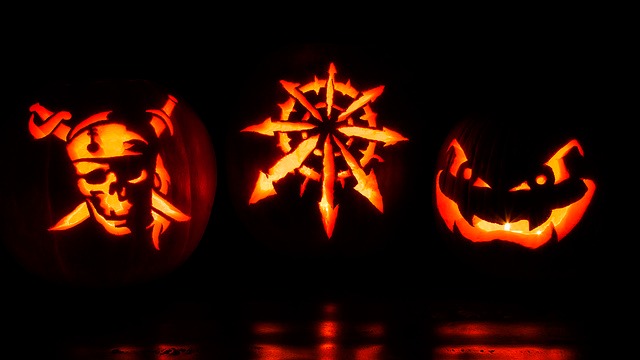
Brace yourselves, Halloween is coming! But All Hallows’Eve will be the same if you don’t have a few DIY Jack-o’-Lanterns. If you have no idea where to start from, Bob’s pros have a few tips on how to sculpt their scary faces without any accidents?
1. The Plan
The first step is to choose the shape, size and patterns you’re going to carve. Browsing for a few Jack-o’-lantern carving ideas will narrow your choice down. You could choose any stencil possible – from your kid’s favourite Disney characters to the classic Halloween monster face patterns. What’s more, you’ll know what tools you’ll need.
2. Safety Is Most Important!
Carve the pumpkins yourself. But if you want to include the youngsters in the project, let them draw shapes or just paint the lanterns.
3. Choose The Right Pumpkin
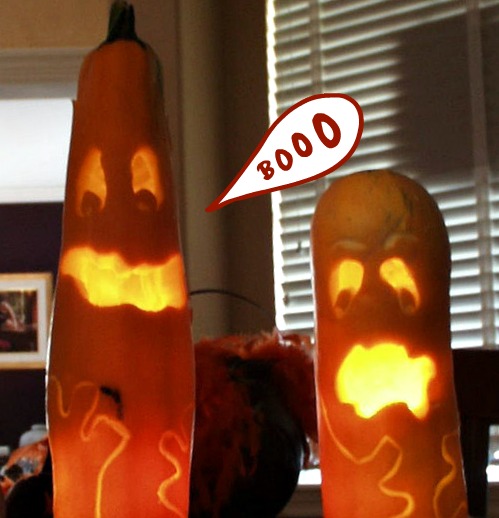
Image Source: www.flickr.com
Choose a pumpkin which will best suite your needs and abilities. If you wish to cut out scary faces, it would be best to get a tall pumpkin. If you’d like to cut out more shapes, it would be best to get a shorter and wider pumpkin. One basic rule you should remember is the pumpkin should have a flat bottom, so it doesn’t roll around while you carve it.
4. Ready, Steady, Carve!
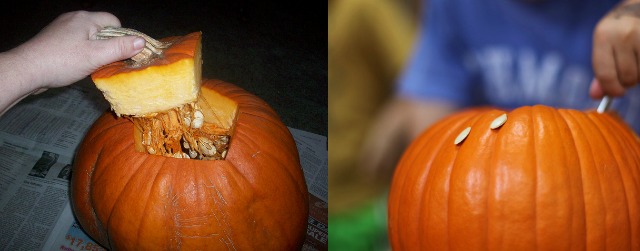
Image Source: www.flickr.com
Make sure the lid you’ll be carving is the right size. Thus you’ll be able to take the pumpkin’s insides out without any problems. If the candle you’ll place later has no glass holder, carve a small hole in the bottom which will keep it stable.
5. Trendy DIY Scoop-outs
1) DIY-Tool-Carve-Out
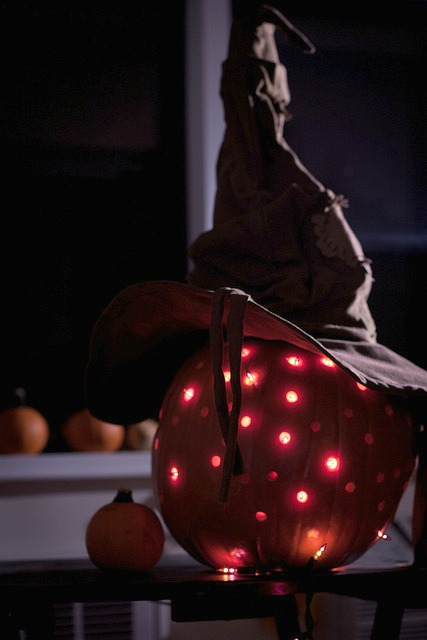
Image Source: www.flickr.com
Get a marker and dot the patterns. Be careful not to smudge the ink on your clothes and hands. Take a drill or an electric screw driver and puncture it in the dots you drew earlier. If you’d like to keep the cut edges fresh longer, rub them with petroleum jelly. When you’re ready, place a stable candle on the bottom. You can light it up with a long gas cooker lighter.
2) Biscuit Cutter Designs
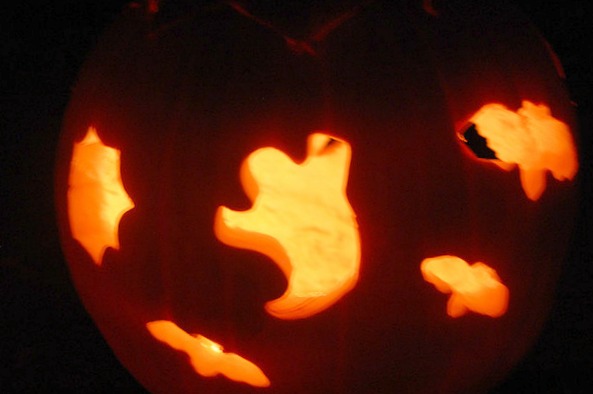
Image Source: www.flickr.com
For these decorative patterns, you’ll need metal cookie cutters and a rubber mallet. After hollowed the pumpkin out take the cutters, place them on the desired spot and tap it with the mallet. If the pumpkin’s shell is thicker, you might have to use needle nose pliers to get the cutter out. Take a small serrated knife to finish the cutting. Once you’re done, push the chip out from the inside of the pumpkin. If you’re afraid the pumpkin might catch fire, spill melted wax on the bottom or just switch the candles with a push lamp.
Impatient for Halloween? You can also check our last-minute Halloween decorations!

Leave a Reply