
Mark the operating zone
Plot doors, drawers, chair movement and the route used to clean behind the item.
ROOM PLANNING BEFORE ASSEMBLY · BRUNSWICK PARK
Brunswick Park contains established suburban streets as well as larger campus and redevelopment sites. Inside a home, the scale is personal: a wardrobe must clear the ceiling, a desk needs a workable cable route and storage must leave doors and radiators usable.
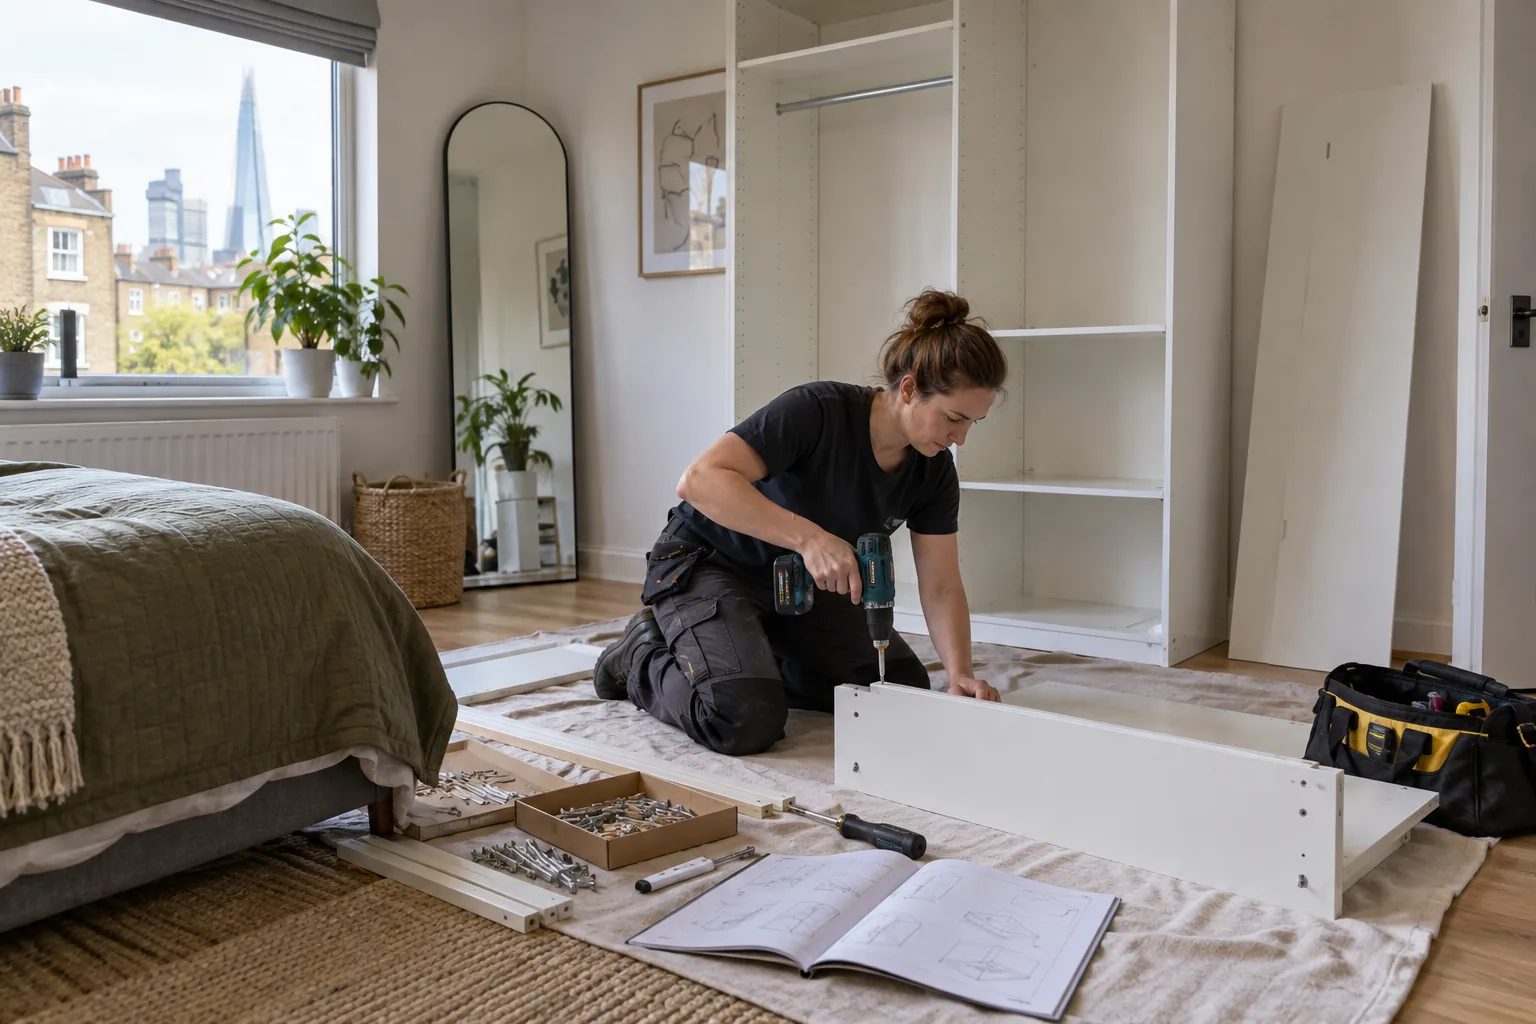
DRAW THE FINISHED FOOTPRINT
Plot doors, drawers, chair movement and the route used to clean behind the item.
Compare carcass height and depth with the ceiling before assembly begins.
Identify wall construction, skirting offset and likely service routes early.
Label unused fixings, adjustment tools and instructions for the owner.
SUBURBAN ROOMS AND LARGE-SITE CHANGE
Barnet’s planning evidence describes much nearby suburban fabric as detached and semi-detached houses on regular streets, with much of it dating to the inter-war period. It also identifies the broader Brunswick Park character area as interrupted by larger open, campus and estate layouts. Those planning descriptions do not define every home, but they explain why access assumptions should be checked address by address.
A front reception used as an office needs different circulation from a bedroom receiving a tall wardrobe. A rear utility room may have enough wall length but no safe drilling zone near services. Give each item a final footprint and operating clearance, then work backwards through the doorway and delivery path.
PRODUCT, ROOM AND WALL MUST AGREE
Manufacturers supply a product sequence, not a complete plan for the house. The following checks connect those instructions to the actual room.
Calculate the diagonal needed to raise an assembled carcass. Where clearance is tight, confirm whether upright assembly is permitted rather than discovering the conflict with the unit half-built.
Place the work surface without trapping plugs or forcing cables through sharp gaps. Fixed electrical alteration is separate; cable organisation should preserve socket access and ventilation.
Measure the base offset created by skirting and any floor unevenness. The anti-tip method must suit the product and a reliable part of the wall, not merely close a visible gap.
Open the deepest drawer on the measured plan. A unit that fits when shut may conflict with a bedroom door, chair or the route around a bed.
List stopcocks, meters, filters and appliance-removal space. Shelf capacity and access matter more than filling the full wall with boards.
ESTIMATE ASSEMBLY TIME
Select the closest task type, number of items and likely duration. Bob’s published weekday labour rates produce the estimate. Products, wall fixings, parking, disposal and changes required by incomplete or damaged furniture remain subject to review.
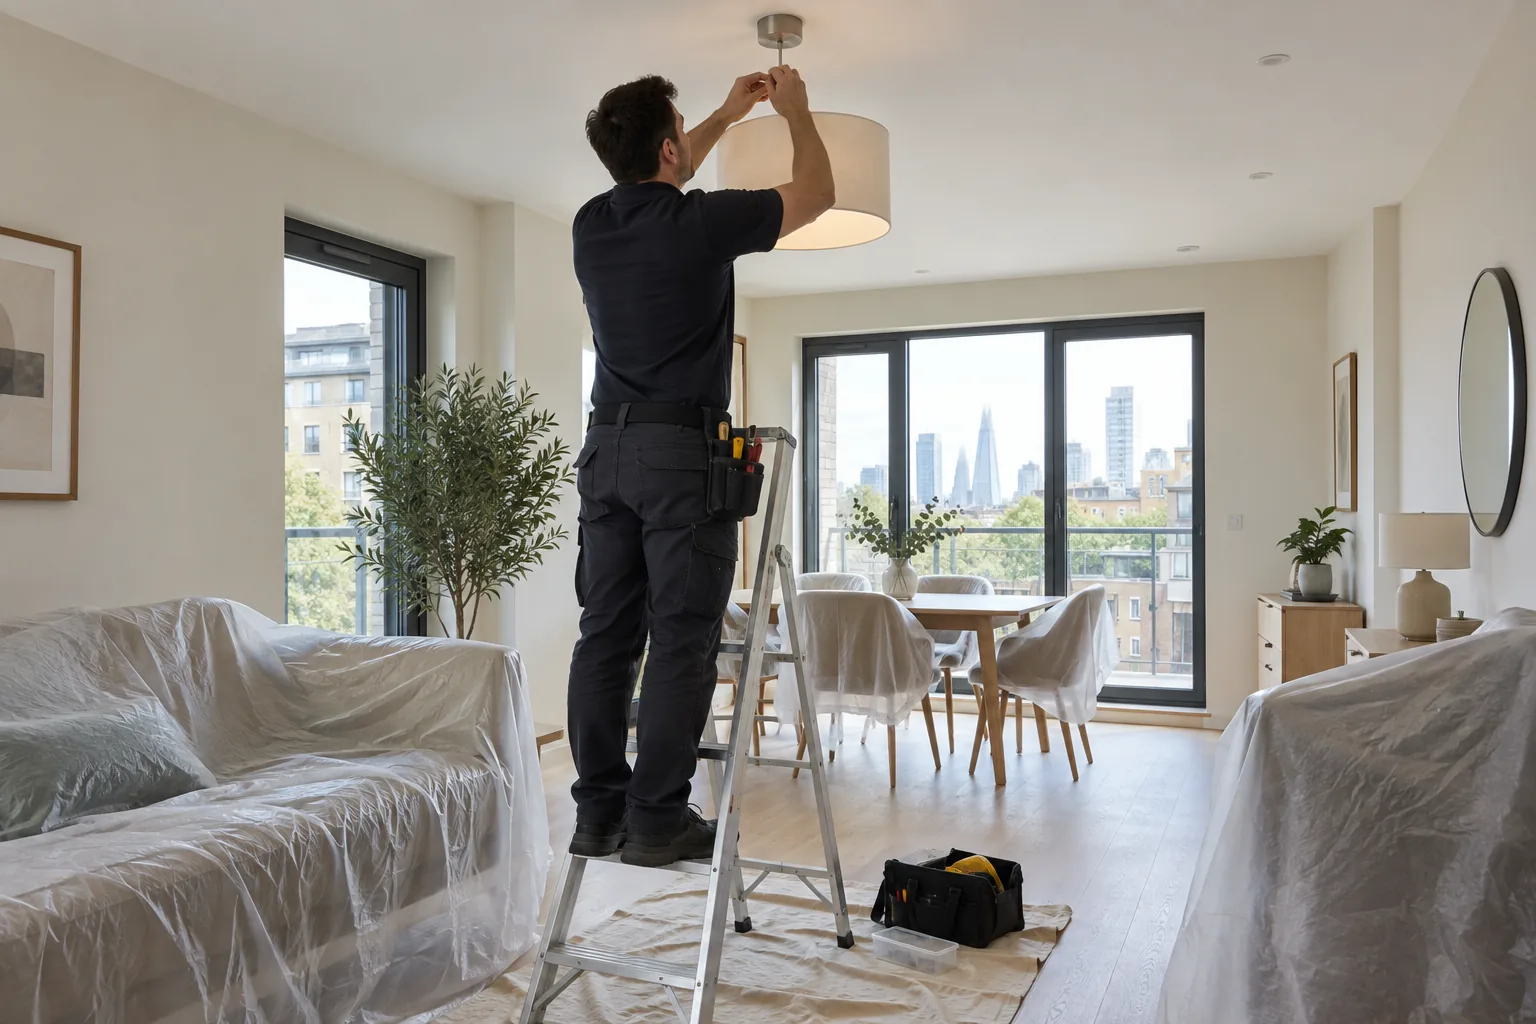
TALL FURNITURE CHANGES THE LIGHT
A wardrobe or high bookcase can interrupt light that previously reached a desk, mirror or dressing area. Mark the full height with removable tape and inspect the room after dusk as well as during the day. Open every furniture door: a tall leaf may cut across a pendant, wall light or useful pool of task lighting.
Do not move or alter a fixed electrical fitting as part of furniture assembly. Photograph the conflict and use the qualified electrical route if a permanent lighting change is wanted. A plug-in lamp may be considered only where its cable can reach a suitable socket without crossing circulation or being pinched behind the new unit.
HAND OVER THE ADJUSTMENT POINTS
A furniture handover is more useful when it distinguishes routine adjustments from structural safety. Show which hinge screw changes alignment, where the restraint connects and which levelling foot touches the floor. Keep the manufacturer’s wall-fixing warning with the product. If a shelf has a stated load or a desk needs a ventilation gap, record it while the position is fresh rather than relying on memory after the room is filled.
Open every leaf and drawer through its full travel beside adjacent furniture.
Explain the safety fixing without inviting casual removal or relocation.
Separate shelf pins, wall plugs and tools by item so they remain useful later.
NEARBY COVERAGE
Prepared assembly and repair visits to the south.
Household maintenance north of Brunswick Park.
Measured fitting work west of the area.
BRUNSWICK PARK ASSEMBLY QUESTIONS
Provide the product’s assembled height and depth plus the measured floor-to-ceiling height. The lifting diagonal may require more clearance than the final upright unit.
Keep components protected unless instructions have been checked and there is a clean sorting space. Report damaged packaging and verify that all cartons for the product have arrived.
The product position and restraint method need review. Packing blindly against skirting can leave the unit leaning; the safety fixing must reach a suitable background as instructed.
Only count work that can proceed with the cartons and instructions available. A missing panel can stop the build, so replacement delivery and a return visit need their own agreement.
Test the full-height outline by day and after dusk before assembly. Reposition the furniture or add suitable plug-in task lighting; permanent electrical changes require the qualified route.
Keep instructions, product-specific tools, labelled spares and the restraint information. Remove loose packaging from the household route before handover.
TEST HEIGHT AGAINST LIGHT
Share product links, carton count, ceiling height and a taped full-size outline photographed under both lighting conditions. Add the carry-in turns and proposed restraint wall. Bob’s can assess the assembly while keeping fixed electrical changes with the qualified trade.